Table of Contents
Advertisement
Quick Links
Advertisement
Table of Contents

Related Manuals for LG VC-4806HT


Summary of Contents for LG VC-4806HT
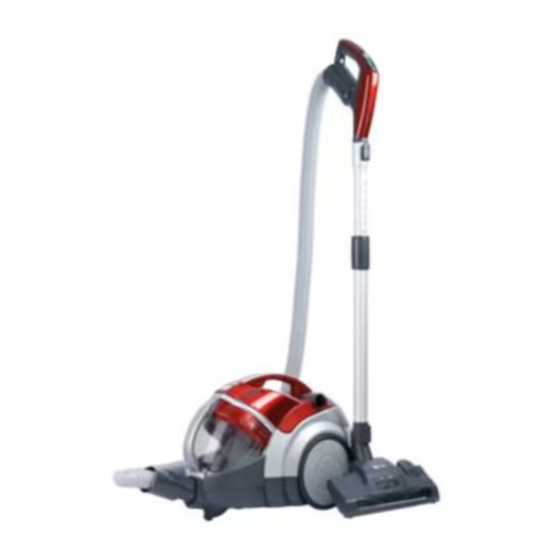
- Page 1 OWNER'S MANUAL VC-4806HT New type cyclone vacuum cleaner Please read all of the information on page 4~5 carefully. This information contains important instructions for the safe use and the maintenance of the appliance. P/No.: MFL57001319 Made In KOREA...
-
Page 3: Table Of Contents
Table of contents Important safety instructions ..............4~5 How to use ....................6 Assembling vacuum cleaner .................... 6 Operating vacuum cleaner ....................8 Using all floor nozzle /mini turbine nozzle ................ 9 Using accessory nozzles ....................10 Using the sani punch nozzle ..................11~15 Emptying dust tank ...................... -
Page 4: Important Safety Instructions
Personal injury or product damage could result. In these • Keep children away and beware of obstructions cases, contact LG Electronics Service Agent to avoid hazard. when rewinding the cord to prevent personal injury • Do not use vacuum cleaner if it has been under water. - Page 5 • If the power cord is damaged, it must be replaced damage. by an approved LG Electronics Service Agent to • Only use parts produced or recommended by LG avoid a hazard Electronics Service Agents. • This appliance is not intended for use by persons Failure to do so could result in product damage.
-
Page 6: How To Use
How to use Assembling vacuum cleaner Hose handle Spring latch Telescopic pipe (feature not available (feature not available (feature not available in all countries) in all countries) in all countries) Carpet and floor nozzle Telescopic pipe (feature not available in all countries) Push the nozzle into the telescopic pipe. - Page 7 Button Fitting pipe Flexible hose Attachment point Connecting the hose to the vacuum cleaner Push the fitting pipe on the flexible hose into the attachment point on the vacuum cleaner. To remove the flexible hose from the vacuum cleaner, press the button situated on the fitting pipe, then pull the fitting pipe out of the vacuum cleaner.
-
Page 8: Operating Vacuum Cleaner
How to use Operating vacuum cleaner Indicator Plug Cord reel button Control knob How to operate Indicator and alarm sound Park mode Storage • Pull out the power cord to the • The indicator light of the hose • To store during •... -
Page 9: Using All Floor Nozzle /Mini Turbine Nozzle
How to use Using all floor nozzle and mini turbine nozzle Carpet Carpet Pedal Floor Floor All floor nozzle Mini turbine nozzle (feature not available in all countries) (feature not available in all countries) • The 2 position nozzle • Mini turbine is used for stairs and other hard to This is equipped with a pedal which allows you to alter reach places. -
Page 10: Using Accessory Nozzles
How to use Using accessory nozzles Upholstery nozzle Dusting brush Crevice tool Upholstery nozzle Dusting brush Crevice tool Dusting brush is for vacuuming picture Upholstery nozzle is for vacuuming Crevice tool is for vacuuming in those frames, furniture frames, books and upholstery, mattresses etc. -
Page 11: Using The Sani Punch Nozzle
How to use Using the sani punch nozzle Features How to use This nozzle picks up even dust inside through beating. Follow the directions below for proper use. The bottom part can be separated to be cleaned. Since the bottom does not stick to the surface, vacuuming is Assembly easy. - Page 12 This Sani Punch nozzle is for effective cleaning of beds and blankets to remove mites and dust. Effective cleaning Bed & blanket Light blanket & sheet Bulky & heavy blanket When using on the bed When using on the floor Lay out the blanket and vacuum it on the bed It is easier to clean a light blanket or sheet by pushing the nozzle in the direction of the arrow.
- Page 13 For simple cleaning of the vacuum nozzle, detach the Sani Punch nozzle from the telescopic tube and attach the crevice tool to vacuum dust. Bottom Since the vibrator inside is composed of precision parts, never disassemble the body. Be careful not to let foreign objects clog the air suction part on top of the vacuum nozzle. Since removal of the punch bar may cause performance problems, do not warp or remove it.
- Page 14 Follow the instruction below for through washing. (Do not soak the entire body of the vacuum nozzle in water, it may cause the vibrator to malfunction) Bottom plate Bottom plate Punch bar Punch bar Press the button on Wipe all the soiled parts Wash the removed bot- the rear side of the of the vacuum nozzle...
- Page 15 Projection Push the button 2-3 times When the dust is fully when the dust is filled in filled after cleaning, the dustbin while cleaning take the bin and turn it counterclockwise to disconnect Waste the dust in Take the bin to fix the bin into the projection part and then turn it...
-
Page 16: Emptying Dust Tank
How to use Emptying dust tank Indicator Tank separation lever Pull out Tank handle Dust tank cap The dust tank needs emptying when indicator light is on. NOTICE • Turn off the vacuum cleaner and unplug it. • If suction power decreases after empting dust tank, wash the dust tank as •... -
Page 17: Cleaning Dust Tank
How to use Cleaning dust tank Tank separation lever Pull out Tank handle • Press tank separation button and pull out dust tank. NOTICE • Raise dust tank cap. • Empty the dust tank and wash it. If suction power decreases after washing the dust tank, •... -
Page 18: Dust Separator Clean Alarm Display
How to use Dust separator clean alarm display Dust separator Pre-filter cover Air filter Motor safety filter Guide cover How to separate • When the LED on the main unit is turned on, please clean the dust separator. • When LED on the main unit will be turned on in blue for 1 minute and the buzzer will go off ÜTing Tingá... -
Page 19: Cleaning Air Filter And Motor Safety Filter
If filters are damaged, do not use them. with the Ting Ting sound to disable the operation. You In this cases, contact LG Electronics Service Agent. must install the motor protection filter and filter case Wash filters at least every 3-6 months. -
Page 20: Cleaning Exhaust Filter
How to use Assembling vacuum cleaner Exhaust filter cover Button Lever Exhaust filter cover • The exhaust filter is a reuseable. • To clean the exhaust filter, remove the Exhaust filter cover on the body by pulling out it. • Separate the exhaust filter. •... -
Page 21: Check Before Requesting For Service
How to use Check before requesting for service You should not waste money by requesting for service only to find out that it's not a problem. If you experience any issues with the product, check the following details before contacting the service center or the distributor. -
Page 22: What To Do If Your Vacuum Cleaner Does Not Work
What to do if your vacuum cleaner does not work Check that the vacuum cleaner is plugged in correctly and that the electrical socket is working. What to do when suction performance decreases • Turn off the vacuum cleaner and unplug it. •... - Page 27 filter...
- Page 35 < > < >...
- Page 44 VC-4806HT MFL57001319...
Need help?
Do you have a question about the VC-4806HT and is the answer not in the manual?
Questions and answers