Advertisement
Quick Links
Advertisement

Related Manuals for J&M Corporation BT-04 Series

Summary of Contents for J&M Corporation BT-04 Series
- Page 1 Bluetooth Helmet Headset BT-04/BT-03+ Series Installation & Operation Instructions...
- Page 2 Table of Contents Product Description Section 1 Installation Instructions For Section 5B Full-Face Style Helmets Safety & General Information Section 2 Installation Instructions For Section 5C Package Contents Section 3 Shorty Style Helmets Controls and Functions Section 4 General Operation Instructions Section 6 Installation Instructions For Modular Section 5A...
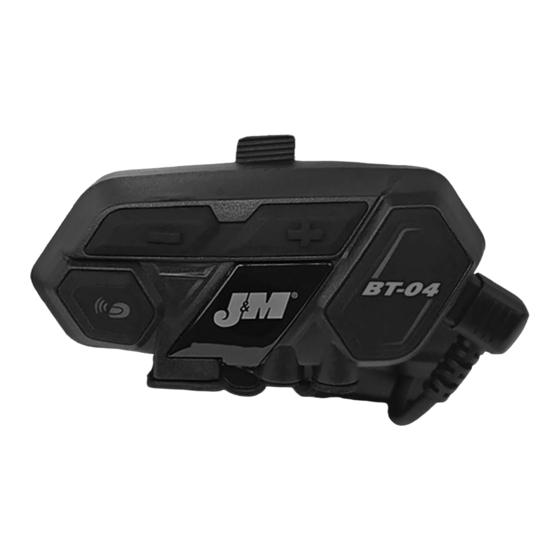
- Page 3 A. Volume Down B. Volume Up F. Multifunction Button BT-04 C. Intercom/Search G. Headset Mode Button Connection Port D. Data and Power Cable Port E. Aux Input 4. Controls and Functions A. Volume Down – Controls step-down volume adjustment from the linked source, by press- BT-04 ing once momentarily for each step of volume reduction.
- Page 4 Flip-Up & Open-Face Style Helmets J&M BT-04 Series Helmet Headset Installation Instructions WARNING! Helmet speakers may not be legal in all jurisdictions. Check your local laws BEFORE using this product. J & M Corporation cannot control the circumstances surrounding the sale of this equipment, the quality of installation, or the specific helmet into which this equipment is installed.
- Page 5 Full-Face Style Helmets J&M BT-04 Series Helmet Headset Installation Instructions WARNING! Helmet speakers may not be legal in all jurisdictions. Check your local laws BEFORE using this product. J & M Corporation cannot control the circumstances surrounding the sale of this equipment, the quality of installation, or the specific helmet into which this equipment is installed.
- Page 6 Using an Exacto® Knife, cut out a hole of sufficient size to allow the microphone to be mounted through the nose section and be pressed against the inside shell. See Figure 3. Insert the microphone cartridge through the hole from the back side, Install the rubber boot and push the mike back into the hole from the front side 4.
- Page 7 Shorty Style Helmets J&M BT-04 Series Helmet Headset Installation Instructions WARNING! Helmet speakers may not be legal in all jurisdictions. Check your local laws BEFORE using this product. J & M Corporation cannot control the circumstances surrounding the sale of this equipment, the quality of installation, or the specific helmet into which this equipment is installed.
- Page 8 6. General Operation of the BT-04 Control 1. To charge the unit, plug the supplied USB charge/data cable into the 6. Press the multifunction button (F) to answer an incoming phone call. Charge Port (D). The red LED will turn on to indicate that the Battery 7.
- Page 9 Pairing and Operation of the BT-03+/BT-04 Headsets in Up to 3 Other J&M Bluetooth Headsets Helmet-to- Helmet Intercom Mode. 1. Press and hold intercom/search mode button (C) and multifunction BT-04 button (F) together until both headsets turn-on. 2. Put headset #1 into intercom linking mode by depressing & holding the multifunction button (F) for approximately 4 seconds until the multi- BT-04 function button LED rapidly alternates between red/blue flashing.
- Page 10 When the passenger is finished talking, they can simply wait for the other party to hang up or they can terminate the call with a single press on the headset’s multifunction button. With the Passenger’s headset, all cell phone call volume adjustments are made on the headset itself with the vol-up (+) and vol-down (-) buttons dur- ing actual cell phone conversations and the headset will remember these volume settings for subsequent cell phone conversations.
- Page 11 WARRANTY AND REPAIR INFORMATION TWO YEAR LIMITED WARRANTY In order to facilitate the servicing of this warranty, the Warranty Registration Form should be filled out and returned within 10 days of the date of purchase. However, return of the Warranty Registration Form is not a precondition of this warranty, and this Warranty will be observed by J&M CORPORATION whether or not the Warranty Registration Form is returned, on the condition that other satisfactory evidence of the date of the original purchase is provided to J&M CORPORATION.
Need help?
Do you have a question about the BT-04 Series and is the answer not in the manual?
Questions and answers