Table of Contents
Advertisement
Quick Links
Advertisement
Table of Contents

Summary of Contents for Forte 250 Series
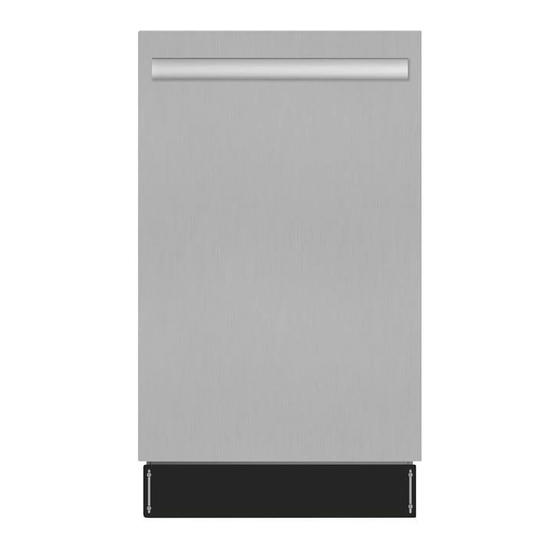
- Page 1 Installation Manual Inch Stainless Steel Dishwasher F18DWS250SS...
-
Page 2: Table Of Contents
CONTENTS IMPORTANT SAFETY INSTRUCTIONS ......................2 INSTALLATION REQUIREMENTS ........................3 INSTALLATION PREPARATION ........................5 PREPARE DISHWASHER ..........................5 PREPARE AND ROUTE THE ELECTRICAL SUPPLY ..................7 PREPARE HOT WATER LINE AND POWER CORD HOLE ................8 INSTALLATION ..............................9 STEP 1 - HANDLEBAR ASSEMBLY .......................9 STEP 2 – CHECK DOOR BALANCE ......................9 STEP 3 –... -
Page 3: Important Safety Instructions
IMPORTANT SAFETY INSTRUCTIONS BEFORE YOU BEGIN WARNING Please read these instructions completely and carefully. IMPORTANT - Observe all governing codes and ordinances. Note to Installer – Be sure to leave these instructions for the consumer’s and local inspector’s use. Note to Consumer- Keep these instructions with your Owner’s Electrical Shock Hazard Manual for future reference. -
Page 4: Installation Requirements
INSTALLATION REQUIREMENTS TOOLS AND PARTS Materials for New Installations Only: Gather the required tools and parts before starting installation. Waste tee for house plumbing, if applicable Hand shut-off valve PARTS SUPPLIED Coupler for extending drain line, if applicable Four #8 Phillips flat head wood screws, 5/8” long to secure dishwasher to underside of countertop (in literature package). - Page 5 INSTALLATION REQUIREMENTS For New Installations Only: Tubing Cutter Hole Saw Set Drills and Bits...
-
Page 6: Installation Preparation
INSTALLATION PREPARATION PREPARE DISHWASHER The minimum required space when the door open (Fugure B) 20.5" Dishwasher Cabinet The door of 24.8" Dishwasher 32.5"-34.5'' 23" Underside of Min. 3.2" Countertop The Minimum space for to Floor Cabinets door opening is 2inch Square 3.7”... - Page 7 INSTALLATION PREPARATION DRAIN PREPARATION Method 2 - High Drain with Waste Tee or Disposer Provide a method to attach drain hose to underside of countertop. The type of drain installation depends on answers to the following questions: Do local codes or ordinances require an air gap? Will waste tee or disposer connection be less than 18”...
-
Page 8: Prepare And Route The Electrical Supply
INSTALLATION PREPARATION PREPARE AND ROUTE THE ELECTRICAL NOTE: A grounded 3 prong outlet is required inside a cabinet next SUPPLY to the dishwasher cabinet opening. You Must Have: 120-volt, 60Hz, AC-only, 12-amp, fused electrical supply. We Recommend: A time-delay fuse or circuit breaker. A separate circuit. -
Page 9: Prepare Hot Water Line And Power Cord Hole
INSTALLATION PREPARATION Water Line Connection PREPARE HOT WATER LINE AND POWER CORD HOLE Turn off the water supply. Install a hand shut-off valve in an accessible location, such The line may enter from either side, rear or floor within the shaded as under the sink. -
Page 10: Installation
INSTALLATION BEFORE YOU BEGIN STEP 2 – CHECK DOOR BALANCE STEP 1 – HANDLEBAR ASSEMBLY Use a hex wrench to install the outside door handle. This step is only applicable to the F18DWS250SS model. Hexnut tools CR-V 0.157inch 30°~90°balance 6.61~15.43lbs Figure H After placed the panel on the dishwasher, please try open and Hexagon wrench-M6... -
Page 11: Step 3 - Insert Drain Hose And Power Cord Through Cabinet
INSTALLATION STEP 3 – INSERT DRAIN HOSE AND STEP 4 – SLIDE DISHWASHER PARTIALLY POWER CORD THROUGH CABINET INTO CABINET DO NOT PUSH AGAINST FRONT PANEL WITH KNEES. DAMAGE WILL OCCUR. Slide dishwasher into the opening a few inches at a time. Maximum Drain Hose Length 10'... -
Page 12: Step 5 - Positiondishwasher Under Countertop
INSTALLATION STEP 5 – POSITIONDISHWASHER UNDER STEP 6 – LEVEL DISHWASHER COUNTERTOP Check to be sure that wires are secure under the dishwasher and IMPORTANT: not pinched or in contact with other dishwasher components. Dishwasher must be level for proper dish rack operation and wash performance. -
Page 13: Step 7 - Fixation Of Dishwasher
INSTALLATION Adjust the height by turning the feet to make sure the dishwasher is level. STEP 7 – FIXATION OF DISHWASHER 1. Fixing the dishwasher with the cabinet by turning the screws. 2. Plug the four hole plugs into the holes in the sketch map. ST4*26 hole plug Adjust the front feet... -
Page 14: Step 8 - Connect Drain Line
INSTALLATION Water Line Connection STEP 8 – CONNECT DRAIN LINE Connect drain line to air gap, waste tee or disposer using either FOLLOW ALL LOCAL CODES AND ORDINANCES. previously determined method. The drain hose molded end will fit 5/8” 3/4” or 1” diameter Method 1 -Air gap with waste tee or disposer connectionson the air grap, waste tee or disposer. -
Page 15: Step 9 - Connect Power Supply
INSTALLATION STEP 9 – CONNECT POWER SUPPLY IMPORTANT: When connecting drain line to disposer, check to be sure that drain Power supply cord - Plug into a grounded 3 prong outlet. plug has been removed. DISHWASHER WILL NOT DRAIN IF PLUG IS LEFT IN PLACE. Remove Disposer Plug TIP: Avoid unnecessary service call charges. -
Page 16: Step 10 - Installation Of Kick Plate
INSTALLATION STEP 10 – INSTALLATION OF KICK PLATE Kick plate can move up and down. When you are fixing the kick plate, if the upper and lower adjustment distance of the Control Panel kick plate can not meet the installation requirements, you can ser a sharp knife to cut one piece along the groove in the kick Ornamental door plate (three pieces can be cut down, and each piece is 10 mm... -
Page 17: Step 11 - Pretest Checklist
INSTALLATION STEP 11 – PRETEST CHECKLIST STEP 12 – DISHWASHER WET TEST Review this list after installing your dishwasher to avoid charges Plug power cord into outlet. for a service call that is not covered by your warranty. Power on and select Rinse Wash program. Close door and press the start buttons.


Need help?
Do you have a question about the 250 Series and is the answer not in the manual?
Questions and answers