Advertisement
Quick Links
Advertisement

Summary of Contents for MH MH-TB-21024
- Page 1 10 : 00 2 or more estimated people required assembly time...
- Page 2 Ok, let’s get started! Put on mood music! To prevent damage to product, use the clean side of package carton or rug as working surface for assembly. In the event of missing or damaged parts, delivery problems etc., please reach out to our team. We will be happy to fix the problem!
-
Page 3: Care Guide
care guide Clean regularly with a soft and dry cloth. To protect finish, avoid use of abrasive cleaners. Wipe up spills immediately. Please! While assembling the product, tighten the bolts up to 50%. Once all parts are in place, only then fully tighten the bolts. -
Page 4: Product Parts
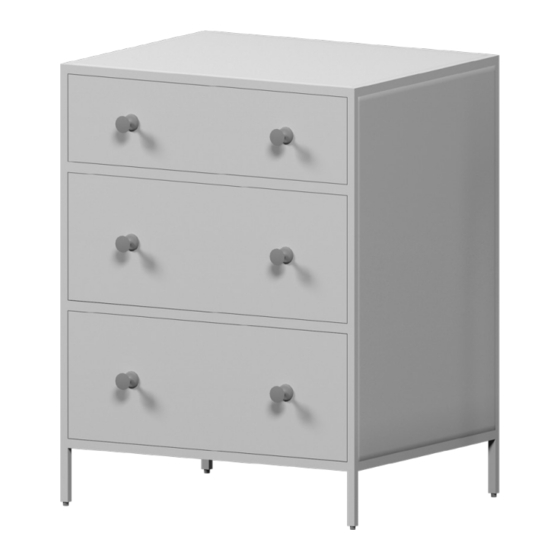
product parts Night Stand... - Page 6 assembly instructions Friendly Tip: Take a deep breath going in. This may be a tricky part, but nothing too overwhelming. Just follow these steps to the T and the outcome will be worth it! While assembling the product, tighten the bolts up to 50%. Once all parts are in place, only then fully tighten the bolts.
- Page 7 step 1: Start by placing night stand (A) upside-down on a rug/carton. Push out the drawers taking this image as reference. step 2: Take out the cardboard box and discard it; it is only for ease of transportation.
- Page 8 step 3: Using a screwdriver, detach the knobs fitted inside the drawers. step 4: Place the knobs outside the drawers and re-attach using the screws that you just removed and tighten using the screwdriver.
- Page 9 step 5: Place a spirit level on top of the surface to check alignment. Adjust the levellers if needed. Voila! Your night stand is now assembled and secure!


Need help?
Do you have a question about the MH-TB-21024 and is the answer not in the manual?
Questions and answers