Table of Contents
Advertisement
Quick Links
Advertisement
Table of Contents

Related Manuals for SenHaiX 8800

Summary of Contents for SenHaiX 8800
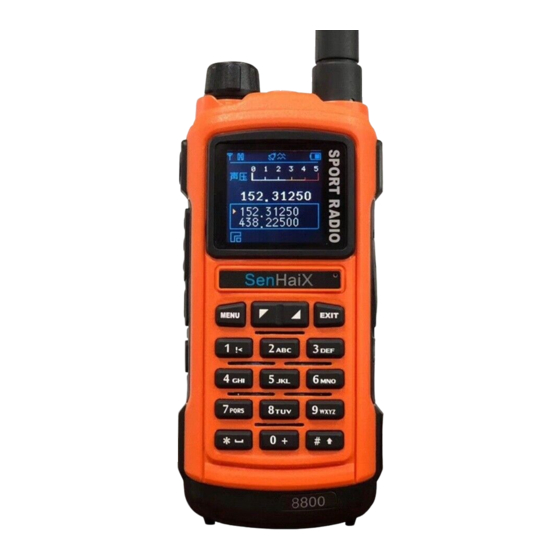
- Page 1 DUAL BAND PROFESSIONAL RADIO...
- Page 2 PREFACE Thank you for purchasing our dual band portable two way radio. This easy-to-use radio will deliver you secure, instant and reliable communications at peak efficiency. Please read this manual carefully before use. The information presented herein will help you to derive maximum performance from your radio.
-
Page 3: Unpacking And Checking Equipment
Contents Unpacking And Checking Equipment Carefully unpack the transceiver. We recommend that you identify the items Unpacking and Checking Equipment Adjusting the Volume listed in the following table before discarding the packing material. If any Product Overview VFO/Channel Switch items are missing or have been damaged during shipment, please contact Function Keypad Channel Mode the carrier or the dealers immediately. -
Page 4: Product Overview
Product Overview Function Keypad Function Part Name Part Name PF1 Key 【MENU】 Menu/Enter Key Numeric Keypad (LAMP Key) Exit/Delete Key PTT-1 Speaker 【EXIT】 Switch A/B Band in standby mode NFOV FYJU PTT-2 Microphone Press for 2 Seconds to up rapidly PF2 Key 【UP】... -
Page 5: Before Use
Function Keypad Before Use Charging the Battery Pack Charger LED indicator and charging status Use only the charger and battery specified by the LED indication Charging status manufacturer. The charger LED indicates the charging Function progress. Constant Green Standby (no-load) LAMP Key, Constant Red Charging... - Page 6 Before Use Preparation USB Charging Battery LED Indicator and battery status Installing/Removing the Belt Clip Installing/Removing the Antenna Use only the USB charging cable specified by the manufac- LED indication Charging status Screw the antenna into the 1.Attach the belt clip above turer.
-
Page 7: Status Indication
Preparation Status Indication LCD Icons Installing the Optional LED Indicator Icon Radio status Speaker/Microphone(or Headset) Uif!upq!MFE!joejdbups!xjmm!ifmq!zpv!fbtjmz!jefoujgz!dvssfou! Signal Strength Level sbejp!tubuvt/ Low Power Insert the speaker/mi- Radio Status LED Indicator crophone (or headset) High Power plugs into the Transmitting LED glows red speaker/microphone DTMF activated jacks. -
Page 8: Basic Operations
Basic Operations Menu Functions Powering On/Off A/B Band Switch Menu Function/Description Available settings Turn the 【Power/Volume knob】 clockwise to switch the In standby, press 【EXIT】 Key to switch A/B Band. SQL(Squelch Level) Level 0/1/2/3/4/5 transceiver power ON till a click is heard. Keypad Lock/Unlock Transmit Power High/Low... -
Page 9: Troubleshooting
Menu Functions Troubleshooting If the solutions below cannot fix the problems for you, or you may have some other queries, please contact us or your local Menu Function/Description Available settings dealer for more technical support. Step 2.50/5.00/6.25/10.00/12.50/25.00/50KHz Phenomena Analysis Solution Frequency Mode Direction None/Plus/Minus... -
Page 10: Care And Cleaning
Care and Cleaning To guarantee optimal performance as well as a long service life of the product, please follow the tips below. Do not puncture or scratch the product with hard objects. Do not place the product in corrosive agents, solutions or water. Do not handle the radio by its antenna or external microphone directly.
Need help?
Do you have a question about the 8800 and is the answer not in the manual?
Questions and answers