Advertisement
Quick Links
DC SHUTTLE WITH STATION STOP
AND ACCELERATION SAS2-BR
The BLOCKsignalling SAS2-BR is a self-contained DC throttle, designed to operate
a single loco along a section of track. Upon reaching the end of the track, the loco
will decelerate to a standstill, wait for a period, then accelerate in reverse. It will run
to the other end of the track and then decelerate to a standstill, wait again, and then
accelerate off forwards.
Runs a DC equipped loco back and forth along a single section of track
Optional station stop function brings the train to rest at a station
Realistic acceleration and deceleration
Quick and easy to connect and set-up
For a long while simple shuttles have been available to model rail enthusiasts to
operate DC locos back and forth along a single section of track. We had wanted to
add further realism by controlling acceleration and deceleration, allowing the option
Advertisement

Related Manuals for BLOCKsignalling SAS2-BR

Summary of Contents for BLOCKsignalling SAS2-BR
- Page 1 DC SHUTTLE WITH STATION STOP AND ACCELERATION SAS2-BR The BLOCKsignalling SAS2-BR is a self-contained DC throttle, designed to operate a single loco along a section of track. Upon reaching the end of the track, the loco will decelerate to a standstill, wait for a period, then accelerate in reverse. It will run to the other end of the track and then decelerate to a standstill, wait again, and then accelerate off forwards.
- Page 2 To fill this gap, we have designed the SAS2-BR. This module is a self-contained DC throttle, designed to operate a single loco along a section of track. Upon reaching the end of the track, the loco will decelerate to a standstill, wait for a period, then accelerate in reverse.
-
Page 3: Dc Power Pack
BLOCKsignalling www.blocksignalling.co.uk Power Supply The controller is designed for use with a 12V DC plug-top type power supply with a 2.1mm jack connector (centre positive). Alternatively, the power supply can be connected to the IN1 and IN2 terminals. 12V DC... -
Page 4: Time Adjustment
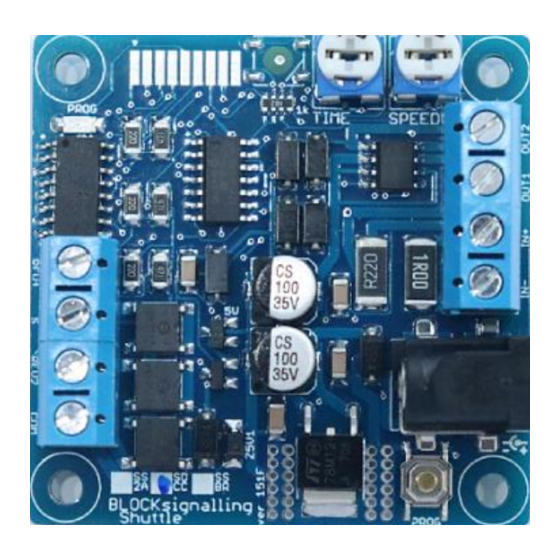
BLOCKsignalling www.blocksignalling.co.uk Speed Setting & Waiting Time Adjustment The locomotive top speed is set by the SPEED adjustment on the module. Generally the midway position shown in the image below will be a suitable starting point. The waiting times are programmed separately for the two ends and the station stop. - Page 5 BLOCKsignalling www.blocksignalling.co.uk Programming Procedure The module is programmable, and many of the settings can be adjusted to suit. Programming is performed holding down the Push Button on the module when switching on the power. RED LED POWER SUPPLY BLOCK signalling PUSH-BUTTON Full details of the programming procedure and options available are given later.
- Page 6 BLOCKsignalling www.blocksignalling.co.uk Connecting the Unit OUT2 OUT1 REV1 POWER REV2 JACK Terminal Arrangement BLOCK signalling The track is divided up into a minimum of three sections, the main section and two ends. The ends are formed by isolating the right-hand rail by using an insulated rail joiner, or by cutting the rail with a dremel or hacksaw.
- Page 7 TERMINALS ON CONTROLLER (SEE TEXT) BLOCKsignalling Shuttle If the station stop function is being used, then form isolated sections for each station. These will need to extend either side of the platform, to allow time for the train to decelerate.
- Page 8 BLOCKsignalling www.blocksignalling.co.uk Program Flow Diagram As mentioned above, there are a number of memory locations which can programmed with different values to change the operation of the module. Before starting, it is a good idea to write down the memory locations and the values you are going to set them to.
- Page 9 BLOCKsignalling www.blocksignalling.co.uk Page 9 of 19...
- Page 10 BLOCKsignalling www.blocksignalling.co.uk Programming Options East End Waiting Duration (option 3) Sets the waiting time when the train arrives at the track section connected to the REV2 terminal. It a setting of 1 is used, then the waiting time will be set by the TIME adjustment on the module.
- Page 11 BLOCKsignalling www.blocksignalling.co.uk Maximum setting 255 seconds. Default setting (after factory reset) 5 seconds. After the waiting time, the train departs in same direction as it arrived. Speed Control (option 6) Sets whether the train stops and starts using the acceleration and deceleration settings, or simply starts and stops with full power immediately applied and removed.
- Page 12 BLOCKsignalling www.blocksignalling.co.uk Maximum setting 20seconds. Default setting (after factory reset) 2 seconds. East End Delay (option 9) Sets whether the waiting time when the train arrives at the track section connected to the REV2 terminal is fixed or randomised. When randomised, the waiting time varies between 25% and 100% of the set waiting time.
- Page 13 BLOCKsignalling www.blocksignalling.co.uk 1=fixed 2=randomised When set to randomised, the variations in delay will only be obvious for longer waiting times (greater than 30 seconds or so). Maintenance Mode (option 25) When set to 1, displays the software version of the module by flashing the led on module to signal a group of four digits.
- Page 14 BLOCKsignalling www.blocksignalling.co.uk Step-by-step Connecting Up There follows a step-by-step approach to connecting up and testing the unit. This process can also be followed in case of the unit not functioning as expected. 1. Connect power to the module. The supply module is designed for a 12V DC supply.
-
Page 15: Troubleshooting
BLOCKsignalling www.blocksignalling.co.uk Troubleshooting Q. The locomotive does not move when the module is first switched on. A. The locomotive should be moving forwards within 10 seconds. If not, increase the SPEED adjustment on the module clockwise. Gently nudge the loco forwards in case mechanical or electrical resistance is preventing it moving. - Page 16 BLOCKsignalling www.blocksignalling.co.uk Q. The acceleration is not very smooth. A. The train has to overcome friction before moving off, after which the friction reduces. For this reason, more realistic acceleration can be achieved with a longer acceleration time. This effect is not seen when the locomotive is decelerating.
- Page 17 Station Stop on a Loop The SAS2-BR can be used to provide a Station Stop on a loop. The locomotive travels forwards around the loop, stopping each time at the station for a delay period set by the Station Stop Duration memory location.
- Page 18 Use with Reed Switches, Push Buttons, etc Instead of using the traction current to trigger the SAS2-BR, you can use reed switches, push buttons, etc. This could allow the modelling of cable cars, lifts, etc, in addition of conventional model train shuttles.
- Page 19 It may be necessary to increase the BOD2-RLY sensitivity, or to reduce the Deceleration rate of the SAS2-BR to ensure the cable car stops at the intended location. On a funicular or a cable car with two cars, position the BOD2-RLY modules to monitor the same car at the top and bottom of the run.
Need help?
Do you have a question about the SAS2-BR and is the answer not in the manual?
Questions and answers