Miele TWL 780 WP Manual
Hide thumbs
Also See for TWL 780 WP:
- Operating instructions manual (112 pages) ,
- Operating instructions manual (108 pages) ,
- Operating instructions manual (96 pages)

Related Manuals for Miele TWL 780 WP


Summary of Contents for Miele TWL 780 WP
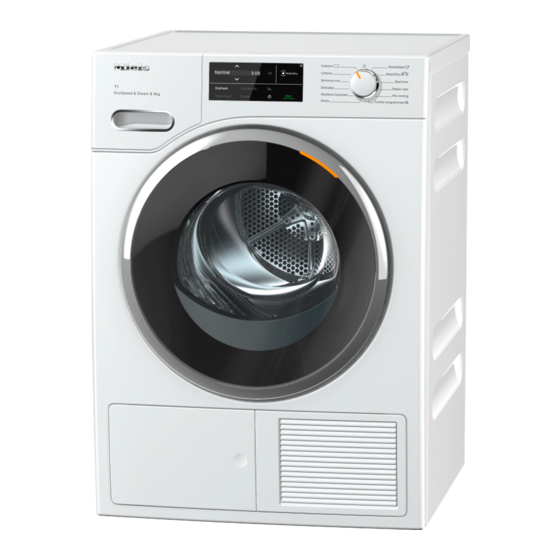
- Page 1 *INSTALLATION* 11909320-00 Installation Front view a Mains connection cable e Plinth filter access panel b Control panel f 4 height-adjustable feet c Condensed water container g Cooling air grille d Door h Drain hose for condensed water...
- Page 2 *INSTALLATION* 11909320-00 Installation Rear view If the tumble dryer is being transported horizontally, it must only be tipped onto its left or right side. a Protruding lid for holding when If the tumble dryer is being moving the machine transported upright and you are using b Drain hose for condensed water a handcart or trolley, you must only...
-
Page 3: Installation
- Air the room where the tumble dryer is located. To ensure proper operation, the tumble - Contact Miele Customer Service. dryer must stand perfectly level. The Downtime after installation screw feet on the tumble dryer can be adjusted to compensate for unevenness ... - Page 4 *INSTALLATION* 11909320-00 Installation Ventilation The heat pump that is essential to the operation of this tumble dryer The cool air intake at the front of the generates a lot of heat inside its tumble dryer must not be blocked or casing.
-
Page 5: Additional Installation Requirements
- Drying durations may increase slightly. Optional accessories – Washer-dryer stack The tumble dryer can also be combined with a Miele washing machine in a washer-dryer stack. The appropriate Miele washer-dryer stacking kit is required. – Plinth The tumble dryer can be fitted with a... - Page 6 *INSTALLATION* 11909320-00 Installation Installation conditions requiring a Externally draining condensed non-return valve water Danger of condensed water Notes backflow. When drying is in progress, Water could flow back into the condensed water is pumped into the tumble dryer or be drawn into it. condensed water container through Backflow water could damage the the drain hose which is located at the...
- Page 7 *INSTALLATION* 11909320-00 Installation Arranging the drain hose Examples Drainage into a laundry tub or floor gully Damage to the drain hose through incorrect handling. Use the hose holder to secure the drain hose. The drain hose can suffer damage and leak.
- Page 8 *INSTALLATION* 11909320-00 Installation Fit the adapter 1 to the sink drain Direct connection to a sink drain outlet outlet using the nut 2. Use the hose holder, the hose clips The nut is usually fitted with a washer and the non-return valve (available to which must be removed.
-
Page 9: Changing The Door Hinging
*INSTALLATION* 11909320-00 Installation Hold the door securely and pull it Changing the door hinging forwards: to remove the door you will You can change the door hinging on need to pull the base plate of the this tumble dryer yourself. hinge with its two pins out of the dryer. - Page 10 *INSTALLATION* 11909320-00 Installation Turn the door lock through 180°. 3. Remove the lock catch from the door Press the door lock into the openings First take the rubber seal off the door on the opposite side of the door and place this to one side.
- Page 11 *INSTALLATION* 11909320-00 Installation 4. Dismantle the door hinge from the door The door hinge cover must be unclipped from position and then removed. Remove the lock catch from the cover. This lock catch cover is no longer needed. However, please keep it in a safe place.
- Page 12 *INSTALLATION* 11909320-00 Installation 5. Change the door hinge on the door Useful tip: In some circumstances, the rods can be difficult to dislodge. The door hinge is secured to the door Moving the screwdriver with a levering with 2 angled rods. These rods need action while pulling at the same time to be removed with a screwdriver or may help to work the rods free.
- Page 13 *INSTALLATION* 11909320-00 Installation 6. Change the lock catch on the door You now need the new door hinge cover supplied with the tumble dryer. You now need the new lock catch cover supplied with the dryer which you have already fitted with the lock catch.
- Page 14 *INSTALLATION* 11909320-00 Installation Refitting Now that you have changed the door hinging, the door will open from 7. Refit the door the opposite side. Press the rubber seal back into the groove on the door. Push the orange marker round to the other side so that you will see at ...
-
Page 15: Electrical Connection
The protective measures provided in extension cable or multi-socket the domestic installation and in this adapter. Miele product must also be assured in their function and operation in isolated All electrical work must be carried out operation or in non-mains synchronous...
Need help?
Do you have a question about the TWL 780 WP and is the answer not in the manual?
Questions and answers