Table of Contents

Related Manuals for Emeril Lagasse DZEL24-01


Summary of Contents for Emeril Lagasse DZEL24-01
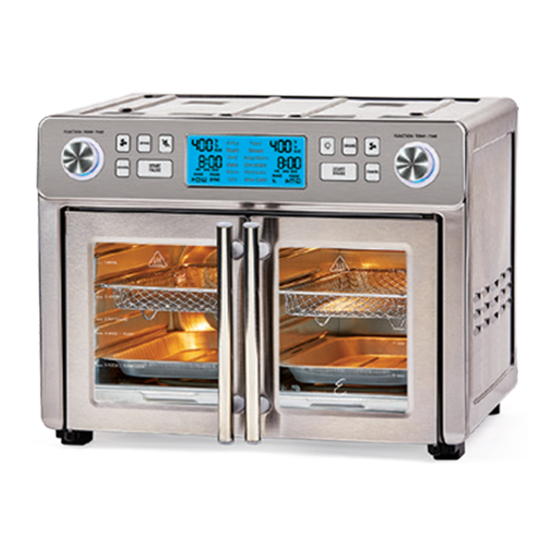
- Page 1 Owner’s Manual Owner’s Manual SAVE THESE INSTRUCTIONS – FOR HOUSEHOLD USE ONLY MODEL: DZEL24-01 When using electrical appliances, basic safety precautions should always be followed. Read this manual thoroughly before using this appliance.
-
Page 2: Table Of Contents
Table of Contents Appliance Specifications IMPORTANT SAFEGUARDS Parts & Accessories Using the Drip Tray Using the Divider Parts & Accessories Using the Crisper Tray, Oven Rack, and Baking Pan Using the Rotisserie Set Removing the Rotisserie Spit The Control Panel Cooking Functions Instructions for Use Before First Use... -
Page 3: Appliance Specifications
External Internal Temperature Power Cord Number Power Dimensions Dimensions Range Length DZEL24-01 120V ~60Hz 1750W 17.72 x 15.94 14.17 x 13.18 x 85° F–450° F 3 feet (0.9 m) x 14.17 inches 7.87 inches (450 x 405 x (360 x 335 x 200... -
Page 4: Important Safeguards
IMPORTANT SAFEGUARDS WARNING • The marked electrical rating of the extension cord should be at least as great as the electrical rating of the appliance. PREVENT INJURIES! CAREFULLY READ ALL • The power cord should be arranged so that it will not drape over the countertop or tabletop, where INSTRUCTIONS BEFORE USE! it can be pulled over by children or tripped over... - Page 5 IMPORTANT SAFEGUARDS • • Plug the power cord into a 120V outlet with no other Never operate the appliance with the doors open. Do not appliances on the same outlet. Plugging other appliances leave the doors open for an extended period. into the outlet will cause the circuit to overload.
-
Page 6: Parts & Accessories
Parts & Accessories Drip Tray Divider Crisper Tray XL Crisper Tray* Baking Pan XL Baking Pan... - Page 7 Parts & Accessories XL Oven Rack Rotisserie Set Grill Plate* XL Grill Plate* Rotisserie Fetch Tool *Some accessories may be sold separately.
-
Page 8: Using The Drip Tray
Parts & Accessories Using the Drip Tray • Slide the Drip Tray into the bottom of the inside of the appliance (below the heating elements; see Fig. A). • Never operate the appliance without the Drip Tray in place. • If the Drip Tray becomes more than half full, pause the cooking process and clean the Drip Tray before continuing. -
Page 9: Parts & Accessories
Parts & Accessories Using the Crisper Tray, Oven Rack, and Baking Pan • The Divider must be in place when using the smaller Crisper Tray and Baking Pan accessories. • The Divider must not be in place when using the larger Crisper Tray, Oven Rack, and Baking Pan accessories. -
Page 10: Using The Rotisserie Set
Parts & Accessories Using the Rotisserie Set If the Divider is inside the appliance, remove the Divider. Do not use the Divider when using the Rotisserie Set. Carefully slide the Rotisserie Shaft through the center of the food lengthwise. Slide the Forks onto each side of the Spit and secure them in place by tightening the two Set Screws. -
Page 11: The Control Panel
The Control Panel AirFry Toast SHAKE SYNC Roast Reheat Broil Keep Warm Bake Dehydrate START START CANCEL CANCEL PAUSE PAUSE Pizza Rotisserie Grill Slow Cook A. Control Knobs: Press once and turn to adjust the cooking temperature. Press again and turn to adjust the cooking time. See the “General Operating Instructions”... -
Page 12: Cooking Functions
Cooking Functions Cooking Function Information Function Name Default Cooking Default Cooking Default Fan Speed Active Heating Preheating Temperature Time (Time Elements Included in (Temperature Range) Cooking Time Range) Air Fry 400° F 20 minutes High Upper (180° F–450° F) (1–60 minutes) Roast 350°... -
Page 13: Instructions For Use
Instructions for Use Before First Use Unpack all parts from the box and remove any clear or blue protective film on the components. Check all packaging material thoroughly for accessories. Wash the accessories with warm, soapy water before first use (only select accessories are dishwasher safe). -
Page 14: Using The Shake Indicator
Instructions for Use Using the Shake Indicator The Shake Indicator lets you know when a cooking zone’s cooking time has reached its halfway point, which is an ideal time to shake certain foods (see the “Shaking Food” section). Set the cooking function, temperature, and time for one cooking zone. If you want to use the Shake Indicator with the food in the first cooking zone, press the Shake Indicator Button. -
Page 15: Cooking Charts
Cooking Charts General Cooking Guidelines Food Size Temperature Cooking Preheat Shake/Flip Spray with Time Frozen Foods French fries 400° F 18 minutes √ Sweet potato fries 400° F 22 minutes √ Chicken nuggets 400° F 14 minutes √ Chicken Breaded cutlets 6 oz 400°... -
Page 16: Care & Cleaning
Care & Cleaning Cleaning the Appliance Recommendation: Clean the appliance after each use. Unplug the appliance and let cool for at least 30 minutes before cleaning. Wipe the outside of the appliance with a warm, moist cloth and a mild detergent. Gently scrub both sides of the doors with a warm, moist cloth and soapy water. -
Page 17: Troubleshooting
Troubleshooting Troubleshooting Problem Possible Cause Solution The appliance does not work. The appliance is not plugged in or the Plug the power cord into a dedicated appliance is plugged into an outlet that is electrical outlet. shared with other devices. Food has not cooked completely. -
Page 18: Money-Back Guarantee
Money-Back Guarantee The Emeril Lagasse Dual-Zone AirFryer Oven™ is covered by a 90-day money-back guarantee. If you are not 100% satisfied with your product, return the product and request a replacement product or refund. Proof of purchase is required. Refunds will include the purchase price, less processing and handling. - Page 19 The Emeril Lagasse trademarks are owned by Martha Stewart Living Omnimedia, Inc., used under license. © 2022 Martha Stewart Living Omnimedia, Inc., used under license.
- Page 20 We are very proud of the design and quality of our Emeril Lagasse Dual-Zone AirFryer Oven™. This product has been manufactured to the highest standards. Should you have any questions, our friendly customer service staff is here to help you.
Need help?
Do you have a question about the DZEL24-01 and is the answer not in the manual?
Questions and answers