Table of Contents
Advertisement
Quick Links
Advertisement
Table of Contents

Related Manuals for Cuisinart TOA-95C Series


Summary of Contents for Cuisinart TOA-95C Series
-
Page 2: Table Of Contents
Features and Benefits . . . . . . . . . . . . . . . . . . . . . . . . . . . . . . . . . . . . . . . . . . 4 The use of accessory attachments not recommended by Cuisinart may cause injury . -
Page 3: Special Cord Set Instructions
. SAVE THESE INSTRUCTIONS Please read and keep these instructions handy . These instructions will help you use your Cuisinart Digital AirFryer Toaster Oven to its fullest so that you ® will achieve consistent, professional results . -
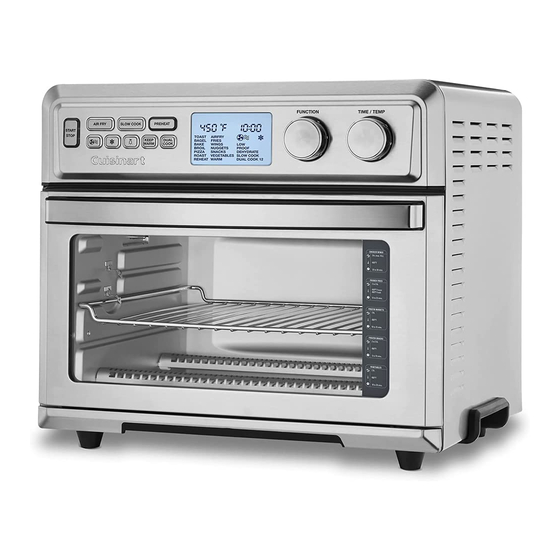
Page 4: Features And Benefits
FEATURES AND BENEFITS to optimize your cooking results . We recommend setting the AirFryer Basket in the Baking/Drip Pan . 1. Control Panel Large LCD, dials and intuitive buttons make the unit easy to use 9. Baking/Drip Pan (see details on page 5) . A Baking/Drip Pan is included for your convenience . -
Page 5: Getting To Know Your Control Panel
GETTING TO KNOW YOUR CONTROL PANEL 9. Dual Cook Button Use to program two-stage cooking operation . 10. LCD Screen Displays cooking functions, toast shade and slices, temperature, cooking/ countdown timer, clock time, fan speed and defrost . 11. Function Dial Turn Function Dial to scroll through the functions on the LCD screen . -
Page 6: Oven Tone Volume
2 . Press and hold the Time/Temp Dial for 3 seconds . b . To change settings: Turn Time/Temp Dial to choose desired temperature or 3 . The clock hour will flash . Turn the knob to set hour, then press shade Time/Temp Dial to confirm . -
Page 7: Oven Rack And Pan Position Diagrams
OVEN RACK AND PAN POSITION DIAGRAMS prepare a variety of foods that can be both delicious and healthier than traditional frying . Please refer to the chart below for suggested Oven Rack, Baking/Drip Pan, Default: 400°F (200°C); 10 minutes. • and AirFryer Basket positions . - Page 8 The chart below lists recommended amounts, cooking times and temperatures for various types of food that can be AirFried in the Cuisinart Digital AirFryer Toaster ® Oven . If portions exceed recommendations, you can toss occasionally while cooking to ensure the crispiest, most even results . Smaller amounts of food may require less time .
- Page 9 If toasting two pieces, center them in the middle of the oven rack • Important: All of our recipes were specially developed for the Cuisinart ® Digital AirFryer Toaster Oven and have been tested in the Cuisinart Test – Four pieces should be evenly spaced—two in front, two in back Kitchen –...
- Page 10 Shape dough and place on the Baking/Drip Pan or separate baking dish • Pizza recipe ideas can also be found on the Cuisinart website such as a loaf pan, cover loosely with plastic wrap, then place directly in the oven in Position 1 ROAST •...
- Page 11 The chart below lists recommendations on how to dehydrate different foods . These are guidelines only . Drying times can vary due to thickness of cuts and relative humidity . DEHYDRATE CHART CATEGORY FOOD PREPARATION TEMPERATURE FAN SPEED TIME Herbs/Spices Basil, Chives, Cilantro, Dill, Rinse in cold water;...
- Page 12 CATEGORY FOOD PREPARATION TEMPERATURE FAN SPEED TIME Meat Pork/Beef Remove fat and gristle; cut into uniform 160ºF (71°C) High 4 to 15 hours strips; marinate if desired; pat off excess oil during drying Fish Lean fish Cut into uniform strips; marinate if desired 130ºF–140ºF High Until firm and dry...
-
Page 13: Cleaning And Maintenance
CLEANING AND MAINTENANCE The functions that you may program using Dual Cook are Bake, Broil, Roast, Pizza, Low, Warm, AirFry and Slow Cook . • Always unplug the oven from the electrical outlet and allow it to cool Press the Dual Cook button . completely before cleaning . -
Page 14: Troubleshooting
TROUBLESHOOTING Why won’t my unit turn on? Make sure your unit is plugged into a functional outlet . Operation Make sure the oven door is closed . Call Consumer Service at 1-800-472-7606 . Why does the fan remain on The fan remains on for cooling purposes . after cooking? Why does the light turn off? The light only stays on for 20 seconds each time the light button is pressed to conserve energy . -
Page 15: Warranty
LIMITED THREE-YEAR WARRANTY 100 Conair Parkway, Woodbridge, ON . L4H 0L2 Email: We warrant that this Cuisinart product will be free of defects in materials consumer_Canada@conair .com or workmanship under normal home use for 3 years from the date of original purchase . - Page 16 Coffeemakers Tools and Processors Gadgets Cuisinart offers an extensive assortment of top quality products to make life in the kitchen easier than ever . Try some of our other countertop appliances and cookware, and Savour the Good Life ® www.cuisinart.ca ©2022 Cuisinart Canada...
Need help?
Do you have a question about the TOA-95C Series and is the answer not in the manual?
Questions and answers