Table of Contents
Advertisement
Quick Links
Advertisement
Table of Contents
Troubleshooting

Subscribe to Our Youtube Channel
Summary of Contents for Gevi GECMD627BK-U
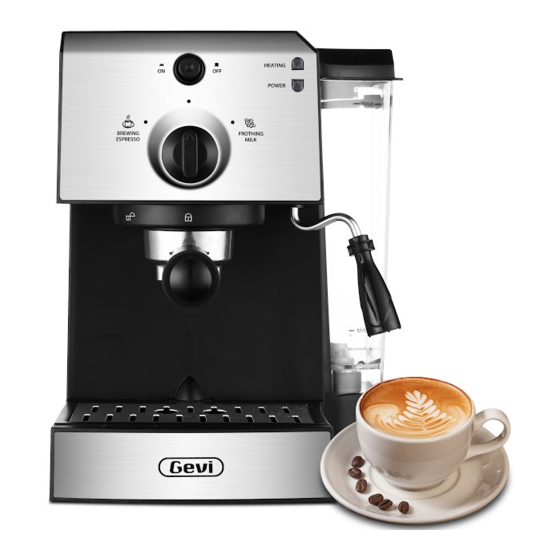
- Page 1 COFFEE MAKER INSTRUCTION MANUAL GECMD627BK-U...
-
Page 2: Table Of Contents
1. WELCOME Thanks for purchasing our Gevi products. Gevi has focused on creati- 1. WELCOME........... . - Page 3 —10. To disconnect, turn off all control buttons, then unplug from wall outlet. When unplug the appliance, always hold the plug and do Read these instructions carefully and keep it for future use. If this ap- not pull the cord directly. pliance is passed to a third party, then these instructions must be —11.
-
Page 4: Cord & Plug Instruction
—21. Do not place on or near a hot gas or electric burner, or in a heated 5. MAIN OPERATION FUNCTION INSTRUCTION oven. 5.1 BEFORE FIRST USE OR A LONG TIME NOT USE For a better taste and good for your health, we suggest you to rinse the machine and release the water out. - Page 5 Note: Set up the water tank ⓰ vertically and align the buckles to the hole on the back of the machine, and press it down to be (8) Plug in. parallel to the top of the machine. (9) Press the power button ❶. The power (4)...
-
Page 6: How To Make Espresso
turn the coffee/steam knob selector ❻ back to off-position to stop, Note: A spoon of flat coffee powder and pour away the water of the cup. is approximately equal to 7g. Collect the coffee powder with the spoon and Note: There may be noise when pumping the water on the shake it gently to make the surface first time, it is normal, the appliance is releasing the air inside. -
Page 7: Troubleshooting During The Brewing
5.2.2 TROUBLESHOOTING DURING THE BREWING (6) Plug in. (1) When the machine starts to work, there will be some noise out from the machine as it is pumping the water with a high pressure. (2) When you finish making espresso and turn the coffee/steam knob selector ❻... -
Page 8: How To Clean The Seal Ring
(2) Waiting until the heating indicator Possible Cause Solution ❸ is illuminated green, turn the coffee 5. The two outlet holes of the por- Remove the filter and clean the two tafilter ❿ is blocked. outlet holes under the portafilter ❿. /steam knob selector ❻... - Page 9 (6) After the milk increase in volume by (2) Prepare a pitcher with about 100mL 2 times or your required purpose is re- of milk. We recommend to use whole ached. Turn the coffee / steam knob milk about 41-45℉. selector ❻...
-
Page 10: Brew Espresso After Milk Frothing
(1) To avoid blocking the froth nozzle, CAUTION: Be sure to unplug this appliance before cleaning we suggest to clean the froth nozzle and let the appliance cool down completely. To protect against immediately after finish frothing milk. electrical shock, do not immerse cord, plug or unit in water or liquid. -
Page 11: Tips For Perfect Barista
(4) Insert the portafilter ❿ into the ap- (9) Move the cup under the steam wand pliance in the flat position and turning ⓫ . Wait until the heating indicator ❸ ill- clockwise from the “ ” position to uminated green, turn the coffee/steam the “... -
Page 12: Troubleshooting
Problem Possible Cause Solution 8. TROUBLESHOOTING Plug the power cord into a wall outlet correctly, if the Problem Possible Cause Solution The coffee maker The power outlet is not appliance still does not work, 1. There is much water in the cannot work. - Page 13 Problem Possible Cause Solution A spoon of flat coffee powder is approximately equal to 7g. Collect the coffee powder with the spoon and shake it gently to make the surface flat, the amount of coffee 3. The grounds amount is powder is around 7g.


Need help?
Do you have a question about the GECMD627BK-U and is the answer not in the manual?
Questions and answers