Table of Contents
Advertisement
Available languages
Available languages
Quick Links
Advertisement
Table of Contents

Subscribe to Our Youtube Channel
Related Manuals for ESX Signum SXB8.3C


Summary of Contents for ESX Signum SXB8.3C
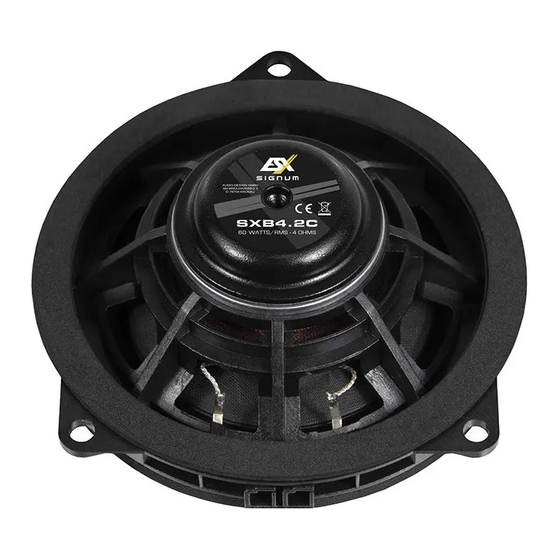
- Page 1 SXB4.2C 10 CM (4”) 2-WAY COMPONENT SYSTEM FOR BMW + MINI...
-
Page 2: Technische Daten
Achten Sie beim Anschließen unbedingt auf die korrekte Polarität. RECHTLICHER HINWEIS • ESX Car Audio Systems bzw. die Audio Design GmbH sind in keiner Weise mit der Bayerische Motoren Werke (BMW) AG oder einer ihrer Tochtergesellschaf- ten oder Partner-Unternehmen verbunden, oder handeln in deren Auftrag oder mit deren Autorisierung. - Page 3 MONTAGEBEISPIEL 1. Leiste des Handgriffs entfernen 2. Schrauben des Handgriffs entfernen Hebeln Sie die Griffschale der Tür heraus. Lösen Sie die zwei freigelegten Schrauben. 3. Demontage der Türverkleidung Hebeln Sie die Türverkleidung vom Türblech. Lösen Sie die Clipse samt Verkleidung. Lösen Sie dann alle Stecker, die mit der Türver- kleidung verbunden sind.
- Page 4 Verbinden Sie den Stecker „IN“ der Frequenz- weiche mit dem Kabel des Original-Lautspre- chers. 5. Montage des ESX-Lautsprechers Verbinden Sie den Stecker „MID“ der Frequenz- Montieren Sie dann den ESX-Lautsprecher mit weiche mit dem ESX-Lautsprecher. Beide Ein- den Original-Schrauben. gänge sind dafür geeignet.
- Page 5 6. Montage des ESX-Hochtöners Verbinden Sie den Stecker „TW“ der Frequenz- Installieren Sie den ESX-Hochtöner im Spiegel- weiche mit dem Stecker des ESX-Hochtöners. dreieck. Montieren Sie das Spiegeldreieck wieder an Befestigen Sie die Frequenzweiche in der Tür der Tür. mit Heißkleber oder Kabelbindern. Achten Sie darauf, dass die Kabel nicht geknickt oder ge- quetscht werden.
-
Page 6: Specifications
LEGAL NOTICE • ESX Car Audio Systems or Audio Design GmbH are in no way affiliated with Bayerische Motoren Werke (BMW) AG or any of its subsidiaries or affiliates, or acting on their behalf or with their authorization. -
Page 7: Assembly Example
ASSEMBLY EXAMPLE 1. Remove the door handle 2. Remove the handle screws Lever out the door handle. Loosen the two exposed screws. 3. Dismantling the door panel Lever the door panel off the door. Carefully loosen the clips including the cladding. Then loosen all plugs that are connected to the door panel. - Page 8 Connect the „IN“ plug of the crossover with the cable of the original loudspeaker. 5. Assemble the ESX speaker Connect the „MID“ plug of the crossover to the Then mount the ESX speaker with the original ESX loudspeaker. Both inputs are suitable for screws . this.
- Page 9 6. Assemble the ESX tweeter Connect the „TW“ plug of the crossover to the Install the ESX tweeter in the mirror triangle. connector of the ESX tweeter. Mount the mirror triangle on the door again. Secure the crossover in the door with hot glue or zip ties.
- Page 12 Audio Design GmbH Am Breilingsweg 3 · D-76709 Kronau/Germany Tel. +49 7253 - 9465-0 · Fax +49 7253 - 946510 www.esxaudio.de · www.audiodesign.de © Audio Design GmbH, all rights reserved. Technical changes and mistakes reserved.
Need help?
Do you have a question about the Signum SXB8.3C and is the answer not in the manual?
Questions and answers