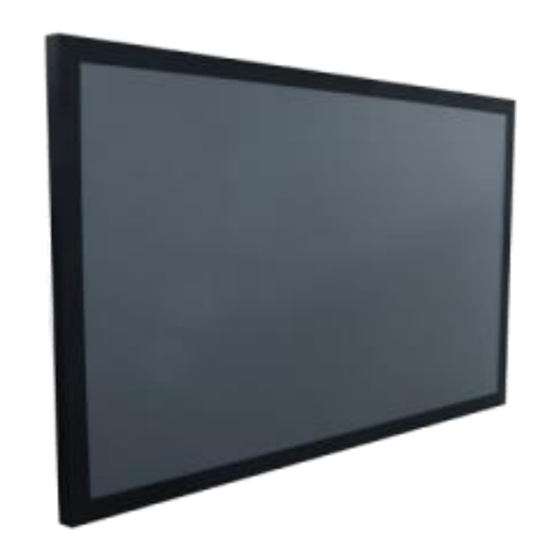
Summary of Contents for Exact solutions fluxTOUCH gen3
- Page 1 PCAP Touch Overlay Manual Version 1.0 Date Revision No. Author Checked Description 17.12.2020 Version 1.0 Kontakt Tel.: +49 2204 9485 30 E-Mail: info@exactsolutions.de Web: www.exactsolutions.de...
-
Page 2: Table Of Contents
Manual fluxTOUCH gen3 Series Table of content 1. General Information ......................3 1.1 Explanation of symbols ....................3 1.2 Preamble ........................3 2. Safety instructions ......................3 2.1 Warnings ........................3 2.2 Risk Situations ....................... 5 3. Scope of delivery ......................7 4. -
Page 3: General Information
Note: The room light sensing function of the basis NEC LC display cannot be used if a fluxTOUCHgen3 overlay is mounted, so the device is not able to make automatic adjustments to the backlight setting. Copyright © 2020 EXACT solutions GmbH. All rights reserved. 2. Safety instructions 2.1 Warnings This manual must be handed over to the persons who install and operate the product. - Page 4 Damaged power cords may cause a fire or electric shock. • Never disassemble, repair or modify the fluxTOUCH gen3 or any accessory. This may cause serious accidents or death. Contact your vendor if you are in the need of support.
-
Page 5: Risk Situations
Never unscrew parts of the fluxTOUCH gen3 that are mounted in delivery condition. • Make sure the persons that install the fluxTOUCH gen3 are aware that there is no need to unscrew or disassemble anything that is mounted in delivery condition. - Page 6 When the product is mounted to the supporting structure be careful to avoid personal injury. Wear safety gloves. Risk of injuries by broken glass. The front side of the fluxTOUCH gen3 product is made of glass. If the glass breaks, the persons who are doing service work or may cut themselves with parts of a broken glass.
-
Page 7: Scope Of Delivery
As fluxTOUCH gen3 can communicate via the HID interface it is a plug&play solution. Always pay attention to the original manuals of the professional LC Displays and the original 3M manuals, they can be downloaded on www.exactsolutions.de. -
Page 8: Hardware Design
Manual fluxTOUCH gen3 Series 4.2. Hardware design The mechanical design is the similar for all fluxTOUCH gen3 models. The touch overlay is mounted to the LC display with black powder coated steel brackets. Touch overlay Mounting brackets LC display Figure 1: Exemplary exploded view of fluxTOUCH gen3 touch overlay and LC display 4.3 Specifications... -
Page 9: Setup And Operation
5.1 Notes on installation and operation The fluxTOUCH gen3 was carefully inspected and subjected to a functional check before delivery. The high-quality packaging is designed to prevent damage in transit. Even with the most careful handling, damage cannot be completely avoided. Possible transport damage must be communicated immediately after receiving. - Page 10 WARNING: Make sure to use correct mounting brackets and mounting material to fix the fluxTOUCH gen3 to a supporting structure like a wall or floor. Also make sure the supporting structure is capable of carrying the overall weight 17.12.2020...
-
Page 11: Electrical Setup
2. To set up the touch function connect one end of the included USB cable A-male/A-male to the USB port (A-female) at the controller box located at the upper right corner (backside view, see Figure 3) of the fluxTOUCH gen3 overlay and connect the other end to your PC. -
Page 12: Operation
USB port Figure 3: Position of USB port 3. As fluxTOUCH gen3 is a HID device no further steps are necessary, the operating system recognises the fluxTOUCH gen3 automatically after connecting the USB cable. If you want to use 3M driver software please refer to the original 3M MicroTouch Software manuals. -
Page 13: Errors, Causes, Measures
NOTE: If you are using TOR (Tangible Object Recognition) products with the fluxTOUCH gen3 make sure that the glass surface is always clean to prevent scratches from particles between TOR Chips and glass surface. -
Page 14: Disposal Of Components
Manual fluxTOUCH gen3 Series • • reset calibration the touch overlay Accidently Calibrate Touch is not calibrated data or inaccurate calibration with the corresponding calibration procedure of the operating system • No power supply • Check the power cable and... - Page 15 Manual fluxTOUCH gen3 Series Imprint EXACT solutions GmbH Lustheide 85 51427 Bergisch Gladbach GERMANY Tel.: +49 2204 9485 30 E-Mail: info@exactsolutions.de Web: www.exactsolutions.de 17.12.2020 Page 15 of 15...


Need help?
Do you have a question about the fluxTOUCH gen3 and is the answer not in the manual?
Questions and answers