Table of Contents
Advertisement
Available languages
Available languages
Quick Links
Weight Limit: 600 Lb / 272 Kg
A.N. - 2021/ 09/22
© 2021 Dorel Home Products All Rights Reserved
2466429 (Dark Gray Linen), 2466129 (Light Gray Linen),
2466679 (Blue Velvet), 2466479 (Light Gray Velvet),
Thank you for purchasing from DHP !
Date of Purchase
THIS INSTRUCTION BOOKLET CONTAINS IMPORTANT SAFETY
INFORMATION. PLEASE READ AND KEEP FOR FUTURE REFERENCE.
2466979 (Olive Green Velvet)
Questions, concerns, missing parts?
CONTACT OUR CUSTOMER SERVICE DEPARTMENT
BEFORE RETURNING PRODUCT TO THE RETAILER.
If parts are missing or damaged, we will gladly ship your
replacement parts free of charge.
Visit www.dhpfurniture.com/eng/replacement-parts
or call Toll-Free 1-800-267-1739
You can also chat with us at www.dhpfurniture.com
Lot Number (TAKEN FROM CARTON)
B34246642900-015237-AN
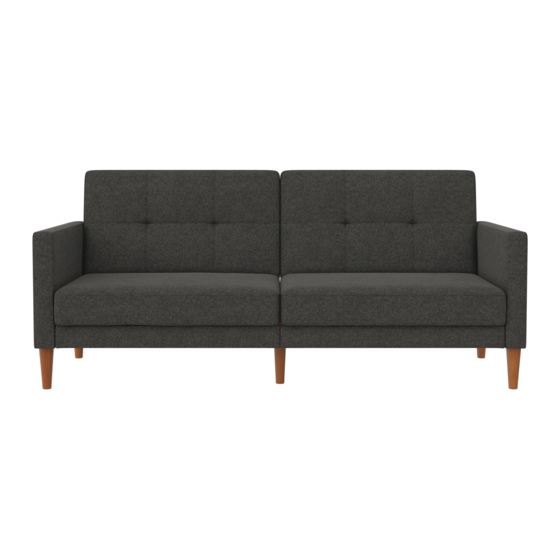
Futon
1
Advertisement
Table of Contents

Related Manuals for Dorel Home Products Futon 2466429


Summary of Contents for Dorel Home Products Futon 2466429
- Page 1 You can also chat with us at www.dhpfurniture.com Date of Purchase Lot Number (TAKEN FROM CARTON) THIS INSTRUCTION BOOKLET CONTAINS IMPORTANT SAFETY INFORMATION. PLEASE READ AND KEEP FOR FUTURE REFERENCE. A.N. - 2021/ 09/22 B34246642900-015237-AN © 2021 Dorel Home Products All Rights Reserved...
-
Page 2: Limited 1-Year Warranty
Limited 1 year Warranty Read Before Beginning Assembly DHP warrants this product to be free from defects in material and workmanship ● Work in a spacious area and near where the unit will be used, preferably on a and agrees to remedy any such defect. This warranty covers one year from the carpet, or use a piece of the cardboard packaging to protect your floor and product. - Page 3 PARTS...
-
Page 4: Parts List
PARTS LIST Back Seat Seat 1 PC 1 PC 1 PC 1 PC 2 PCS Rear Leg Bracket Rail Middle Leg Connector 1 PC 2 PCS 4 PCS 2 PCS 1 PC 1 PC Arm D and Arm E will be found PART NUMBERS in the compartment under the 2466429... -
Page 5: Hardware List
HARDWARE LIST 5/16" X 2" 5/16" X 4 3/4" 5/16"X 3 3/20" Bolt Bolt Stud 5/16" X 9/10" Washer Spring Washer Bolt X 22 X 22 X 16 Wrench Plasitc Washer Allen Key Hardware Pack Please do not completely tighten all the hardware, until the entire assembly is complete, unless HP#: T2466129-00 otherwise indicated in the step-by-step instructions. - Page 6 Step 1 Open the Velcros at both sides of se a t, as shown.
- Page 7 Step 2 Attach back C x 2 to seat A & B with bolt s ❹, as shown.
- Page 8 Step 3 3.1. Stick the Velcros at both sides of seat. 3.2. Close the zipper between seat A & B and back C x 2, as shown.
- Page 9 Step 4 Attach bracket K x 2 to seat A & B with bolt , flat washers , spring washers as shown.
- Page 10 Step 5 Turn the metal brace to upright position, as shown.
- Page 11 Step 6 6.1. Attach seat A to seat B with bolt flat washers and spring washers 6.2. Attach seat A to seat B with flat washers , spring washers and nuts as shown.
- Page 12 Step 7 7.1 Attach middle leg H to connector J with bolt , flat washers and spring washers 7.2 Attach rear leg I to connector J with bolt , flat washers and spring washers , as shown.
- Page 13 Step 8 Attach connector J to seat A & B with bolt s , flat washers and spring washers , as shown.
- Page 14 Step 9 Hand tighten studs into arms D & E, as shown. 55mm 2 5/32" 13/64" 20mm 25/32" Note: Only screw in the shortest threaded part of the studs.
- Page 15 Step 10 Attach arms D & E to seat A & B with flat washers , spring washers and nuts as shown.
- Page 16 Step 11 Attach bracket K x 2 to arms D & E with bolt , flat washer and spring washer as shown.
- Page 17 Step 12 12.1. Attach rail G x 2 to rear leg I with bolt , flat washer and spring washer 12.2. Attach rail G x 2 to arms D & E with bolt , flat washer and spring washer as shown. 12.1 12.2...
- Page 18 Step 13 Please remove the protective cap on the tip of thread before assembling. Manually screw leg F x 4 to arms D & E with plasitc washer , as shown.
-
Page 19: Helpful Hints
CAUTION: This unit is intended for use only with the products and/or maximum Helpful Hints weights indicated. Use with other products and/or products heavier than the maximum weights indicated may result in instability or cause possible injury. • Your futon can transform into a Bed. •... - Page 20 Preguntas, inquietudes, partes que faltan? 2466429 (Lino Gris oscuro), 2466129 (Lino Gris claro), CONTACTE NUESTRO DEPARTAMENTO DE SERVICIO AL 2466679 (Terciopelo Azul), 2466479 (Terciopelo Gris claro), CLIENTE ANTES DE DEVOLVER EL PRODUCTO A LA TIENDA. Si le faltan piezas o las que se incluyen están dañadas, con mucho 2466979 (Terciopelo Verde oliva) gusto le enviaremos sus piezas de reemplazo sin cargo extra.
- Page 21 Partes Paquete de componentes Piezas de reemplazo, visite Paquete #: T2466129-00 www.dhpfurniture.com/spa/replacement-parts Nota: Por favor no apriete completamente los pernos hasta que el ensamblaje sea completado, a menos de que se IMPORTANTE: La lista de números de piezas que aparece a indique específicamente en cada paso de las instrucciones.
- Page 22 Límites de peso: 600 Lb / 272 Kg Instrucciones Paso 1 Antes decomenzar el montaje, retire D y E del compartimento debajo del asiento A y Consejos tiles B (ilustración: página 4). Despegue los Velcros en ambos lados del asiento como se muestra (sección en inglés). •...
-
Page 23: Informations Sur La Garantie
Des questions, des pr occupations ou des pi ces manquantes? 2466429 (Lin Gris fonc ), 2466129 (Lin Gris clair), CONTACTEZ NOTRE SERVICE LA CLIENT LE AVANT DE 2466679 (Velours Bleu), 2466479 (Velours Gris clair), RETOURNER LE PRODUIT AU D TAILLANT. Si des pièces sont manquantes ou endommagées, nous 2466979 (Velours Vert olive) expédierons volontiers vos pièces de rechange gratuitement. -
Page 24: Liste Des Pièces
Pi ces Quincaillerie Pour des pièces de rechange, visitez # de paquet : T2466129-00 www.dhpfurniture.com/fre/replacement-parts Remarque: Sauf indication contraire dans les instructions, ne pas resserrer complètement les vis et les boulons, IMPORTANT: La liste des références ci-dessous est propre à votre produit. jusqu'à... -
Page 25: Conseils Utiles
Limite de Poids: 600 Lb / 272 Kg Instructions tape 1 Avant de commencer l'assemblage, retirez D et E du compartiment sous le Conseils utiles siège A et B (illustration: page 4). Décollez les Velcros des deux côtés du siège, tel qu'illustré (section en anglais). Votre futon peut être transformé...
Need help?
Do you have a question about the Futon 2466429 and is the answer not in the manual?
Questions and answers