
Related Manuals for EuroLite HL-BSW380


Summary of Contents for EuroLite HL-BSW380
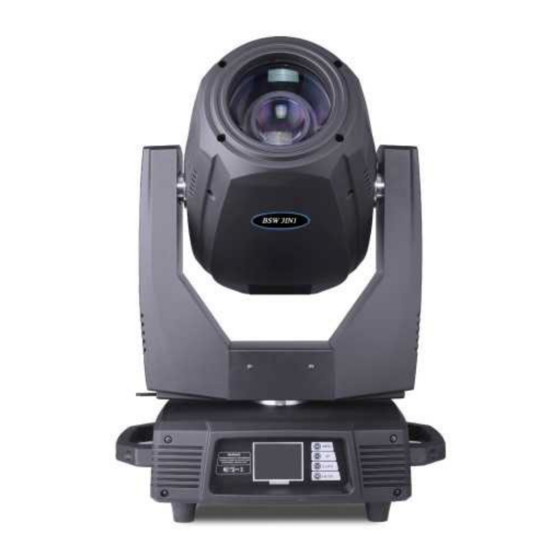
- Page 1 HL-BSW380 380W Beam/Spot/Wash 3in1 Moving Head Light User manual Thanks for choosing our goods please read this manual carefully before your operating...
-
Page 2: Table Of Contents
Contents Introduction ..............3 Dimensions ..............4 Safety Information ............5 Using for the first time ..........7 AC power ..............8 Data link ............... 8 Setup ................9 Menu chart ..............10 DMX Protocol&Channel Function ......14 Service and maintenance ..........19 Cleaning ................ -
Page 3: Introduction
Introduction 380W Beam Spot Wash 3 in 1 Moving head light Voltage:AC100V-240V 50/60Hz Power Consumption:500W Light source:R17 371W Color Temperature:3200K-8000K Linear Adjustment Beam Angle: Beam0-1.5, Spot1.5°- 20° linear fast zooming. Focus:High precision optical lens,electronic linear control Linear Dimmer:Mechanical dimmer 0-100% Color Wheel:13 fixed color+open,half-tone effect, linear color conversion, bi- directionally rotatable at variable speeds and rainbow effect Rotating Gobo:9rotating gobos+White,bi-directional rotatable and gobo shaking at... -
Page 4: Dimensions
Dimensions... -
Page 5: Safety Information
Safety Information WARNING! Read the safety precautions in this section before installing, powering, operating or servicing this product. The following symbols are used to identify important safety information on the product and in this manual: DANGER! DANGER! Protection WARNING! WARNING! WARNING! WARNING! Safety hazard. - Page 6 PROTECTION FROM ELECTRIC SHOCK /, \ • Disconnect the fixture from AC power before removing or installing any cover or part and when not in use. • Always ground (earth) the fixture electrically. • Use only a source of AC power that complies with local building and electrical codes and has both overload and ground-fault (earth-fault) protection.
-
Page 7: Using For The First Time
PROTECTION FROM INJURY •When light up the fixture,please don't look at the optical lens with eyes directly.Besides, don't use the camera light to point at the optical lens. • Fasten the fixture securely to a fixed surface or structure when in use. The fixture is not portable when installed. -
Page 8: Data Link
Warning! Socket outlets or external power switches used to supply this light with power must be located near the fixture and easily accessible so that the fixtures can easily be disconnected from power. Important! Do not insert or remove live Neutrik PowerCon connectors to apply or cut power, as this may cause arcing at the terminals and damage the connectors. -
Page 9: Setup
Connecting the data link Connecting the data link To connect this light to data: 1. Connect the DMX data output from the controller to the closest this light male 5/3-pin XLR DMX input connector. 2. Connect the DMX output of the fixture closest to the controller to the DMX input of the next fixture and continue connecting fixtures output to input. -
Page 10: Menu Chart
Menu chart Main Menu Sub Menu UP/DOWN Lock Remark: Lock Display 08Tt Remark:Display 180° invert 中 中 Remark: Language Run Mode Sound Random DMX Address 001-512 Std. 19CH Channel Mode Ext. 24CH Sound Regulator +003-- -003 Invert Pan Invert Tilt Setting Pan-Tilt Encoder KEEP... - Page 11 Main Menu Sub Menu UP/DOWN 1. Pan 000-255 2.Pan Fine 000-255 3. Tilt 000-255 4. Tilt Fine 000-255 5. Pan-Tilt Speed 000-255 6.Lamp Control&Reset ON/OFF/RESET 7.Color 000-255 8.ColourFine 000-255 9. Gobo 000-255 10. Effect Gobo 000-255 11. Effect Gobo Rotation 000-255 12.
- Page 12 DMX Protocol 19Channel 24Channel DMX Value Function Channel 1 Channel 1 0-255 Pan fine Channel 18 Channel 2 0-255 Pan fine Tilt Channel 2 Channel 3 0 - 255 Tilt Tilt fine Channel 19 Channel 4 0 - 255 Tilt fine Pan - Tilt - (Pan fine - Tilt fine) Speed Channel 3 Channel 5...
- Page 13 158-161 Color 7 162-166 Color 8 167-171 Color 9 172-176 Color 10 Channel 5 Channel 7 177-180 Color 11 181-185 Color 12 186-189 Color 13 190-220 Fast Rotation-Slow Rotation 221-255 Slow Rotation-Fast Rotation Channel 8 0-255 Color Fine Static gobo wheel 0 - 3 WHITE 4 - 9...
- Page 14 192- 199 GOBO14 Shake,Slow — Fast 200- 201 White 202-227 Fast Rotation-Slow Rotation 228-229 Stop 230-255 Slow Rotation-Fast Rotation Rotating gobo wheel Small WHITE 1 - 4 Big WHITE 5 - 8 GOBO2-1 9 - 12 GOBO2-2 13- 16 GOBO2-3 17 - 20 GOBO2-4 21 - 24...
- Page 15 Prism 1-Rotation 0- 127 Rotation Channel 10 Channel 14 128-189 Slow Rotation-Fast Rotation 190-192 Stop 193-255 Fast Rotation-Slow Rotation Prism 2 Channel 11 Channel 15 0- 127 Reserved 128-255 Prism 2 Prism 2-Rotation 0- 127 Rotation 128-189 Slow Rotation-Fast Rotation Channel 12 Channel 16 190-192...
-
Page 16: Service And Maintenance
Gobo replacement Identification of gobo wheel To replace a gobo: • Disconnect the fixture from power and allow to cool. • Position the head and apply the tilt lock. • Remove the rear head cover located on the same side as the pan lock (A). -
Page 17: Cleaning
Cleaning Cleaning schedules for lighting fixtures vary greatly depending on the operating environment. Environmental factors that may result in a need for frequent cleaning include: • Use of smoke or fog machines. • High airflow rates (near air conditioning vents, for example). •...
Need help?
Do you have a question about the HL-BSW380 and is the answer not in the manual?
Questions and answers