
Related Manuals for Casio MA-150


Summary of Contents for Casio MA-150
- Page 1 USER’S GUIDE GUÍA DEL USUARIO MODE D’EMPLOI MA150-ESF-1 Page 1 03.10.8, 10:45 AM MA150_esf_cover1.p65 Adobe PageMaker 6.5J/PPC...
- Page 2 • Do not short-circuit the battery terminals. • The product is not intended for children under 3 years. • Use only CASIO AD-5 adaptor. • The AC adaptor is not a toy. • Be sure to disconnect the AC adaptor before cleaning the product.
-
Page 3: Safety Precautions
Safety Precautions Congratulations on your selection of the CASIO electronic musical instrument. • Before using the instrument, be sure to carefully read through the instructions contained in this manual. • Please keep all information for future reference. Symbols Various symbols are used in this user’s guide and on the product itself to ensure that the product is used safely and correctly, and to prevent injury to the user and other persons as well as damage to property. - Page 4 1. Turn off power. 2. If you are using the AC adaptor for power, unplug it from the wall outlet. 3. Contact your original retailer or an authorized CASIO Service Provider. AC Adaptor Misuse of the AC adaptor creates the risk of fire and electric shock. Always make sure you observe the following precautions.
- Page 5 1. Turn off power. 2. If you are using the AC adaptor for power, unplug it from the wall outlet. 3. Contact your original retailer or an authorized CASIO Service Provider. Disassembly and Modification Never try to take this product apart or modify it in any way. Doing so creates the risk of electric shock, burn injury, or other personal injury.
- Page 6 AC Adaptor Misuse of the AC adaptor creates the risk of fire and electric shock. Always make sure you observe the following precautions. • Do not locate the electric cord near a stove or other sources of heat. • Never pull on the cord when unplugging from the electrical outlet. Always grasp the AC adaptor when unplugging.
- Page 7 Location Avoid the following locations for this product. Such locations create the risk of fire and electric shock. • Areas subject to high humidity or large amounts of dust. • In food preparation areas or other areas subject to oil smoke. •...
- Page 8 IMPORTANT! When using batteries, be sure to replace them or shift to one of the alternate power sources whenever you notice any of the following symptoms. • Instrument does not turn on • Display that is flickering, dim, or difficult to read •...
-
Page 9: Table Of Contents
Contents Safety Precautions ... E-1 Contents ... E-7 General Guide ... E-8 Power Supply ... E-10 Using batteries ... E-10 Using the AC Adaptor ... E-11 Connections ... E-12 Phones/Output Terminal ... E-12 Accessories and Options ... E-12 Playing the Keyboard ... E-13 Playing the Demo Tunes ... -
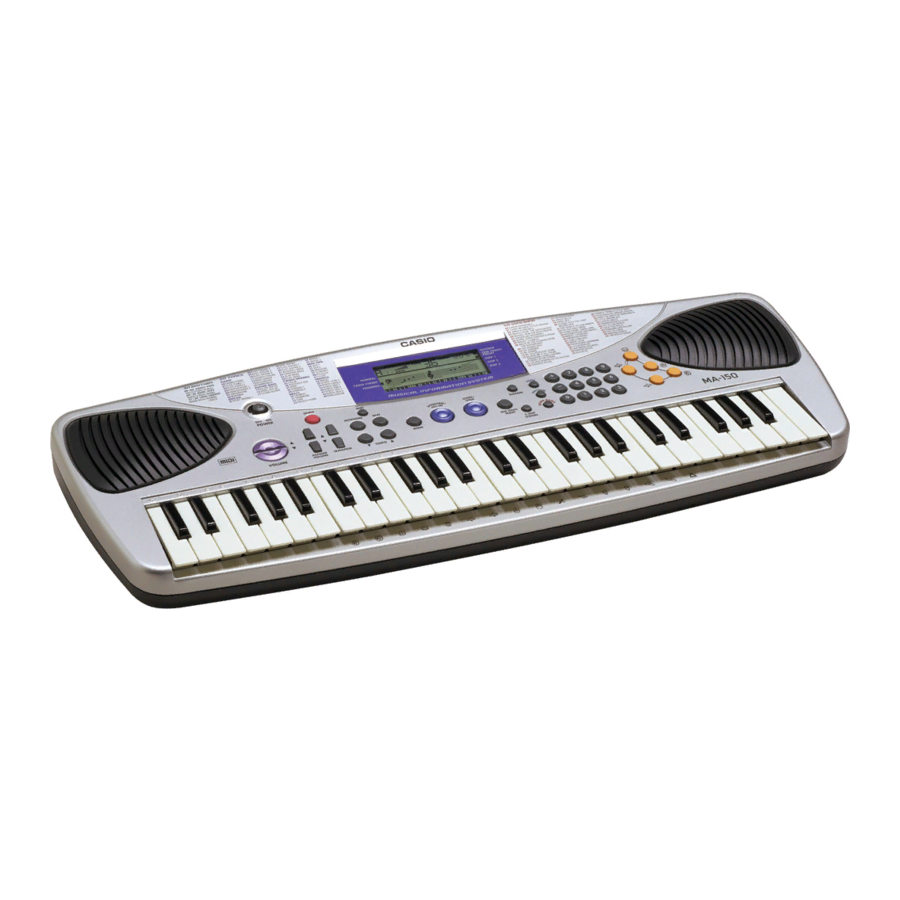
Page 10: General Guide
General Guide Rear Panel Page 8 MA150_e_08-14.p65 274B-E-010A 03.10.8, 10:45 AM Adobe PageMaker 6.5J/PPC... -
Page 11: About The Display
0 SUSTAIN button A TONE button B Number buttons C Percussion pads D VOLUME buttons E ACCOMP VOLUME buttons About the display 1 NORMAL 2 CASIO CHORD 3 FINGERED 4 SUSTAIN 274B-E-011A Page 9 MA150_e_08-14.p65 F TRANSPOSE buttons G TEMPO buttons... -
Page 12: Power Supply
Power Supply This keyboard can be powered by current from a standard household wall outlet (using the specified AC adaptor) or by batteries. Always make sure you turn the keyboard off whenever you are not using it. Using batteries Always make sure you turn off the keyboard before loading or replacing batteries. -
Page 13: Using The Ac Adaptor
• Never twist or stretch the cord. • Should the electric cord or plug become damaged, contact your original retailer or an authorized CASIO Service Provider. • Never touch the AC adaptor while your hands are wet. Doing so creates the risk of electric shock. -
Page 14: Connections
MA150_e_08-14.p65 Musical Instrument Amplifier (Figure 3) Use a commercially available connecting cord* to connect the keyboard to a musical instrument amplifier. * Be sure to use a connecting cord that has a stereo mini plug on the end you connect to... -
Page 15: Playing The Keyboard
Playing the Keyboard Set the POWER switch to “ON” to turn on power. Use the VOLUME buttons to adjust the volume level. • Press [ ] to raise the volume and [ ] to lower it. • The “MAIN” (main volume) value on the display indicates the current volume level. -
Page 16: Selecting A Tone
Selecting a Tone You can select from among 50 built-in tones. A tone list on the console shows the names and numbers of all the tones. Press the TONE button. • This causes “TONE” to appear on the display, along with the number of the currently selected tone. -
Page 17: Selecting A Rhythm
Selecting a Rhythm You can select from among 30 rhythms. See the rhythm list at the end of this manual (page A-1) for information about what rhythms are available. Press the RHYTHM button. • This causes “RHYTHM” to appear on the display, along with the number of the currently selected rhythm. -
Page 18: Using Auto Accompaniment
This method of chord play makes it possible for anyone to easily play chords, regardless of previous musical knowledge and experience. The following describes the CASIO CHORD “accompaniment keyboard” and “melody keyboard”, and tells you how to play CASIO CHORDs. CASIO CHORD Accompaniment Keyboard and Melody Keyboard Accompaniment... - Page 19 Chord Types CASIO CHORD accompaniment lets you play four types of chords with minimal fingering. Chord Types Example Major chords Chord names are marked above the C Major (C) keys of the accompaniment keyboard. Press any single key plays the chord whose name is marked above it.
-
Page 20: Using Synchro Start
Cdim Caug* Csus4 Cm7* CM7* C7sus4 Cdim7* See the “Fingered Chord Chart” on page A-2 for details on playing chords with other roots. *1: Inverted fingerings cannot be used. The lowest note is the root. *2: The same chord can be played without pressing the 5th G. -
Page 21: Using One-Touch Preset
Using One-Touch Preset The One-Touch Preset feature automatically makes the tone and tempo settings that are most suitable for the rhythm pattern you select. Press the RHYTHM button. Input the two-digit number of the rhythm you want to use. Press the ONE TOUCH PRESET button. -
Page 22: Playing Song Bank Tunes
Playing Song Bank Tunes A selection of 50 built-in Song Bank tunes is available for playback and practice. A Song Bank list on the console shows the names and numbers of the Song Bank tunes. NOTE • The names of Song Bank tune numbers 45 through 49 are not marked on the console. -
Page 23: Using Song Bank Tunes For Practice (3-Step Lesson
Using Song Bank Tunes for Practice (3-Step Lesson) 3-Step Lesson makes it easy to master Song Bank tunes. You can learn to play melodies by viewing the guide indicators that appear on the display. In Step 1 you learn to master the timing of the notes, in Step 2 you play at your own pace, and finally in Step 3 you play along at normal speed. -
Page 24: Using Step 2 And
Find the Song Bank tune you want in the “Song Bank list” and then enter its two-digit tune number. Press the START/STOP button. • This starts playback of the Song Bank tune. When playback reached the point where the first melody note should be played, the key you should press is indicated on the on-screen keyboard, and the note you should play is... -
Page 25: Other Functions
Other Functions Turning on the Metronome Press the TONE button or RHYTHM b u t t o n , a n d t h e n p r e s s t h e METRONOME button. • This causes the metronome to sound in accordance with the current tempo setting. -
Page 26: Percussion Pads
Percussion Pads Using the Percussion Pads Each of the five built-in percussion pads is assigned the sound of a percussion instrument (ACOUSTIC SNARE 1, OPEN HI-HAT, CLOSED HI-HAT, BASS DRUM 1, HIGH TOM). Tapping a pad with your finger plays the sound assigned to it. -
Page 27: Using Midi
MIDI device. • If you connect the keyboard’s MIDI OUT terminal to the MIDI IN terminal of another MIDI musical instrument, the connected instrument will sound what you play on the keyboard. 03.10.8, 10:45 AM Adobe PageMaker 6.5J/PPC... -
Page 28: Troubleshooting
OUTPUT jack. 4. Change to the NORMAL keyboard does not play accompaniment mode. notes while CASIO CHORD or FINGERED is selected as the accompaniment mode. 5. Only keyboard keys in the a n y s o u n d s w h i l e “ 4 9 range of C3 through D5 (the PERCUSSION”... - Page 29 Symptom The TRANSPOSE function does 1. “ 4 9 P E R C U S S I O N ” i s not work. MODE button does not work. 2. The instrument is in the Song 3. A demo tune is playing. SYNCHRO/FILL-IN button 1.
-
Page 30: Specifications
MA150_e_26-29.p65 MA-150 49 (mini-size) 8 notes Variable (201 steps, = 40 to 240) 2 fingering methods (CASIO CHORD, FINGERED) SYNCHRO/FILL-IN, START/STOP 0 to 10 (11 steps) 0 to 10 (11 steps) 3-Step Lesson; One-Touch Preset; Metronome; Transpose; Sustain; Demo tunes play... -
Page 31: Care Of Your Keyboard
Care of your keyboard Avoid heat, humidity or direct sunlight. Do not overexpose the instrument to direct sunlight, or place it near an air conditioner, or in any extremely hot place. Do not use near a TV or radio. This instrument can cause video or audio interference with TV and radio reception. If this happens, move the instrument away from the TV or radio. -
Page 32: Appendix
Appendix/Apéndice/Appendice Rhythm List Lista de ritmos Liste des rythmes DANCE/POPS DISCO 1 DISCO 2 DANCE POP BALLAD POP WALTZ FUSION FUNK 16 BEAT SOUL ROCK/JAZZ ROCK 1 ROCK 2 8 BEAT R&B BLUES SLOW ROCK SHUFFLE ROCK SHUFFLE BOOGIE ROCK 3 SWING JAZZ WALTZ BIG BAND... -
Page 33: Fingered Chord Chart
Fingered Chord Chart Cuadro de acordes Fingered Charte des accords FINGERED Chord Type Root C /(D ) (D )/E F /(G ) (G )/A (A )/B Page 2 MA150_esf_Appendix.p65 03.10.8, 10:45 AM 274B-E-094A Adobe PageMaker 6.5J/PPC... - Page 34 Chord Type Root C /(D ) (D )/E F /(G ) (G )/A (A )/B NOTE • You can use the above fingerings to finger chords within the accompaniment keyboard range. NOTA • Para digitar los acordes dentro de la gama del teclado de acompañamiento puede usar las digitaciones anteriores.
- Page 35 274B-E-096A Page 4 03.10.8, 10:45 AM MA150_esf_Appendix.p65 Adobe PageMaker 6.5J/PPC...
- Page 36 274B-E-097A Page 5 03.10.8, 10:45 AM MA150_esf_Appendix.p65 Adobe PageMaker 6.5J/PPC...
- Page 37 274B-E-098A Page 6 03.10.8, 10:45 AM MA150_esf_Appendix.p65 Adobe PageMaker 6.5J/PPC...
- Page 38 274B-E-099A Page 7 03.10.8, 10:45 AM MA150_esf_Appendix.p65 Adobe PageMaker 6.5J/PPC...
- Page 39 274B-E-100A Page 8 03.10.8, 10:45 AM MA150_esf_Appendix.p65 Adobe PageMaker 6.5J/PPC...
- Page 40 274B-E-101A Page 9 03.10.8, 10:45 AM MA150_esf_Appendix.p65 Adobe PageMaker 6.5J/PPC...
- Page 41 274B-E-102A Page 2 03.10.8, 10:45 AM MA150_esf_MIDI Chart.p65 Adobe PageMaker 6.5J/PPC...
- Page 42 274B-E-103A Page 3 03.10.8, 10:45 AM MA150_esf_MIDI Chart.p65 Adobe PageMaker 6.5J/PPC...
- Page 43 Esta marca de reciclaje indica que el embalaje se ajusta a la legislación de protección ambiental en Alemania. Ce sigle signifie que l’emballage est conforme à la législation allemande en matière de protection de l’environnement. CASIO COMPUTER CO.,LTD. 6-2, Hon-machi 1-chome Shibuya-ku, Tokyo 151-8543, Japan Page 1 MA150_esf_cover4.p65...
Need help?
Do you have a question about the MA-150 and is the answer not in the manual?
Questions and answers
Характеристики адаптера