Table of Contents
Advertisement
Quick Links
INSTRUCTION MANUAL
Floor Washer
PLEASE READ THE
MANUAL CAREFULLY
BEFORE USING AND
KEEP IT PROPERLY
FOR FUTURE USE
Warning notices: Before
using this product, please
read this manual carefullly
and keep it for future
reference.
The design and
specifications are subject to
change without prior notice
for product improvement.
Consult with your dealer or
MWD-40P
manufacturer for details.
Advertisement
Table of Contents

Related Manuals for Midea MWD-40P


Summary of Contents for Midea MWD-40P
- Page 1 Warning notices: Before using this product, please read this manual carefullly and keep it for future reference. The design and specifications are subject to change without prior notice for product improvement. Consult with your dealer or MWD-40P manufacturer for details.
-
Page 2: Safety Instructions
Safety Instructions This product is suitable for hard floors in the indoor home environment, including waxed, This product is suitable for hard floors in the indoor home environment, including waxed, stone, rubber, marble, granite, terrazzo, solid wood, laminate, bamboo floors and various stone, rubber, marble, granite, terrazzo, solid wood, laminate, bamboo floors and various mirror tiles, porcelain tiles and other flat surfaces. - Page 3 Safety Instructions After using the device, please clean up the sewage bucket in time to avoid odor and keep After using the device, please clean up the sewage bucket in time to avoid odor and keep the ventilation path open to avoid blockage causing a decrease in suction power and the ventilation path open to avoid blockage causing a decrease in suction power and motor heating, thus affecting the service life of the floor washer.
-
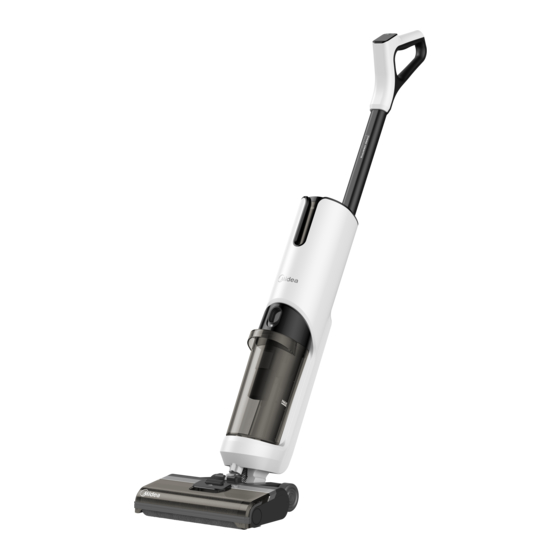
Page 4: Product Introduction
Product Introduction Introduction to Parts Mode switching Switch button Handle button Display Upper cover of fresh water tank Fresh water tank Sewage release button Handle of Voice switch button sewage tank Sewage tank Ground brush cover Ground brush List of accessories Charging base Adapter Accessory holder... -
Page 5: Accessories Introduction
Product Introduction Accessories Introduction Cleaning brush Cleaning spoon A brush at one end, which can be used to The cleaning spoon has a folding clean the stubborn dirt attached to the extension handle, which can be unfolded inner wall of the sewage tank. for use when needed according to the The other end is a rotating blade that can illustration;... -
Page 6: Installation Of The Handle
Use of Product Installation of the handle Insert the end of the handle into the port of the host vertically to the bottom position until a click could be heard. Pull it again to ensure that it could not be removed and that the Insert handle is firmly connected to the machine body. -
Page 7: Use Of Product
Use of Product Fresh water tank filling Hold the body of the machine with one Remove the upper cover of the fresh water hand, and grab the upper cover of the fresh tank and fill the tank with tap water. water tank to take it out of the machine vertically. - Page 8 Use of Product Turning on and cleaning After the machine is fully charged, remove it from the charging seat, step on the ground brush and pull the handle diagonally and rotate the machine until the click sound is heard, at which time the machine enters the standby working state;...
-
Page 9: Self-Cleaning Function
Use of Product Vertical switch The machine is equipped with a vertical switch and it can rotate upright until the click sound is heard. Then the machine stops running and is in standby mode. After standing by for one minute without operation, the machine will be shut down. - Page 10 Use of Product Cleaning of sewage tank Notes After cleaning, it is recommended to put the machine upright on the charging base at a place without direct sunlight or moisture; In order not to affect the performance of the machine, the components of the machine shall be maintained regularly;...
- Page 11 Use of Product Pour out the sewage from the side of the Remove the Hepa from top of the tank as shown in the figure, and if you find sewage tank. any stubborn dirt on the inner wall of the tank, please clean it directly with a cleaning brush;...
- Page 12 Use of Product Cleaning of the ground brush cover Notes After using the machine, wash the ground brush cover regularly to keep the machine tidy and clean. Put your fingers on the positions shown in After taking it out, wash it with fresh water the figure, press the front end of the release until it is clean;...
- Page 13 Use of Product Cleaning of rolling brush Notes If residual stains are found on the mouth of the suction nozzle, wipe with a damp rag, and do not rinse it with water; After using the machine each time, clean and dry the rolling brush timely to keep it clean and tidy.
-
Page 14: Troubleshooting
Troubleshooting Please check the following table in case of any abnormal conditions when using the product. Abnormal Condition Possible Reason Solution - The rolling brush has been tangled - Clean the rolling brush by hair The floor washer - Empty the sewage tank - The sewage tank is full does not work - Refill the fresh water tank...
Need help?
Do you have a question about the MWD-40P and is the answer not in the manual?
Questions and answers