Table of Contents
Advertisement
Available languages
Available languages
ATTACH YOUR RECEIPT HERE
_________________________
Serial Number
Questions, problems, missing parts? Before returning to your retailer, call our
customer service department at 1-866-439-9800, 8 a.m. - 8 p.m., EST, Monday - Sunday.
VR20288
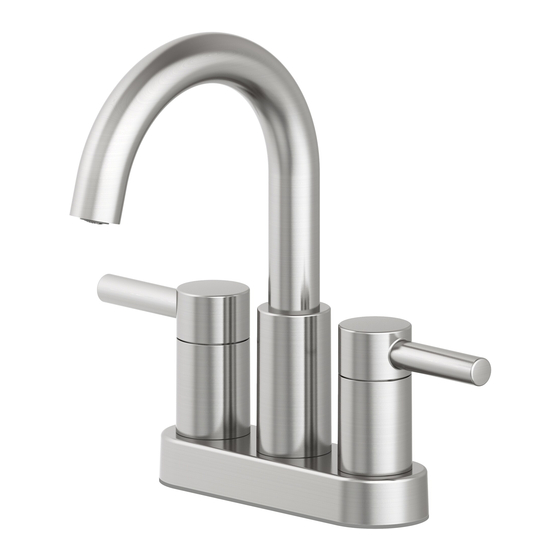
Centerset Bath Faucet
MODEL # 67692W-6104 / 67692W-617001 /
Purchase Date
1
ITEM # 0702752 / 1102763 / 1102760
67692W-618204
_________________________
Español p. 8
Advertisement
Table of Contents

Related Manuals for Allen + Roth 67692W-6104


Summary of Contents for Allen + Roth 67692W-6104
- Page 1 ITEM # 0702752 / 1102763 / 1102760 Centerset Bath Faucet MODEL # 67692W-6104 / 67692W-617001 / 67692W-618204 Español p. 8 ATTACH YOUR RECEIPT HERE _________________________ _________________________ Serial Number Purchase Date Questions, problems, missing parts? Before returning to your retailer, call our customer service department at 1-866-439-9800, 8 a.m.
-
Page 2: Package Contents
PACKAGE CONTENTS PART DESCRIPTION QUANTITY Faucet Gasket Mounting nut Pop-up assembly... -
Page 3: Safety Information
SAFETY INFORMATION Please read and understand this entire manual before attempting to assemble, operate, or install the product. WARNING • Follow the installation instructions carefully. Proper installation is the installer’s responsibility. • Failure to follow correct installation procedures can result in the faucet being loose, which can result in serious injury. - Page 4 ASSEMBLY INSTRUCTIONS 2. Ensure the gasket (B) is on the bottom of the new faucet (A). Place the faucet assembly (A) through the mounting hole in sink. NOTE: If the sink is uneven, use silicone under the gasket (B). 3. Secure the faucet to the sink using the mounting nuts (C) provided.
- Page 5 POP-UP DRAIN INSTRUCTIONS 1. Remove the bottom gasket (1) and nut (2) from the top gasket (3) and pop-up body (4). Attach these pieces together by pushing the bottom gasket (1) down into the top of the nut (2) and twisting together.
-
Page 6: Care And Maintenance
CARE AND MAINTENANCE • Clean carefully by gently wiping with a grit-free damp cloth. • Use only mild soap with water. • Never use acids, harsh chemicals, or abrasive detergents to clean the faucet surface. TROUBLESHOOTING PROBLEM POSSIBLE CAUSE CORRECTIVE ACTION There is a leak from 1. -
Page 7: Warranty
WARRANTY This faucet has been manufactured under the highest standard of workmanship. All parts of this faucet are warranted to be free from leaks or drips during domestic use for as long as the original purchaser owns this product. THIS EXCLUDES INDUSTRIAL, COMMERCIAL, OR BUSINESS USE. The manufacturer will replace FREE OF CHARGE, under the warranty conditions the entire unit or any part (at our option) which proves defective in material and/or workmanship under normal installation, use and service. - Page 8 ARTÍCULO # 0702752 / 1102763 / 1102760 Grifo de centro para baño MODELO # 67692W-6104 / 67692W-617001 / 67692W-618204 ADJUNTE SU RECIBO AQUÍ _________________________ _________________________ Número de serie Fecha de compra ¿Preguntas, problemas, piezas faltantes? Antes de volver a la tienda, llame a nuestro Departamento de Servicio al Cliente al 1-866-439-9800, de lunes a domingo de 8 a.m.
-
Page 9: Contenido Del Paquete
CONTENIDO DEL PAQUETE PIEZA DESCRIPCIÓN CANTIDAD Grifo Junta Tuerca de montaje Ensamblaje emergente... -
Page 10: Información De Seguridad
INFORMACIÓN DE SEGURIDAD Lea y comprenda completamente este manual antes de intentar ensamblar, usar o instalar el producto. ADVERTENCIA • Siga atentamente las instrucciones de instalación. El instalador tiene la responsabilidad de realizar una instalación adecuada. • Si no sigue los procedimientos correctos de instalación el grifo puede soltarse y provocar lesiones graves. - Page 11 INSTRUCCIONES DE ENSAMBLAJE 2. Asegúrese de que la empaquetadura (B) esté en la parte inferior del nuevo grifo (A). Coloque el ensamble del grifo (A) en el orificio de montaje del lavamanos. NOTA: si el lavamanos está disparejo, utilice silicona debajo de la empaquetadura (B). 3.
-
Page 12: Instrucciones De Funcionamiento
Instalación del desagüe levadizo 1. Retire la empaquetadura inferior (1) y la tuerca (2) de la empaquetadura superior (3) y el cuerpo levadizo (4). Una estas piezas presionando la empaquetadura inferior (1) hacia abajo en la parte superior de la tuerca (2) y gírelas juntas. 2. -
Page 13: Cuidado Y Mantenimiento
CUIDADO Y MANTENIMIENTO • Limpie cuidadosa y suavemente con un paño limpio. • Lave solo con agua y jabón suave. • Nunca limpie la superficie con ácidos, agentes químicos fuertes ni detergentes abrasivos. SOLUCIÓN DE PROBLEMAS PROBLEMA CAUSA POSIBLE ACCIÓN CORRECTIVA Hay una filtración debajo 1. -
Page 14: Lista De Piezas De Repuesto
GARANTÍA Este grifo ha sido fabricado bajo los estándares de mano de obra más elevados. Todas las piezas de este grifo están garantizadas contra fugas o goteos durante el uso doméstico mientras lo posea el propietario original. ESTO EXCLUYE EL USO INDUSTRIAL, COMERCIAL O EN OFICINA. El fabricante reemplazará...
Need help?
Do you have a question about the 67692W-6104 and is the answer not in the manual?
Questions and answers