Advertisement
Quick Links
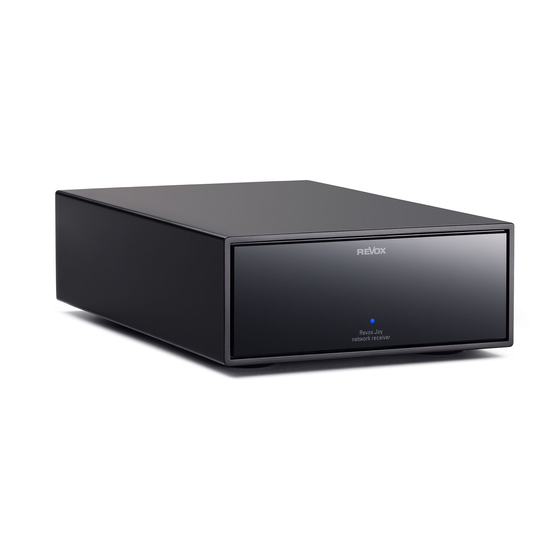
Revox JOY
Joy S119 WiFi Set Up
Set up options
via S235 (Android) App | STUDIOCONTROL C200, Smartphone or Tablet ............................................. 1
via S232 (iOS App) | iPhone or iPad ...................................................................................................... 18
via S235 (Android) App | STUDIOCONTROL C200, Smartphone or Tablet
Requirements:
- Connect your JOY S119 to 230V
- Mount the supplied WiFi antenna on the rear panel
- Connect your speakers to the respective speaker output of the JOY S119
- Connect your smartphone, tablet or your STUDIOCONTROL C200 to the same network you
want to connect the JOY S119 to
- Download and install free S235 app from Google PlayStore on your Android smartphone or
tablet.
The S235 App is already pre-installed on the STUDIOCONTROL C200.
1.
Connect a network cable (RJ 45 plug) to the JOY S119 in the network socket and connect it to
your router or switch.
Advertisement

Subscribe to Our Youtube Channel
Summary of Contents for Revox JOY S119
- Page 1 - Download and install free S235 app from Google PlayStore on your Android smartphone or tablet. The S235 App is already pre-installed on the STUDIOCONTROL C200. Connect a network cable (RJ 45 plug) to the JOY S119 in the network socket and connect it to your router or switch.
- Page 2 Now switch on your JOY S119 and wait until it is switched on. In order for the JOY S119 to obtain an IP address of your network of the DHCP range, press the Start up button on the back. This sets the JOY S119 to DHCP and obtains a new IP...
- Page 3 4. Once the JOY S119 has started, you can open the S235 APP on your Android device or the STUDIOCONTROL C200. 5. Select the S119 in the device search...
- Page 4 If your JOY S119 is switched off, switch it on at the top right.
- Page 5 7. Select an Internet radio station and switch it on. This allows you to listen to whether the network connection of your JOY S119 is working. In addition, we need this signal for the further procedure for WiFi integration. Now go to the settings...
- Page 6 Select the "Device settings" menu item...
- Page 7 10. Then select the menu item "Network...
- Page 8 11. Now you are in the network settings. Now select the menu item “Configure WiFi”.
- Page 9 12. In the WiFi settings, select the SSID that belongs to your WiFi network.
- Page 10 13. You may need to enable the app for the appropriate network access the first time. Select "Allow only while using the app".
- Page 11 14. Select your SSID.
- Page 12 15. Go to the "Password" menu item...
- Page 13 16. Enter the password of your WiFi network and confirm it with OK.
- Page 14 17. Now you come back to the WiFi settings. Press "Apply".
- Page 15 18. Now the IP addresses are displayed last. Confirm also here with "Apply".
- Page 16 19. The JOY S119 restarts. As soon as the music (i.e. your Internet radio station that is still playing) goes out, unplug the network cable immediately. Otherwise, the JOY S119 will restart in network cable mode and not in WiFi.
- Page 17 20. As soon as the JOY S119 is restarted and can be reached via WiFi, it is displayed again in the device search of the S235 app or starts directly in its source menu.
- Page 18 Connect your iPhone or iPad to the same network that the JOY S119 will be connected to Download and install free S232 app from the Apple App Store on your iPhone or iPad. Connect a network cable (RJ 45 plug) to the JOY S119 in the network socket and connect it to your router or switch.
- Page 19 Now switch on your JOY S119 and wait until it is switched on.
- Page 20 4. Once the JOY S119 has started, you can open the S232 app on your iPhone or iPad.
- Page 21 If your JOY S119 is switched off, switch it on at the top right.
- Page 22 7. Select an Internet radio station and switch it on. This allows you to listen to whether the network connection of your JOY S119 is working. We also need this signal for the further procedure for WiFi integration. Now go to the settings.
- Page 23 Select the "Device settings" menu item...
- Page 24 10. Then select the "Network" menu item.
- Page 25 11. Now you are in the network settings. Now select the menu item WiFi settings.
- Page 26 12. In the WiFi settings, select the SSID that belongs to your WiFi network.
- Page 27 13. Select your SSID.
- Page 28 14. Go to the "Password" menu item...
- Page 29 15. Enter the password of your WiFi network and confirm it with "Done".
- Page 30 16. Now you come back to the WiFi settings. Press "Apply".
- Page 31 17. Now the IP addresses are displayed last. Confirm also here with "Apply".
- Page 32 18. The JOY S119 restarts. As soon as the music (i.e. your Internet radio station that is still playing) goes out, unplug the network cable immediately. Otherwise, the JOY S119 will restart in network cable mode and not in WiFi.
- Page 33 19. As soon as the JOY S119 is restarted and can be reached via WiFi, it is displayed again in the device search of the S232 app or starts directly in its source menu. Subject to technical change. Status: 01/2022...


Need help?
Do you have a question about the JOY S119 and is the answer not in the manual?
Questions and answers