Advertisement
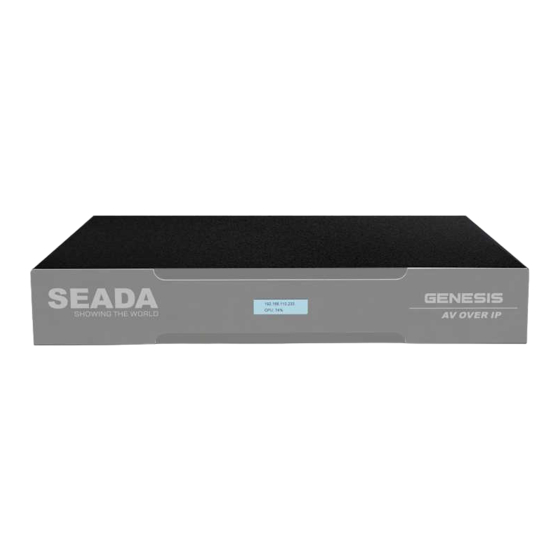
GENESIS™265 Quick Start Manual
This quick start guide provides basic instructions for setting up and operating the SEADA GENESIS™265
Transceiver (encoder and decoder in one unit).
Note:
1. Do not fix the devices to any surface which is a heat source to avoid overheating.
2. Do not cover the surface or ventilation grills of the devices to avoid overheating.
1. Verify the package contents
Please verify the package contents against the List Below
1. G265 Unit
2. Power Adapter
3. Quick Start Manual
Note: There are 2 Terminal Blocks in G265HDRT package, and 3 Terminal Blocks in G2654KRTP/F package.
2. Connect the G265 transceiver
1. Use CAT6 (or higher) to connect G265 transceiver with an IP switch supports PoE (optional).
2. Check the switch on the back of device and ensure it is on TX for encoders and RX for decoders.
3. Connect 'HDMI output' on G265 decoder to an output, such as a screen, with an HDMI cable.
4. Connect input sources, such as media players and PCs, to 'HDMI input' on G265 encoders.
rd
5. Connect any 3
party RTSP IP sources, such as IP cameras and 3
switch as the G265 transceiver with CAT6 (or higher).
6. Connect the control PC to the same IP switch as the G265 transceiver.
The default static IP address of the G265 transceiver is 192.168.1.208. User needs to change the IP address of
the control PC to a static IP address and the same network segment as the device at TCP/IPv4 in 'Ethernet
Properties'.
•
IP address: any address between 192.168.1.2 and 192.168.1.254 except the address which has been
taken by the G265 transceiver.
•
Subnet Mask: 255.255.255.0
•
Default Gateway: 192.168.1.1
To use G265 transceivers as RTSP encoders for 3
rtsp://192.168.1.208/0 and substream address is rtsp://192.168.1.208/1.
3. Steps to set up the 265 transceiver
UMPLATFORM – CONFIG G265 TRANSCEIVERS
1
Run 'UMPlatform', click 'Scan Setting' and choose the IP address of the control PC.
2
Click 'Bind' and then click 'Scan'.
3
Switch between 'Output'/'Input' and choose the connected G265 transceiver.
(Optional) In 'Network Setting', change the network parameters, such as IP address and name for the
4
G265 transceiver if necessary. Always click 'Apply' and restart the device after setting.
G265 DESIGNER SOFTWARE – OUTPUT PANEL SETUP
5
Run 'G265 Designer Software' and choose the control PC IP address in the login dialog box.
6
Double-click on the output panel or choose 'Panel Setting' from the menu.
7
In 'Panel Setting', choose 'GENESIS 265' from the 'Panel' list on the left.
Choose the decoder in the 'Output List' and click on the panel in the middle. The output panel will
8
bind to the selected decoder with the IP address displayed in the middle.
9
In 'Input Setting', choose a signal group from 'Signal Group' list on the left.
SD-EN-029
x1
4. Mounting Ears with Screws
x1
5. Download Guide Card
x1
6. 6-pin Terminal Blocks
rd
party decoders, the mainstream address is
x2
x1
x2 or x3
rd
party encoders, into the same IP
V1.0
Advertisement
Table of Contents

Summary of Contents for Seada GENESIS 265
- Page 1 GENESIS™265 Quick Start Manual This quick start guide provides basic instructions for setting up and operating the SEADA GENESIS™265 Transceiver (encoder and decoder in one unit). Note: 1. Do not fix the devices to any surface which is a heat source to avoid overheating.
- Page 2 4. Run G265 Client on the control PC User can run ‘G265 Client’ directly without installation, which can be downloaded from SEADA Website (https://seada.co.uk/downloads). Run the client to get the login dialog box on the right. When logging in for the first time, the ‘Username’ and ‘Password’ are ‘admin’...

Need help?
Do you have a question about the GENESIS 265 and is the answer not in the manual?
Questions and answers