Advertisement
Quick Links
Advertisement

Related Manuals for CamFive EMB HT1501

Summary of Contents for CamFive EMB HT1501
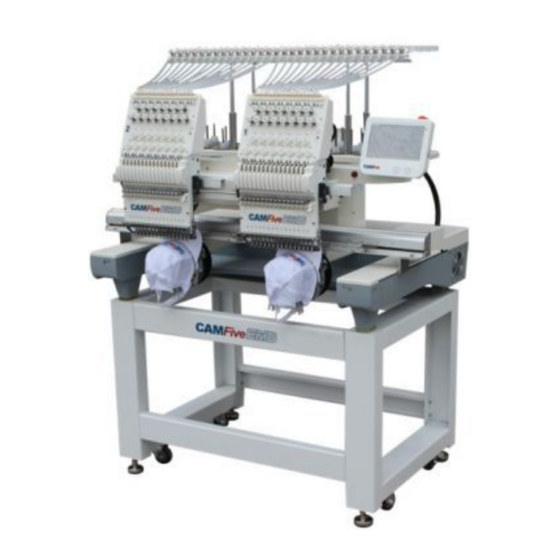
- Page 1 HT1501 / HT1502 INSTALLATION MANUAL...
- Page 2 Pág. Unboxing Pág. Mounting the Base Pág. Mounting the Worktable Pág. Pág. Installing Installing the thread Rack the thread Rack...
- Page 3 Unboxing On all four sides of the crate there are bolts as seen below that need to be removed prior to unboxing your new 1501 embroidery. Once all bolts are removed, two people are required in order to lift the box off of the base and then the machine can be...
- Page 4 Mounting the Base The 1501 embroidery machine comes with a base, and a worktable that needs to be mounted prior to using the machine. The parts should look like this: In order to mount the base you will need the following to secure the base properly:...
- Page 5 Prompt the two sides with wheels and use the bigger piece for the bottom of the base. Once the bottom of the base is secured and tightened, you are able to use the two smaller parts for the sides of the base as shown below: The finished base should...
- Page 6 Mounting the Worktable Worktable x1 If you require the worktable, in order to mount it you need to use the following parts to complete the table: Table Locks x8...
- Page 7 Table Lock Plates x6 Screws x44 Once the plates and table locks are screwed into the worktable, the final outcome should look like this:...
- Page 8 Now with the assistance of another person, you must lift the machine onto the base, remember to place the four black round washers prior to mounting the machine and secure the machine to the base with these bolts: The Washers will looks like this and it is fastened through the...
- Page 9 In order to place the worktable onto the embroidery machine, you must first remove the hat hoop if it is on: Once the screw is loose, twsit and pull the hat hoop...
- Page 10 Now slide the table with the nose towards the machine, flat surface on top and table locks on the bottom. Then use the following screws in order to screw the table in place: Fasten the table in the bottom:...
- Page 11 machine should now look like this:...
- Page 12 Installing the thread Rack There is a box that has the following parts below, in that box you will find the components for the thread rack: Find the four metal poles, and fasten them to the top of the machine:...
- Page 13 Once all four poles are installed onto the top of the machine, unscrew the bolts from the top of each pole, and place the thread rack on top Secure thread rack with bolts The machine should now look like this: removed from the pole:...
- Page 14 Threading The thread tube should already be clipped on the bottom like this: Now make sure that the thread tube is connected on top the same way, and when putting the thread through the hole make sure that the thread lies behind the metal plate like this:...
- Page 15 Now the 1,2,3 order of the Then it repeats itself. That is the order of holes that each thread from needle thread has to go through in the thread rack, in the end right to left is it should look like this: as follows: And like this:...
- Page 16 Now it’s time to put all the thread on the thread holders: *the colors don’t have to be the same, it can be placed however you need them to be Now, tie the thread coming from the hose onto the respective thread that is on the holder...
- Page 17 Pull the thread from the front all the way until the knot you tied comes all the way through and cut the thread in order to place the thread through the needle:...
- Page 18 Once the thread is through the needle, pull the thread under the stepper: Make sure the thread is behind the small hook that is on top of the stepper:...
- Page 19 Repeat the steps until all needles are threaded. Finally, use the power cord to connect the embroidery machine in the back, turn the switch on the side, and you are ready to begin.
- Page 20 www.camfiveemb.com TECH SUPPORT: support.us@camfive.com SALES: sales.us@camfive.com CALIFORNIA 626-855-4515 219 S. 3rd Ave Suite 3, Los Angeles, CA 91746 Florida 407-851-5525 1629 Prime Ct Suite 700, Orlando, FL 32809...
Need help?
Do you have a question about the HT1501 and is the answer not in the manual?
Questions and answers