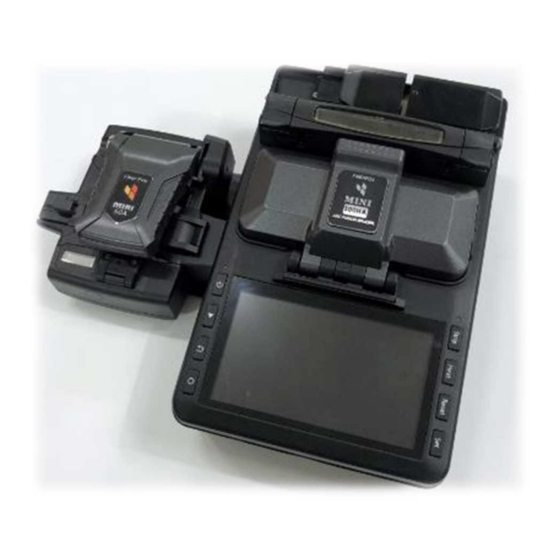
Summary of Contents for FIBER FOX MINI100HA
- Page 1 Operation Manual MINI100HA & MINI60A Video link & QR code https://youtu.be/g3HF521zCTs...
-
Page 2: Table Of Contents
Table of Contents I. Preparation_Splicer holder setting II. How to attach MINI60A to MINI100HA III. How to access Stripping / Splicing / Heating Mode IV. How to operate Stripper V. How to operate Cleaver VI. How to operate Splicer VII. How to operate Heater... - Page 3 Preparation - Default setting for Universal holder (Screw Fixed) - Stripper - Cleaver - Splicer...
- Page 4 Preparation - Default setting for detachable holder - Stripper - Cleaver - Splicer...
- Page 5 Preparation - Holder set per cable type - Detachable holder (Basic kit in the package) - Detachable holder (Optional) Applicable for 250Um bare fiber Applicable for 900Um loose buffered cable - Detachable holder (Basic kit in the package) - Detachable holder (Optional) Applicable for 900Um tight buffered cable Applicable for Rectangular Drop cable - Detachable holder (Optional)
-
Page 6: How To Attach Mini60A To Mini100Ha
II. How to attach MINI60A to MINI100HA - Screw out a bolt in the blue circle. - Slide the tray all the way to the right - Loosen a bolt in the red circle. - Tightens the screw in the red circle to lock - Put the other screw back in the hole in the blue circle. - Page 7 II. How to attach MINI60A to MINI100HA - Place Mini60A over the tray. - make sure the four spot rubber feet match with the holes on the tray. - The cleaver is securely attached with a magnet plate. - Slide a safety lock to the right to unlock...
- Page 8 IV. How to set Stripping / Splicing / Heating Mode 1. Turn on the machine 2. Click ‘Strip Mode’ and choose one. 2. Click ‘Splice Mode’ and choose one. 2. Click ‘Heater Mode’ and choose one.
-
Page 9: How To Operate Stripper
IV. How to operate Stripper ** Fiber preparation refer to the left picture. (Required stripping length : 2.5 ~ 3㎝) 2.5 to 3㎝ - Press a button ’Strip’ for warm-up - Red light will be on : it means ‘warming up’ Wait 20Sec. - Page 10 IV. How to operate Stripper_with detachable holder - Open the stripper covers - Close the left cover - Place the holder with fiber on the stripper (It helps the fiber keeps appropriate position) - Stripping process is made automatically. - Close the right cover...
- Page 11 IV. How to operate Stripper - After stripping process, open the left cover - Take the holder out - Place the holder over the cleaver rail...
- Page 12 IV. Stripper_Cleanning and re-positioning - Open the right cover - The left module automatically comes back and it is ready for the next stripping. - Please clean the plate with a brush * the brush is in the package *...
-
Page 13: How To Operate Cleaver
V. How to operate Cleaver_with detachable holder - Place the holder over the cleaver rail Magnetic Plate * Magnetism between holder and cleaver is guiding you the appropriate fiber position Magnetic bolts - Press the cover then cleaving process is done... -
Page 14: How To Operate Splicer
VI. How to operate Splicer - After cleaving, take the holder out - Place the holder with fiber - Repeat the same process on the right side of the splicer rail for the left rail. - Page 15 VI. How to operate Splicer_with detachable holder - When the both side fibers - Close the cover - it automatically process the are placed on the splicer, splicing • You can also set manual to check and decide in each step of the process...
-
Page 16: How To Operate Heater
VII. How to operate Heater - After splicing, prepare a protective sleeve - Open the splicer cover - Open the holder cover on both side... - Page 17 VII. How to operate Heater - Open the heater cover and take the spliced fiber with the protection sleeve positioned in the middle - Put it into the heater and the heater cover will be closed - Press a button ‘Heat’, then it starts heating process with red light on.


Need help?
Do you have a question about the MINI100HA and is the answer not in the manual?
Questions and answers