Advertisement
Quick Links
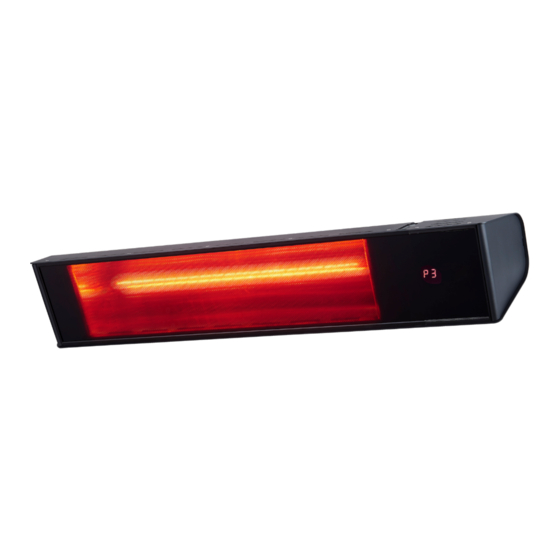
Outdoor Heater
Instruction Manual
Model EOHA20GR & EOHA20AR
IMPORTANT
Please carefully read the Operation Manual before using the infrared heater.
This Operation Manual contains the important information on your safety,
as well as some recommendations on proper use of the appliance and
its maintenance.
Advertisement

Subscribe to Our Youtube Channel
Related Manuals for Excelsior Excelair EOHA20GR


Summary of Contents for Excelsior Excelair EOHA20GR
- Page 1 Outdoor Heater Instruction Manual Model EOHA20GR & EOHA20AR IMPORTANT Please carefully read the Operation Manual before using the infrared heater. This Operation Manual contains the important information on your safety, as well as some recommendations on proper use of the appliance and its maintenance.
-
Page 2: Table Of Contents
TABLE OF CONTENTS CONTENTS PAGE 3 SAFETY INSTRUCTIONS PAGE 3-5 HEATER COMPONENTS PAGE 6 TECHNICAL SPECIFICATIONS PAGE 7 OPERATING THE HEATER PAGE 7-10 INSTALLATION-CEILING OR WALL MOUNT PAGE 11-16 TROUBLESHOOTING PAGE 17 WARRANTY INFORMATION PAGE 18 Page | 2... -
Page 3: Contents
CONTENTS INCLUDED § Heater fitted with flexible cord and plug § Operating and Installation Instructions § One small box contains 1 set of Brackets § One Stainless Steel Frame bracket § One remote control § SAFETY INSTRUCTIONS § During use of the infrared heater, it is necessary to observe some precautions. - Page 4 § To avoid burns, do not touch the appliance surface by hand and other body parts. It is also necessary to avoid touching the heater whilst the appliance is switched on, as severe burns may result. The appliance can take up to 1 hour to cool down after switching it off.
- Page 5 § Do not operate with the cord coiled up as this could cause a build-up of heat, which could pose a hazard. The use of an extension cord with this appliance is not recommended. § § Do not allow cord to come in contact with heated surfaces during operation. §...
-
Page 6: Technical Specifications
§ WARNING: THE HEATER MUST NOT BE USED IF THE GLASS PANELS ARE DAMAGED. § When the appliance is not in use and before cleaning, unplug the appliance from the outlet. § To protect against the risk of electrical shock, do not immerse the unit, cord or plug in water or other liquid. -
Page 7: Installation-Ceiling Or Wall Mount
INSTALLATION CEILING OR WALL MOUNT Installation Safe distances required for Wall-mounted installation Attention: The appliance must only be operated in a horizontal position with max ±5°slope. Never install the appliance on a combustible surface (plastics, nylon, carton etc.) Install the device at a minimum distance of - 2.2 m above the ground - 0.6 m from walls - 0.24 m from the ceiling... - Page 8 Safe distances required for Ceiling suspension installation. Page | 8...
- Page 9 Installation for wall mounted and ceiling mounted: 2.3.1 Install the fixing bracket on the wall or the ceiling, by 4 screws ST5 x 35mm (not supplied) and 4 plastic anchors (not supplied); 2.3.2 Select the desired angle, Insert the slot of the adjustable bracket, on the stop of the fixing bracket;...
- Page 10 CONNECTION TO ELECTRIC MAINS • The heater is designed for connection to the single-phase 230- 240V~50-60Hz electric mains equipped with a earth. • Before connection, make sure that specifications of the electric mains at the connection point meet the single-phase 230-240V~50- 60Hz voltage.
- Page 11 ① Aluminum Grill ② ON/OFF main power switch ③ Power cords and plug ④ Brackets for wall or ceiling mounting ⑤ Remote control ü The distance between the heater and the remote control should be less than 3 metres, and the remote control must be directly pointed to the receiver.
- Page 12 Connect the heater to a 230-240V~ 50-60Hz power outlet. Set the rocker switch to the position II: The heater starts working. Attention: Remote control cannot operate the heater at this stage. Connect the heater to a 230-240V~ 50-60Hz power outlet. Set the rocker switch to the position O: The heater power is off.
- Page 13 To set the timer of 13 hours, point the remote control directly to the receiver and press 1 2 4 6 on the remote control successively, “13” will be indicated on the display zone. This will trigger the heater to automatically go into Standby mode after 13 hours of operation.
- Page 14 4. Cleaning: l Disconnect the appliance from the power supply system; l After the appliance has cooled down, the housing can be wiped dry; l Do not touch the bulb element with your fingers since stains could build up from such a contact. l The reflector should be cleaned regularly by professionals.
-
Page 15: Troubleshooting
TROUBLESHOOTING SYMPTOM CAUSE No Heat / No operation Check that power is connected and switched on indicator This is caused by oil or dust left over from the Heater smells when first manufacturing process and will stop after a short used. - Page 16 WARRANTY This appliance is guaranteed for a period of 24 months. If during this period the appliance fails to work due to parts or manufacture fault, please return to place of purchase for a replacement For any queries or assistance call Customer Service (Australia Only) 1300 174 876...
Need help?
Do you have a question about the Excelair EOHA20GR and is the answer not in the manual?
Questions and answers