Sign In
Upload
Download
Table of Contents
Contents
Add to my manuals
Delete from my manuals
Share
URL of this page:
HTML Link:
Bookmark this page
Add
Manual will be automatically added to "My Manuals"
Print this page
×
Bookmark added
×
Added to my manuals
Manuals
Brands
Crestron Electronics Manuals
Control Systems
4 Series
Product manual
Crestron Electronics 4 Series Product Manual
Hide thumbs
1
2
Table Of Contents
3
4
5
6
7
8
9
10
11
12
13
14
15
16
17
18
19
20
21
22
23
24
25
26
27
28
29
30
31
32
33
34
35
36
37
38
39
40
41
42
43
44
45
46
47
48
49
50
51
52
53
54
55
56
57
58
59
60
61
62
63
64
65
66
67
68
69
70
71
72
73
74
75
76
77
78
79
80
81
82
83
84
85
86
87
88
89
90
91
92
93
94
95
96
97
98
99
100
101
102
103
104
105
106
107
108
109
110
111
112
113
114
115
116
117
118
119
120
121
122
123
124
125
126
127
128
129
130
131
132
133
134
135
136
137
138
139
140
141
142
143
144
145
146
147
148
149
150
151
152
153
154
155
156
157
158
159
160
161
162
163
164
165
166
167
168
169
170
171
172
173
174
175
176
177
178
179
180
181
182
183
184
185
186
187
188
189
190
191
192
193
194
195
196
197
198
199
200
201
202
203
204
205
206
207
208
209
210
211
212
213
214
215
216
217
218
219
220
page
of
220
Go
/
220
Contents
Table of Contents
Bookmarks
Table of Contents
Table of Contents
Overview
Features
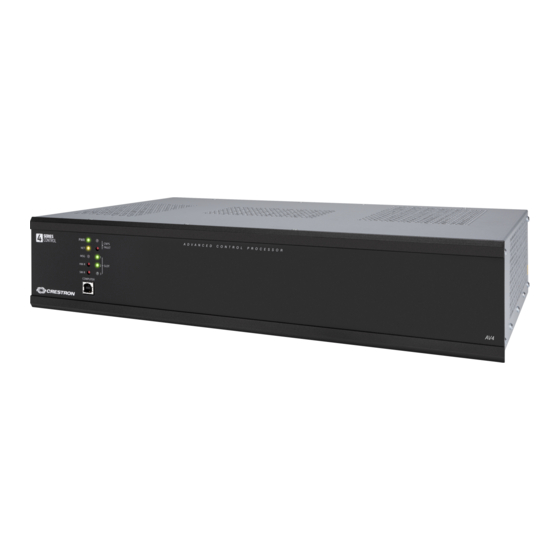
AV4 Features
CP4 Features
CP4N Features
DIN-AP4 Features
MC4 Features
MC4-I Features
PRO4 Features
RMC4 Features
Specifications
AV4 Specifications
Product Specifications
Dimension Drawings
CP4 Specifications
Product Specifications
Dimension Drawings
CP4N Specifications
Product Specifications
Dimension Drawings
DIN-AP4 Specifications
Product Specifications
Dimension Drawings
MC4 Specifications
Product Specifications
Dimension Drawings
MC4-I Specifications
Product Specifications
Dimension Drawings
PRO4 Specifications
Product Specifications
Dimension Drawings
RMC4 Specifications
Product Specifications
Dimension Drawings
Installation
AV4 Installation
Install the Control System
Connect the Control System
Connect the Control Subnet
CP4 Installation
Install the Control System
Connect the Control System
CP4N Installation
Install the Control System
Connect the Control System
Connect the Control Subnet
DIN-AP4 Installation
Mount the Control System
Connect the Control System
MC4 Installation
Install the Control System
Connect the Control System
Mount the Antenna
MC4-I Installation
Install the Control System
Connect the Control System
Mount the Antenna
PRO4 Installation
Install the Control System
Connect the Control System
Connect the Control Subnet
RMC4 Installation
Mount the Control System
Connect the Control System
Configuration
Initial Setup
Access the Web Configuration Interface
Create an Admin Account
Set the Time Zone
Assign the RF Channel (MC4/MC4-I Only)
Acquire Wireless Devices (MC4/MC4-I Only)
Pair with Apple Homekit
Configure .AV Framework Software
Web Configuration
Actions Menu
Status
Settings
Security
802.1X Configuration
Programming
Reference Topics
Tools and Utilities
4-Series Architecture
Memory and Directory Structure
Console Commands
Establish Communications
USB Connection
TCP/IP Connection
Set a Logon Banner
Time and Date Settings
Authentication
Create an Admin Account
Account Recovery
User and Group Management
User Group Rights
Password Management
Login Behavior
Session Timeout Functions
Locked User Functions
Blocked IP Address Functions
Certificate Management
Certificate Requirements
Add a Certificate
List and View Certificates
Remove a Certificate
Tls
Server Certificates
177
Firmware Updates
Message Logging
Persistent Log
Remote System Logging
Audit Logging
Control Subnet
Control Subnet Architecture
Control Subnet Configuration
Program Management
Load Programs to the Control System
IP Table Configuration
Run Multiple Programs
Run Programs from External Storage
Primary-Subordinate Mode
Definitions
Primary-Subordinate Configuration
Functional Behavior
Auto Update Mechanism
Configure the Auto Update Mechanism
Manifest File
Results File
Error Handling
Restore to Factory Defaults
Port Forwarding
Resources
Crestron Support and Training
Programmer and Developer Resources
Product Certificates
Related Documentation
Advertisement
Quick Links
1
Cp4 Features
2
Cp4N Features
Download this manual
4-Series™ Control Systems
Product Manual
Crestron Electronics, Inc.
Table of
Contents
Previous
Page
Next
Page
1
2
3
4
5
Advertisement
Table of Contents
Need help?
Do you have a question about the 4 Series and is the answer not in the manual?
Ask a question
Questions and answers
Related Manuals for Crestron Electronics 4 Series
Control Systems Crestron Electronics UC-B31-T Quick Start Manual
Crestron flex small room conference system with jabra panacast 50 video bar for microsoft teams rooms (12 pages)
Control Systems Crestron Electronics UC-B30-T Quick Start Manual
Flex small room conference system with video soundbar for microsoft teams® rooms (12 pages)
This manual is also suitable for:
Av4
Cp4
Cp4n
Din-ap4
Mc4
Mc4-i
...
Show all
Pro4
Rmc4
Table of Contents
Save PDF
Print
Rename the bookmark
Delete bookmark?
Delete from my manuals?
Login
Sign In
OR
Sign in with Facebook
Sign in with Google
Upload manual
Upload from disk
Upload from URL


Need help?
Do you have a question about the 4 Series and is the answer not in the manual?
Questions and answers