
Related Manuals for Axelair RAF

Summary of Contents for Axelair RAF
- Page 1 Notice d’installation User manual Rafraichisseur adiabatique mobile Mobile adiabatic air cooler – version 2...
-
Page 2: Table Of Contents
FRANÇAIS INDEX AVERTISSEMENTS ET PRECAUTIONS ......................... 3 Mises en garde .............................. 3 Avis : ................................3 Caractéristiques ..............................3 PRÉSENTATION DU PRODUIT ..........................4 Vue détaillée ..............................4 Fonction du panneau de commande ......................... 5 Mode d’emploi ..............................6 Instruction de configuration ..........................7 Nettoyer et remplacer le filtre ........................ -
Page 3: Avertissements Et Precautions
AVERTISSEMENTS ET PRECAUTIONS Mises en garde ❖ Utilisez l'alimentation spécifiée. ❖ N'utilisez pas l'appareil avec les mains mouillées. ❖ Ne débranchez pas l'alimentation lorsque la machine est en marche. ❖ rallonge électrique n'est pas recommandée. ❖ N'insérez pas les doigts, des bâtons ou d'autres objets dans l'appareil. ❖... -
Page 4: Présentation Du Produit
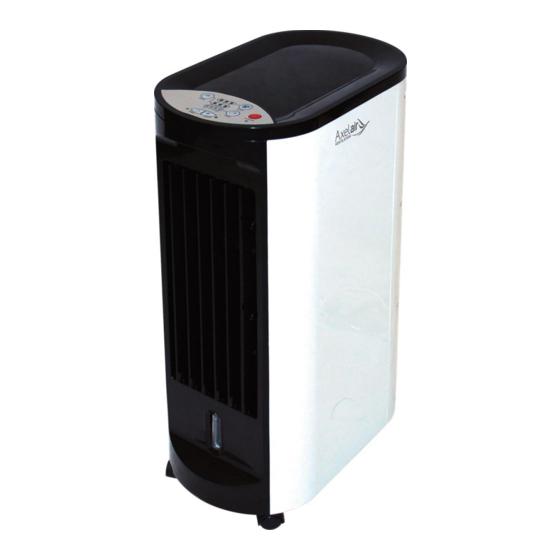
PRÉSENTATION DU PRODUIT Vue détaillée REMARQUE : certaines images et informations peuvent différer du produit final. Cela est dû à l’amélioration continue des produits. FACE AVANT FACE ARRIÈRE 1. Ailettes verticales 2. Ailettes horizontales 3. Indicateur de niveau d’eau 4. Roulettes 5. -
Page 5: Fonction Du Panneau De Commande
Fonction du panneau de commande 1. Sélection du mode 2. Fonction purification par ionisation de l’air 3. Oscillation 4. Refroidissement 5. Minuterie pour la ventilation ou le refroidissement 6. Validation et marche/arrêt de l’appareil 7. Bouton de vitesse de ventilation Refroidissement •... -
Page 6: Mode D'emploi
• Si le bouton de la minuterie n'est pas utilisé, votre appareil continuera à fonctionner jusqu'à ce qu’on l’éteigne manuellement Mode • Appuyez sur le bouton « MODE » pour sélectionner le mode Normal, Naturel, Veille. Anion • Appuyez sur le bouton « ANION », pour activer la fonction purification par ionisation de l’air. Mode d’emploi Télécommande •... -
Page 7: Instruction De Configuration
Instruction de configuration Nettoyer et remplacer le filtre Le filtre est déjà assemblé en usine. Le filtre doit être nettoyé ou remplacé après un certain temps d'utilisation. Il doit être remplacé par un technicien ou demander conseil au distributeur local. La méthode est mentionnée ci-dessous. 1. -
Page 8: Notes Importantes
NOTES IMPORTANTES 1.La portée de la télécommande est de cinq mètres. 2. Les piles doivent être insérées dans la télécommande qui doit être pointée directement à l'unité, en utilisant la partie avant pour activer. 3.Ne pas obstruer la sortie d'air lors de l'utilisation de l'appareil. 4. -
Page 9: Warnings And Pre-Cautions
Warnings and pre-cautions Warnings ❖ Use the specified power supply. ❖ Do not operate the unit with wet hands. ❖ Do not unplug the power supply while machine is running. ❖ Extension power cord is not recommended. ❖ Do not insert fingers, sticks or other objects into the unit. ❖... -
Page 10: Structure
Structure... -
Page 11: Control Panel Function
Control panel function MODE button ANION button WIND button COOL button TIMER button for air flow or cooling Power button for run or POWER Speed button COOLING ❖ Open or take down the detachable water panel on left side of the board. ❖... -
Page 12: Operating Instructions
Operating instructions Remote controller ❖ How to install batteries Open the back cover, and take off the isolating film on the batteries Put the batteries inside the slot, with anode and cathode in right directions ; Put on the back cover. Notices : The anode and cathode of the batteries must be corresponding to the signs of “+”... -
Page 13: Setup Instruction
Setup instruction Clean & replace the filter The filter is already assembled before delivery from factory. But the filter should be cleaned or replaced after a certain time use. It should be operated by Technical people or ask for advice by local distributor.The method is mentioned below. -
Page 14: Technical Reference Data
Technical reference data Model Rated voltage 230 VAC / 50 Hz Rated power (cooling) 70 W Electrical protection class Airflow volume 250 m3/h Net weight 5 kg Water tank Meas of product (L x W x H) 324 x 200 x 634 mm...
Need help?
Do you have a question about the RAF and is the answer not in the manual?
Questions and answers