
Related Manuals for USAVision UA-CB550F3


Summary of Contents for USAVision UA-CB550F3
- Page 1 Quick Start Guide HD Analog Cameras UA-CB550F3 UA-CR200F2, CR510F2 UA-CR250F2, CR550F2 Before attempting to connect or operate this product, UVSANALOG-QG-A please read these instructions carefully and save this manual for future use.
- Page 2 Every effort has been made to ensure that the information in this manual is accurate. USAVision makes no expressed or implied warranty of any kind and assumes no responsibility for errors or omissions. No liability is assumed for incidental or consequential damages arising from the use of the information or products contained herein.
-
Page 3: Table Of Contents
Contents 1. Connection Diagram...................1 2. Installation ......................2 2.1 Bullet Camera Installation ..................2 2.2 Dome Camera Installation..................3 2.3 Vandal Proof Dome Camera Installation ..............6 ... -
Page 4: Connection Diagram
1. Connection Diagram... -
Page 5: Installation
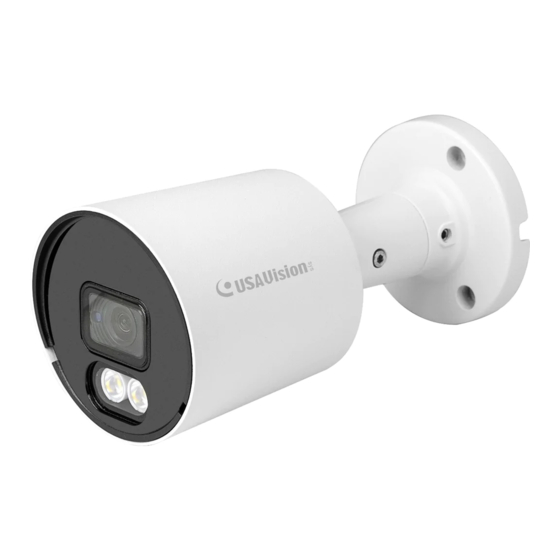
2. Installation 2.1 Bullet Camera Installation Ceiling Mounting Insert three expansion bolts in place into the ceiling and fix the equipment with three mounting screws. -
Page 6: Dome Camera Installation
2.2 Dome Camera Installation Ceiling Mounting Paste the sticker in place at the proper position as selected. Remove the collar off the camera by rotating it down. - Page 7 Fix the pedestal by drilling locking holes around the sticker and inserting three expansion bolts into the holes and fastening it with three locking screws. Mount the collar back by rotating it up.
- Page 8 Adjust it to an appropriate angle. Complete of Installation...
-
Page 9: Vandal Proof Dome Camera Installation
2.3 Vandal Proof Dome Camera Installation Ceiling Mounting Apply the position sticker to the desired camera mounting position. - Page 10 Cover Component Remove the cover component by loosening the three locking screws with the included hex wrench. Use the position indicated on the position sticker to drill the holes needed to mount the camera base. Insert the expansion bolt into the holes. Match the base's mount openings to the expansion bolts position, and then place the mounting screws through the base's mount opening into the expansion bolt.
Need help?
Do you have a question about the UA-CB550F3 and is the answer not in the manual?
Questions and answers