Ega Master EGATRONIK Operating Instructions Manual
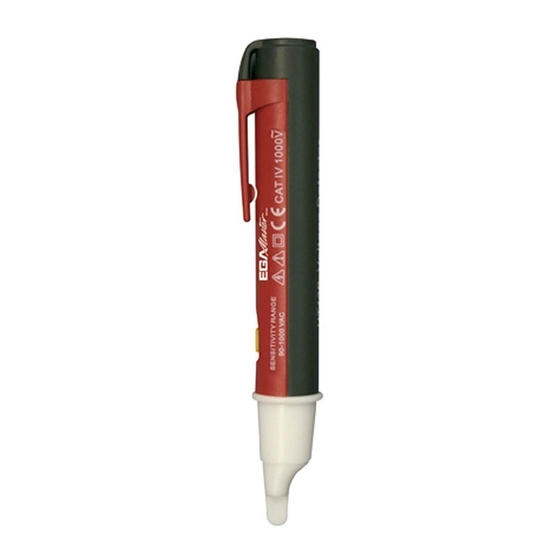
Non-contact ac voltage detector
Hide thumbs
Also See for EGATRONIK:
- Operating instructions manual (17 pages) ,
- Operating instructions manual (16 pages) ,
- Operating instructions manual (42 pages)
Table of Contents
Advertisement
Available languages
Available languages
Quick Links
Advertisement
Table of Contents

Related Manuals for Ega Master EGATRONIK


Summary of Contents for Ega Master EGATRONIK
- Page 1 OPERATING INSTRUCTIONS MANUAL DE INSTRUCCIONES BUSCAPOLOS AC NO-CONTACTO / NON-CONTACT AC VOLTAGE DETECTOR COD. 51256 ESPAÑOL ........3 ENGLISH ........7 GARANTÍA GUARANTEE......11...
-
Page 2: Información General
ESPAÑOL INFORMACIÓN GENERAL Este Manual contiene información en materia de seguridad y precauciones a tener en cuenta. Lea con atención todas las instrucciones y la información de seguridad de este manual antes utilizar esta herramienta. No entender el modo de operar de manera segura podría ocasionar un accidente causando lesiones graves o incluso la muerte. -
Page 3: Símbolos Eléctricos Internacionales
• Cuando se utiliza el buscapolos fuera del rango de voltaje indicado, la unidad no tiene respuesta. Esto no significa que el inductor probado no tenga tensión, y por lo tanto, no utilice partes del cuerpo para tocarlo. • Al realizar comprobaciones, mantenga los dedos en las protecciones. SÍMBOLOS ELÉCTRICOS INTERNACIONALES Los símbolos utilizados tanto en el medidor como en este manual se explican a continuación: ESPECIFICACIONES... -
Page 4: Estado De La Batería
ESTADO DE LA BATERÍA El LED no parpadeará cuando se encienda el aparato o durante su utilización si la batería es inferior a 2V. Las señales acusticas serán más débiles. MANTENIMIENTO Sustitución de las pilas 1) Desconecte la unidad. 2) Con una mano sujete la parte roja de la unidad. Coloque el pulgar de la otra mano en la tapa (gris oscura) del buscapolos tal y como se indica en la siguiente figura 3) Tire de la tapa de la manera indicada en la siguiente figura 4) Cambie las pilas (observe la polaridad). - Page 5 GARANTÍA El fabricante garantiza al comprador de este aparato la garantía total durante 12 meses de las piezas con defectos de fabricación. Esta garantía no cubre aquellas piezas que por su uso normal tienen un desgaste. Nota: para obtener la validez de la garantía, es absolutamente imprescindible que complete y remita al fabricante el documento de “CERTIFICADO DE GARANTIA”, dentro de los siete dias a partir de la fecha de compra.
-
Page 6: Safety Information
ENGLISH OVERVIEW This Operating Manual covers infomation on safety and cautions. Read and understand all of the instructions and safety information in this manual before operating or servicing this tool. Failure to understand how to safely operate this tool could result in an accident causing serious injury or death. -
Page 7: Specifications
INTERNATIONAL ELECTRICAL SYMBOLS Symbols used on the Meter and in this manual are explained below: SPECIFICATIONS • Indicators: LED and Beep • Voltage range: 90VAC ~ 1000VAC • Measurement Category IV 1000V per lEC61010 • Temperature: > Operating: -10~50°C > Storage: 10~50°C •... -
Page 8: Maintenance
MAINTENANCE Battery Replacement 1) Disconnect the unit from the circuit. 2) One hand holds the unit. Place another hand’s thumb on the probe cap as the figure below 3) Pull back the back housing as the figure below 4) Replace the batteries (observe polarity). 2 x1 .5V AAA 5) Push back the back housing.
Need help?
Do you have a question about the EGATRONIK and is the answer not in the manual?
Questions and answers