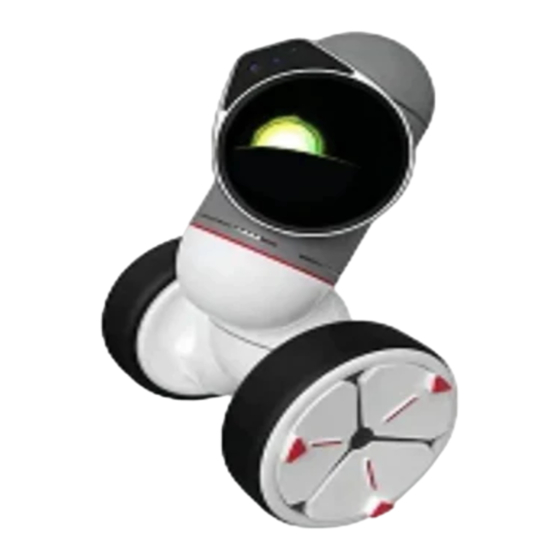
Summary of Contents for KEYI ClicBot
- Page 1 entertaining and educational toy User Manual � � � � Manuel de l'Utilisateur Руководство пользователя � � � � � � � � � User manual by toysandphysics.com...
- Page 2 Do not play while charging; modules, module connection, battery Do notdirectly touch the golden po-gopins of Do not rotate your ClicBot by force when the charging, safety and privacy, after-sales module with the mental; rotation is locked; service and FAQs.
-
Page 3: Table Of Contents
3 Introduction to ClicBot 14 How to connect modules ClicBot is an intelligent toy designedfor With the ClicBot App, you can build ClicBot And by means of Drag & Drop program, children 4 Specification of Modules 16 Battery and Charging children integrating education with fun. -
Page 4: Specification Of Modules
Joint module Brain module is the master control andthe power supply unit ofClicBot. Joint module is the joint of ClicBot which is used for driving motion.It has It adopts ARM-A7processor and includes a rechargeable polymer lithium a high-precisionservo system and includes DC geared motor, angular rate battery with a capacity of 1550mAh.The eye of ClicBot is a 1.96-inch... -
Page 5: Skeleton Module
Specification of Modules Specification of Modules Skeleton module Wheel module Skeleton module is the boneof ClicBot which is used for buildingthe Status of Skeletonʼs indicator Wheel module is a functional moduleof actuator which is used for vehicle Status of Wheelʼs indicator limbs. -
Page 6: Accessory -Mount
Accessory -Holder It can be used where suffers more stress. Mount is used for fixingyour ClicBot on a table with Mount sticker. Locker is used for reinforcing the connections between two modules. Holder is used for connectinga cellphone or sport camera onto your ClicBot by standard 1/4screw. -
Page 7: Smart Foot Module
Smart Foot moduleis a functional moduleof sensor which is used as the feet Suction Cup moduleis a functional module ofactuator. It includes negative of ClicBot. It includes highly sensitive pressure sensor and can control and automatically brightens when the pressure is increasing after connecting pressure pumpand solenoid valve. -
Page 8: Distance Sensor Module
ClicBot. The indicator can also indicate the connection status and obstacle by utilizing a micro-processor. by utilizing a micro-processor. -
Page 9: How To Connect Modules
How to connect modules How to connect modules Twomodules can be connected with each other in All the ClicBot modules can be connected with each other byconnectors. A parallel/non-parallel direction. connector contains A-conn, B-conn and golden po-gopins. It is to fix A-conn to B-conn bycross connection, and the golden po-gopins are used for transferring instruction and supplyingpower. -
Page 10: Battery Andcharging
Brain module can be connected to ClicBot App via router or hotspot. update fromthe cloud server to implement new functions. It is suitable for remotely controlling the robot by connecting to ClicBot App Brain module, and viewed in the system menu. - Page 11 This equipment generates, uses and can radiate radio frequency How to connect to ClicBot App via hotspot: energy and, if not installed and used in accordance with the instructions, may cause harmful interference to radio communications.
-
Page 12: Safetyandprivacy
SafetyandPrivacy After-sales Service We commit that, in case any defect of your ClicBot modular robot product and its accessories is found during use in accordancewith User Manual due to faulty workmanship and confirmed by test technician, your ClicBot will be covered for electronic component for 1 year from the date ofpurchase, and material and motor for 6months from the date of purchase. -
Page 13: Faqs
1m. by hand. ·Breathing – in preparation turn off ClicBot, or long press the power button Is it a mustto control ClicBot Robot with Connect other modulesto Brain module toauto ·Flashing – wait for being connectedto a module for 4 seconds to force a shutdown.


Need help?
Do you have a question about the ClicBot and is the answer not in the manual?
Questions and answers