Epson EX-71 How To Operate
Hide thumbs
Also See for EX-71:
- Brochure & specs (4 pages) ,
- User manual (120 pages) ,
- Quick setup manual (9 pages)
Table of Contents
Advertisement
Quick Links
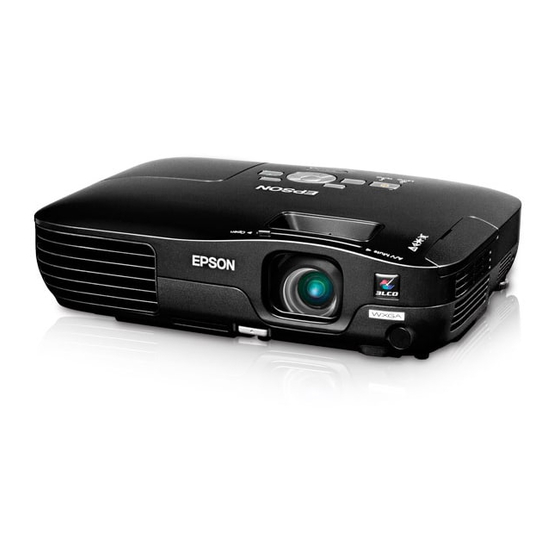
HOW TO OPERATE THE EPSON EX-71 DIGITAL PROJECTOR
1. Unpack projector. You need:
Projector
Power cord
Extension cord
Remote control
USB Flash Drive (attached to projector by black plastic cable)
2. Determine projector location. The projector is set closer to the screen than the old-fashioned slide
projectors. With the help of the classroom teacher, locate a surface about 20 feet from the screen. Plug
projector in. A small yellow light above the main power button on top of the projector will appear, indicating
that the projector is receiving power. If the light does not go on, try pushing the power cord in more tightly.
3. Turn the projector on. This can be done with the power button on top of the projector or with the remote
control (see diagrams reverse side). The yellow indicator light will turn to a flashing green. The flashing green
turns to steady green as the projector warms up.
4. Open the sliding lens cover at the front of the projector. A faint blue image saying "Epson: Exceeding
your Vision" will appear on screen briefly and then the screen will turn a darker blue. You will see the
following words in the lower left corner of the screen: "Source: USB, No Signal, To display help." Ignore
them. You may also see an orange bar that says "keystone" in the middle of the screen. Ignore that too.
5. Adjust the height of the projector using the small grey tab at the front. Pull the grey tab up to release the
adjustable foot; release the tab when the foot is at the desired height. As you adjust the angle of the projector,
it will automatically adjust the keystone settings so your images appear square on the screen, instead of like a
trapezoid (in older projectors, this had to be done manually).
6. Twist the flash drive open and plug it into the USB port labeled "Type A" at the back of the projector.
The flash drive must remain attached to the projector at all times via the black plastic cable. As soon as you
plug in the flash drive, you will see an array of icons on the screen. These are the slides. The very first icon
will be highlighted in gold.
7. Press the Enter button on the remote control (or on the projector). The first image (Walker House) will
appear on screen along with a "toolbar" at the bottom that says: "Next slide Rotate Slide Show Return."
Adjust the focus and/or the zoom by twisting the two black rings just above the lens opening.
8. You are now ready to begin the slide show. From the first slide (Walker House), press "Enter" again.
When you see the toolbar at the bottom of the screen disappear, you are in slide show mode. To move to the
next slide, push the right-facing arrow on the remote control. To move back a slide, press the left-facing arrow.
9. Timing and freezing! The projectors are set up to facilitate manual advancing of the slides (in other words,
you determine the pace of the slide show by pushing the arrow button when you are ready to move on).
However, after 60 seconds, the slide will advance on its own. In general, docents should not be spending more
than 60 seconds on any given slide. However, if you need to pause (because you are answering a lot of
questions or you need to refocus the students' attention), press the "freeze" button on the remote control (see
diagram). The freeze button has a green "2" on it. The word "freeze" will appear in the upper right hand corner
of the screen. To unfreeze, simply push the same button again.
for ACR School Program Classroom Presentations
Advertisement
Table of Contents

Related Manuals for Epson EX-71


Summary of Contents for Epson EX-71
- Page 1 4. Open the sliding lens cover at the front of the projector. A faint blue image saying “Epson: Exceeding your Vision” will appear on screen briefly and then the screen will turn a darker blue. You will see the following words in the lower left corner of the screen: “Source: USB, No Signal, To display help.”...
- Page 2 10. Tips and Troubleshooting Press the arrow button firmly but quickly. If you hold it down, you will cause the slideshow to advance twice. If you need to back up, press the left-facing arrow. Each image file is a slightly different file size. Larger file sizes may need an extra second to appear after you press the arrow button.
Need help?
Do you have a question about the EX-71 and is the answer not in the manual?
Questions and answers