Table of Contents
Advertisement
Quick Links
Advertisement
Table of Contents

Subscribe to Our Youtube Channel
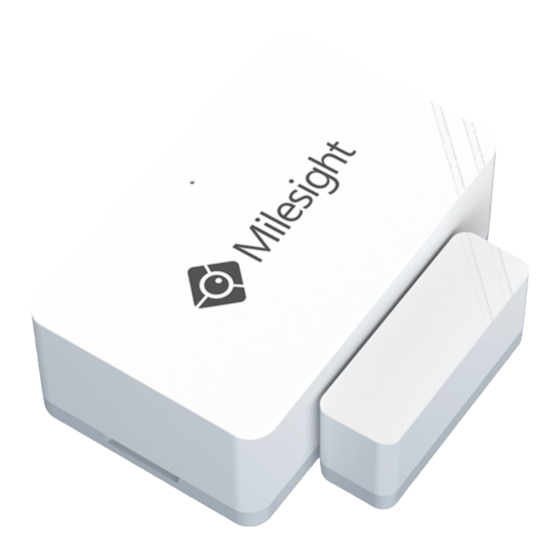
Summary of Contents for Milesight LoRaWAN WS301
- Page 1 Magnet Contact Switch Featuring LoRaWAN ® WS301 User Guide...
- Page 2 Safety Precautions Milesight will not shoulder responsibility for any loss or damage resulting from not following the instructions of this operating guide. The device must not be remodeled in any way. In order to protect the security of the device, please change device the password when first ...
- Page 3 Revision History Date Doc Version Description Apr. 13, 2021 V 1.0 Initial version June 30, 2021 V 1.1 Delete power button features 1. Add LoRa D2D controller feature; 2. Delete low power alarm interval, device Dec.9, 2021 V 1.2 only uplinks once when battery level is lower than 10%.
-
Page 4: Table Of Contents
Contents 1. Product Introduction..........................5 1.1 Overview............................5 1.2 Features............................5 2. Hardware Introduction..........................5 2.1 Packing List............................5 2.2 Hardware Overview.........................6 2.3 LED Patterns............................ 6 2.4 Dimensions............................6 3. Operation Guide............................7 3.1 NFC Configuration.......................... 7 3.2 LoRaWAN Settings..........................8 3.3 General Settings..........................10 3.4 LoRa D2D Settings........................11 3.5 Maintenance.......................... -
Page 5: Product Introduction
LoRaWAN ® enables encrypted radio transmissions over long distances while consuming very little power. The user can obtain sensor data and view the trend of data change through Milesight IoT Cloud or through the user's own Application Server. 1.2 Features Up to 15 km communication range ... -
Page 6: Hardware Overview
2.2 Hardware Overview Sensor: Magnet: 2.3 LED Patterns Function Action LED Indicator Switch On/Off (network unregistered) Red, blink once Door/Window Status Switch On/Off (network registered) Green, blink once Send join network requests Red, blink once Network Status Joined the network successfully Green, blink twice The device is un-installed (tamper is detected) Red, blink once... -
Page 7: Operation Guide
1. Pull out the battery insulating sheet to power on the device. The indicator will light up in green for 3 seconds when device turns on. 2. Download and install “Milesight ToolBox” App from Google Play or Apple Store. 3. Enable NFC on the smartphone and open Milesight ToolBox. -
Page 8: Lorawan Settings
3.2 LoRaWAN Settings LoRaWAN settings are used for configuring the transmission parameters in LoRaWAN ® network. Basic LoRaWAN Settings: Go to Device->Setting->LoRaWAN Settings of ToolBox App to configure join type, App EUI, App Key and other information. You can also keep all settings by default. Parameters Description Device EUI... - Page 9 1) Please contact sales for device EUI list if there are many units. 2) Please contact sales if you need random App keys before purchase. 3) Select OTAA mode if you use Milesight IoT cloud to manage devices. 4) Only OTAA mode supports rejoin mode.
-
Page 10: General Settings
If frequency is one of CN470/AU915/US915, you can enter the index of the channel that you want to enable in the input box, making them separated by commas. Examples: 1, 40: Enabling Channel 1 and Channel 40 1-40: Enabling Channel 1 to Channel 40 1-40, 60: Enabling Channel 1 to Channel 40 and Channel 60 All: Enabling all channels Null: Indicates that all channels are disabled... -
Page 11: Lora D2D Settings
LoRa D2D protocol is developed by Milesight and used for setting up transmission among Milesight devices without gateway. When the LoRa D2D setting is enabled, WS301 can work as a LoRa D2D controller to send control commands to trigger LoRa D2D agent devices. -
Page 12: Maintenance
3.5 Maintenance 3.5.1 Upgrade 1. Download firmware from Milesight website to your smartphone. 2. Open Toolbox App and click “Browse” to import firmware and upgrade the device. Note: 1) Operation on ToolBox is not supported during an upgrade. 2) Only Android version ToolBox supports the upgrade feature. -
Page 13: Reset To Factory Default
Note: Slide the template item left to edit or delete the template. Click the template to edit the configurations. 3.5.3 Reset to Factory Default Please select one of the following methods to reset device: Via Hardware: Hold on the reset button inside the device for more than 10s. After reset complete, the indicator will blink in green twice and device will reboot. -
Page 14: Installation
4. Installation 3M Tapes Fix: Tear the 3M tapes of both parts, then make sure the magnet part is placed inside the door (portable part) and sensor is inside the door frame (fixed part). For double doors, put every part on each door. -
Page 15: Device Payload
1 Byte 1 Byte N Bytes 1 Byte 1 Byte M Bytes 1 Byte For decoder examples please find files on https://github.com/Milesight-IoT/SensorDecoders. 5.1 Basic Information WS301 reports basic information of sensor whenever joining the network. Channel Type Description 01(Protocol Version) 01=>... -
Page 16: Sensor Data
5.2 Sensor Data WS301 reports open/close status and tamper status as follows: According to reporting interval; When magnet or tamper status has changed. Channel Type Description 75(Battery Level) UINT8, Unit: % 00=>Switch close 00(Magnet Status) 01=>Switch open 00=>Device is installed 00(Tamper Status) 01=>Device is un-installed Example:...


Need help?
Do you have a question about the LoRaWAN WS301 and is the answer not in the manual?
Questions and answers