Table of Contents
Advertisement
Advertisement
Table of Contents

Related Manuals for Ferguson FRG-R121D


Summary of Contents for Ferguson FRG-R121D
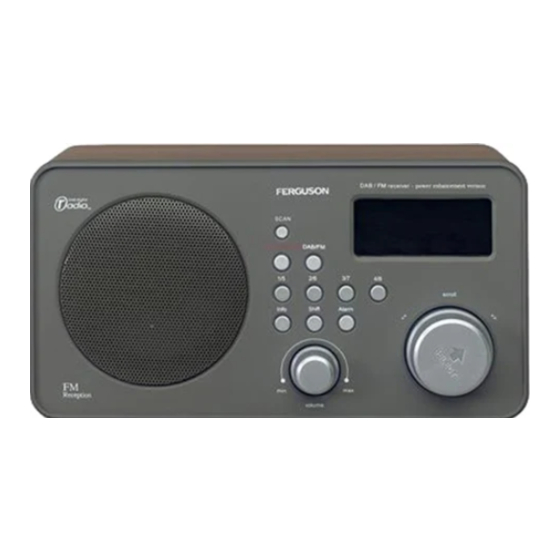
- Page 1 FRG-R121D D A B / F M...
- Page 2 Safety Information Please note: Because DAB digital radio is a developing technology, station availability can change without notice. As new multiplexes and transmitters are turned on, new stations will begin transmitting and new postcodes will be able to receive DAB digital radio. Conversely, some DAB radio stations may disappear without notice.
-
Page 3: Table Of Contents
Table of Contents Safety Information.................0 Operating your radio - DAB............2 Selecting a station - DAB ..............3 Secondary services - DAB ............4 Display modes - DAB ..............5 Autoselect - DAB................6 Manual Tuning - DAB..............7 Signal strength display - DAB............7 Setting DAB Presets ..............8 Selecting a DAB Preset channel ...........8 Operating your radio - FM........ -
Page 4: Operating Your Radio - Dab
Operating your radio - DAB 1. Carefully extend the telescopic aerial. 2. Press the Standby button to switch on your radio. 3. If this is the first time the radio is used a quick scan of UK Band III DAB channels will be carried out. -
Page 5: Selecting A Station - Dab
Selecting a station - DAB 1. The top line of the display shows the name of the station currently selected. 2. Rotate the Tuning control to scroll through the list of available stations. Stop rotating the Tuning control when you find the station that you wish to hear. -
Page 6: Secondary Services - Dab
Secondary services - DAB 1. Certain radio stations have one or more secondary services associated with them. If a station has a se condary service associated with it the display will show ">" next to the station name on the station list. The secondary service will then appear immediately after the primary service as you rotate the tuning control clockwise. -
Page 7: Display Modes - Dab
Display modes - DAB 1. Your radio has six display modes: - 2. Press the Info button to cycle through the various modes. a. Scrolling text-Displays scrolling text messages such as artist/track name, phone in number, etc. b. Programme type-Displays type of station being listened to e.g. Pop, Classic, News, etc. -
Page 8: Autoselect - Dab
Autoselect - DAB As an alternative to pressing the tuning control to select a station your radio can be set to automatically select a station. 1. Rotate the Tuning control a few clicks in either direction, immediately press and hold in the tuning control until the display shows "Autoselect ON". -
Page 9: Manual Tuning - Dab
Manual Tuning - DAB Manual tuning allows you to tune directly to the various DAB Band III channels. UK DAB stations located in the range 11B to 12D. 1. Press and hold in the Tuning control until the display shows "Manual tune". -
Page 10: Setting Dab Presets
Setting DAB Presets You can preset up to 8 DAB stations as follows. Turn to the station that you want to set into the preset memory. Press and hold the PRESET button (store into 1 -4 or press SHIFT to store in 5 -8) “Preset * stored”... -
Page 11: Operating Your Radio - Fm
Operating your radio - FM 1. Carefully extend the telescopic aerial. 2. Press the Standby button to switch on your radio. 3. Press the Band button to select the FM band. 4. Press and immediately release the Auto Tune button, your radio will scan in an upwards direction (low frequency to high frequency) and stop automatically when it finds a station of sufficient strength. -
Page 12: Manual Tuning - Fm
Manual tuning - FM 1. Press the Standby button to switch on your radio. 2. Press the Band button to select the FM band. Fully extend the Telescopic aerial. 3. Rotate the Tuning control to tune to a station. The frequency will change in steps of 50kHz. -
Page 13: Display Modes - Fm
Display modes - FM On FM the bottom line of the display can be set to any of the following modes: - Press the Info button to cycle through the various modes. a) Scrolling text-Displays scrolling text messages such as artist /track name, phone in number etc. -
Page 14: Fm Stereo/Mono
FM Stereo/Mono 1. If a station being received is weak some hiss may be audible. To reduce the hiss press and hold in the Tuning control until the display shows "Audio mode: Mono". Your radio will switch to mono mode. 2. -
Page 15: Alarm Settings
Alarm Settings Press ALARM button and then press ENTER (Press Rotary k nob) to select Alarm On/Off Press and hold ENTER, the radio will display the alarm time minute. 3. Turn the Rotary knob to setup the alarm minute 4. Press Rotary knob again, then it will display the alarm time hour 5. -
Page 16: Headphone Socket
Headphone socket 1. A 3.5mm Headphone Socke t located on the rear of your radio is provided for use with either headphones or an earpiece. Inserting a plug automatically mutes the internal loudspeaker. 2. Line out socket-Red/White RCA Line out sockets located on the rear of your radio is provided for connecting the audio signal to an external amplifier. - Page 17 This symbol on the product or in the instructions means that your electrical and electronic equipment should be disposed at the end of its life separately from your household waste. There are separate collection systems for recycling in the EU. For more information, please contact the local authority or your retailer where you purchased the product.
Need help?
Do you have a question about the FRG-R121D and is the answer not in the manual?
Questions and answers