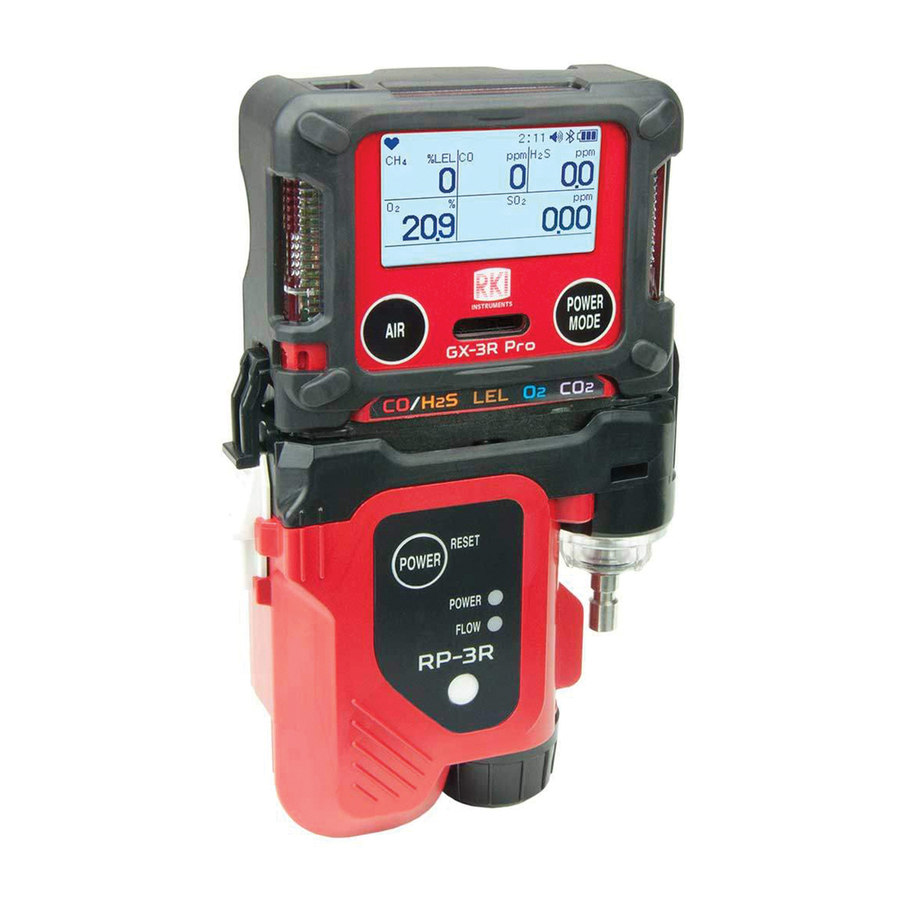
RKI Instruments RP-3R Operator's Manual
For gx-3r and gx-3r pro
Hide thumbs
Also See for RP-3R:
- Operator's manual (12 pages) ,
- Operator's manual (12 pages) ,
- Operator's manual (12 pages)
Summary of Contents for RKI Instruments RP-3R
- Page 1 RP-3R Pump for GX-3R and GX-3R Pro Operator’s Manual Part Number: 71-0495 Revision: P3 Released: 12/2/21 GlobalTestSupply www. .com Find Quality Products Online at: sales@GlobalTestSupply.com...
- Page 2 Product Warranty RKI Instruments, Inc. warranties gas alarm equipment sold by us to be free from defects in materials, workmanship, and performance for a period of one year from date of shipment from RKI Instruments, Inc. Any parts found defective within that period will be repaired or replaced, at our option, free of charge.
-
Page 3: Table Of Contents
Not tested in oxygen enriched atmospheres (above 21%). CAUTION: Read and understand the GX-3R and GX-3R Pro Operator’s Manual before using the RP-3R. RP-3R GlobalTestSupply www. .com Find Quality Products Online at: sales@GlobalTestSupply.com... -
Page 4: Overview
Overview This manual describes: the RP-3R pump, RP-3R maintenance, and operation of the RP-3R with the GX-3R and GX-3R Pro. A parts list at the end of this manual lists replacement parts and accessories for the RP-3R. Specifications Table 1 lists specifications for the RP-3R pump. -
Page 5: Description
Description The RP-3R pump is a sample drawing accessory for the GX-3R and GX-3R Pro. It consists of the pump unit and the rubber sample nipple. Sensor Adapter Retaining Tab Lever Inlet Fitting RESET POWER Rubber Sample Nipple PO WER... -
Page 6: Normal Operation
GX-3R or GX-3R Pro. 5. Push the left side of the GX-3R or GX-3R Pro down until the instrument is seated in the RP-3R. Release the black retaining tab lever and ensure that both retaining clips are fully engaged. When fully engaged, the GX-3R or GX-3R Pro should not move around at all. - Page 7 2. Engage right-hand retaining clip. RESET RESET 1. Push black retaining tab POWER POWER lever toward pump unit POWER POWER FLOW RP-3R Figure 2: Connecting the RP-3R to the GX-3R RP-3R GlobalTestSupply www. .com Find Quality Products Online at: sales@GlobalTestSupply.com...
- Page 8 FLOW RP-3R Figure 3: Connecting the Optional Hose and Probe 7. Turn on the RP-3R by pressing and holding the POWER button until the RP-3R beeps and the POWER LED turns green. WARNING: While the GX-3R or GX-3R Pro is installed in the RP-3R, the pump must be on for the GX-3R or GX-3R Pro to function as a gas detection monitor.
- Page 9 WARNING: Removing the GX-3R or GX-3R Pro from the RP-3R without pressing the black retaining tab lever may result in damage to the RP-3R. 13. Pull up on the left side of the GX-3R or GX-3R Pro when viewing the instrument from the front.
-
Page 10: Switching Flow Rates
Lower-flow mode FLOW LED flashes yellow 1. With the RP-3R turned on, press and hold the POWER button for 1 second. 2. The FLOW LED will change state (ie. from flashing to steady or vice versa). NOTE: At temperatures below -10°C, the RP-3R must operate in higher-flow mode. If operating in lower-flow mode, the RP-3R will automatically switch to higher-flow mode at -10°C. -
Page 11: Maintenance
Gently pull out the rubber gasket with needle nose pliers taking care not to damage the gasket. The GX-3R version of the RP-3R has a clear spacer below the gasket that may come out. The GX-3R Pro version of the RP-3R does not have this spacer. -
Page 12: Parts List
AA alkaline battery 80-0009RK-XX Sample hose (optional). Replace “XX” with length in feet. Available lengths for the RP-3R are 10, 15, 20, 25, 30, 35, 40, 45, 50, 60, 75, 100 feet. 80-0150RK Sample probe with dust filter (optional) RP-3R GlobalTestSupply www.


Need help?
Do you have a question about the RP-3R and is the answer not in the manual?
Questions and answers