
Related Manuals for Haden HL306W


Summary of Contents for Haden HL306W
- Page 1 USER’S MANUAL HL306W To request a service call Tel. 01759 487830 Or visit www.appliancesupport.co.uk...
-
Page 2: Safety Warnings
1. SAFETY WARNINGS Warning; Risk of fire / flammable materials WARNING : When posi oning the appliance, ensure the supply cord is not trapped or damaged. WARNING : Do not locate mul ple portable socket-outlets or portable power supplies at the rear of the appliance. -
Page 3: Reversing The Door Swing
10) Do not store explosive substances such as aerosol cans with a flammable propellant inthis appliance. IT IS HAZARDOUS FOR ANYONE OTHER THAN AUTHORISEDSERVICE PERSONNEL TO CARRY OUT SERVICING OF REPAIRS WHICHINVOLVE THE REMOVAL OF COVERS. TO AVOID THE RISK OF AN ELECTRICAL SHOCK DO NOT ATTEMPTREPAIRS YOURSELF. 2. - Page 4 2) Remove the screws fixed the top-hinge with cross-slot screwdriver. 3) Remove the hinge shaft sleeve and the door block to the other side.
- Page 5 4) Disassemble the screws fixed the bottom hinge assembly with cross slot screwdriver and remove the adjustable foot Note:the refrigerator-freezer incline angle less 45°. 5) Replace the bottom hinge to the other side then fix it with screws. Install the two screws on the right and Remove the left top hinge cover...
- Page 6 Remove the nut with sleeve. Take off the washer then remove the axes to the other side and fixed. 7) Install the left top hinge cover on the right and Remove the two screws 8) Install the top-hinge. set the top door right position, fix the top-hinge and the cover. Install the left top hinge cover on the left...
-
Page 7: Door Space Requirements
Door Space Requirements The unit's door must be able to open fully as shown. W×D≥902×1052mm Levelling the Unit To do this adjusts the two levelling feet at the front of the unit. If the unit is not level, the door and magnetic seal alignments will not be covered properly. -
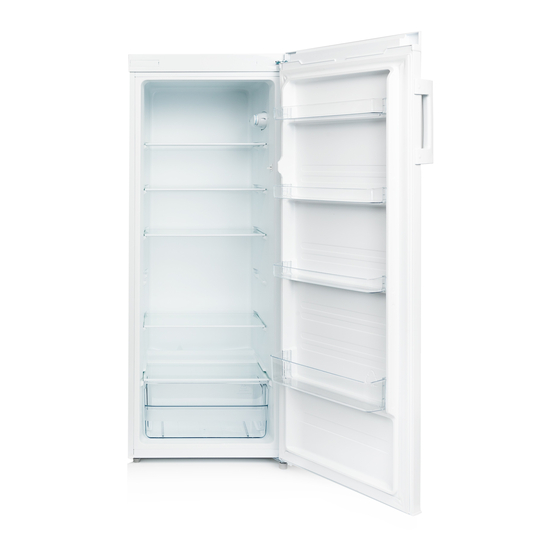
Page 8: Product Overview
properly andto allow it time to fall to the correct temperature. Your unit should not be overfilled. ◆ Before Plugging in You must check that you have a socket which is compatible with the plug supplied with the unit. ◆ Before Turning On! Do not turn on until two hours after moving the unit. -
Page 9: Operation
4. OPERATION 4.1 Switching On Your Unit ◆The temperature selector knob is located on the right hand sidewall of the refrigerator interior Setting“Min” :Less Cool Temperature Setting“Med” :Normal Operation (adequate for most situations) Setting“Max” :Coolest Temperature ◆During high ambient temperatures e.g. on hot summer days. It may be necessary to set the thermostat to the Coolest setting (position“Max”).This may cause the compressor running continuously in order to maintain a low temperature in the cabinet. -
Page 10: Maintenance
warm water using a“wrung-out”sponge or cloth. Wipe completely dry before replacing the shelves and salad bin. ◆ Use a damp cloth to clean the exterior, and then wipe with a standard furniture polish. Make sure that thedoor is closed to avoid the polish getting on the magnetic door seal or inside the unit. -
Page 11: Troubleshooting
6.3 Switching Of for Long Periods of Time When the unit is not in use for a long period of time, disconnect it from the mains supply, empty all food and clean the appliance, leaving the door ajar to prevent unpleasant smells. 7. - Page 12 Every now and then check if the appliance is sufficiently ventilated (adequate air circulation behind the appliance). In normal temperature conditions, please arrange the thermostat at the middle setting. Before loading the appliance with packages of fresh food, make sure they are cooled to ambient temperature.
- Page 13 5 021961 195449...
Need help?
Do you have a question about the HL306W and is the answer not in the manual?
Questions and answers