Table of Contents
Advertisement
Quick Links
1
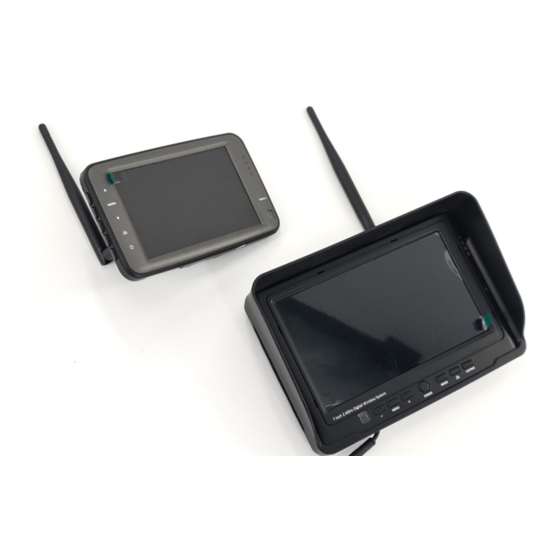
Instructions for our wireless system
using the WM560 / WM760 monitors
Safety and Installation Precautions
If you are not using a cigarette lighter to connect to the electrics then we recom-
mend disconnecting the negative terminal of your vehicles battery when making
connections. Be aware this may reset your clocks/computer/radio code.
The TFT panel of the monitor is delicate and pressing the front can cause the thin
glass sheet inside to crack. If this happens a black area will form around the line of
the crack. Be careful not to apply pressure to the front of the monitor.
Modern vehicles now have very complex electrical systems. In order to reduce fuel
consumption many vehicles use smart battery charging. This can mean the voltage
applied to the battery terminals can rapidly fluctuate and go beyond the normal
voltage ranges you would expect. UNDER NO CIRCUMSTANCE TAKE YOUR POWER
DIRECTLY FROM A VEHICLE BATTERY.
Advertisement
Table of Contents

Related Manuals for REVCAMUK WM560


Summary of Contents for REVCAMUK WM560
- Page 1 Instructions for our wireless system using the WM560 / WM760 monitors Safety and Installation Precautions If you are not using a cigarette lighter to connect to the electrics then we recom- mend disconnecting the negative terminal of your vehicles battery when making connections.
- Page 2 Introduction We’d like to thank you for your purchase of one of our digital wireless kits, we hope it provides you many years of safe, stress free motoring. In order to protect, and get the most from your kit, we recommend reading the instructions fully before you start your installation.
- Page 3 Powering the Monitor You have two choices for power supply, you have the lighter plug that attaches to a lighter socket in the vehicle, and you have the hard wiring option with red wire (12V/24V power) and black wire (earth). If using the hard wiring option we recommend using a switched 12V /24V supply (one that goes on/off with igni-...
- Page 4 If you have ordered the dash mount, the base of this will have a protective film over an adhesive foam pad. Before mounting this on your dashboard it is im- portant to thoroughly clean the area you plan to mount bracket. Years of dash- board polishes can add an oily layer which will prevent a good adhesion, cleaning with a suitable cleaner to remove this will give you the best end result.
- Page 5 Sender box plus camera option wiring The sender box plus camera option will have a lead that breaks out in to a red fused wire (+12V/24V), a black wire (earth), and a 4 pin lead to connect to the cam- era (See picture below).
- Page 6 When both monitor and sender/camera have power and are paired you will see a signal strength meter in the corner of the screen indi- cating how strong the signal is, you will also see a picture from the camera connected (see photo).
- Page 7 Fixing and adjusting the Camera We have various different types of camera in our kits, so depending on the type of camera you chose, this will determine how you fix the camera up. Remember to ensure you try the kit out before permanently fixing. Bracket Cameras Most people nowadays use a sealant adhesive like Sikaflex 512 to fix the bracket in to place.
- Page 8 Guarantee Details The product is guaranteed for 24 months from the date of purchase provided it is not damaged by accident or in fitting, it has not been adapted or disassembled and that the serial numbers remain on the product. The guarantee is limited to the product and accessories supplied only and doesn’t ex- tend to any third party losses or damages, neither does it cover cosmetic appearance of the camera or monitor.
Need help?
Do you have a question about the WM560 and is the answer not in the manual?
Questions and answers