Table of Contents
Advertisement
Quick Links
Advertisement
Table of Contents

Subscribe to Our Youtube Channel
Related Manuals for MadMapper MiniMad


Summary of Contents for MadMapper MiniMad
- Page 1 The hardware companion of MadMapper User guide...
- Page 2 MiniMad will either be configured with MiniMad Video to play a video-mapping, or with MiniMad Light to play recorded DMX sequences. WARNING : MiniMad Video and MiniMad Light cannot be installed at the same time on the same MiniMad. www.madmapper.com...
-
Page 3: Table Of Contents
Buttons Keyboard MicroModul8 MiniMad Controller (OSC) Network Synchronisation MINIMAD LIGHT FEATURES Record Export Audio CONTROLS Buttons Keyboard Micromodul8 MiniMad Controller (OSC) TOUCH OSC INFORMATION SPECIFICATIONS Technical Specifications In the box Turning off the MiniMad SD-Card good practice ADDITIONAL INFORMATIONS TROUBLESHOOT... -
Page 4: Minimad Video
- Mask Other surface types (line, 3D surface) and FX are not supported yet. MEDIA MiniMad Video supports a single media at a time on every surfaces. Every image files supported by MadMapper will be exported to MiniMad. During the export process, movie files will be... -
Page 5: Export
You can either insert the MiniMad SD-card in your computer, or select a remote MiniMad connected on the local network via ethernet (make sure both the MiniMad and the computer are on the same network). If required, you may need to update your MiniMad SD-card, please refer to the dedicated UPDATE YOUR MINIMAD SD-CARD section. - Page 6 When using manual network configuration, and in case you export to several MiniMad units on the same network, make sure each MiniMad has a unique IP address. Once your mapping and media has already been exported to the MiniMad, you then have to option to either export the mapping or the media.
-
Page 7: Controls
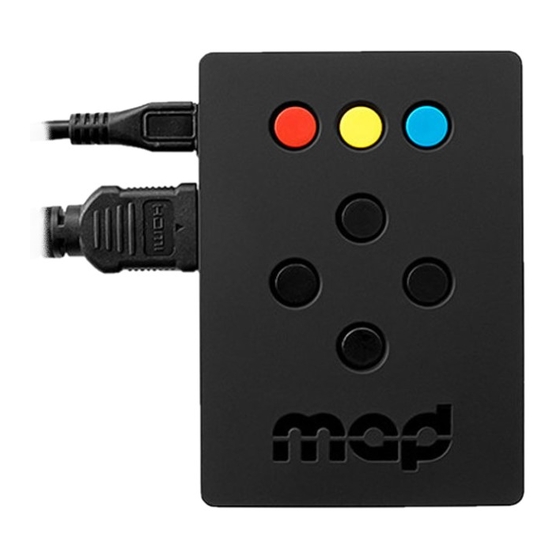
MiniMad VIDEO CONTROLS BUTTONS Red + Blue hold to shutdown change playback mode Right next media Left previous media Down pause media / start media over in “Play once…” modes long press: restart movie Blue Red (toggle ON/OFF) activate mapping control... -
Page 8: Keyboard
CONTROLS KEYBOARD As an alternative to the MiniMad’s buttons, you can use any USB keyboard as a remote. Using a wireless USB keyboard may be particularly interesting when the device is not easily accessible. Attach the keyboard to one of the four USB ports prior to powering it on and follow the following... -
Page 9: Micromodul8
- /master_luminosity/all + float OSC value: master luminosity for all connected MiniMad units - /shutdown + int OSC value: value = 1 will trigger the MiniMad shutdown which will be effective after 2,5 seconds, unless cancelled by a value = 0... -
Page 10: Minimad Controller (Osc)
CONTROLS MiniMad Controller (OSC) In MadMapper, create a new MiniMad Controller module and get the full-control of the selected MiniMad (Video or Light) at a glance, control its parameters using control mapping (Keyboard, Midi, OSC, BPM, Oscillators, etc) and Cues. - Page 11 MiniMad VIDEO CONTROLS In addition to controlling the media playback, you can adjust manually the mapping and the image settings:...
-
Page 12: Network Synchronisation
Please refer to the dedicated TOUCH OSC section. NETWORK SYNCHRONISATION When connected to a network, all the MiniMad units share the same media controls (media change, pause, restart, playback mode, audio mode, image display time) which means that every change that’s made on any MiniMad is instantly reflected on all of them. -
Page 13: Minimad Light
In the MadLight Recorder dialog, check the sequences you want to export then click Export to MiniMad to open the export dialog. By default, MiniMad will use the same DMX interface as MadMapper, but you can select a different one using MiniMad DMX Output. -
Page 14: Audio
You can either insert the MiniMad SD-card in your computer, or select a remote MiniMad connected on the local network via ethernet (make sure both the MiniMad and the computer are on the same network). If required, you may need to update your MiniMad SD-card, please refer to the dedicated UPDATE YOUR MINIMAD SD-CARD section. -
Page 15: Controls
MiniMad LIGHT CONTROLS BUTTONS Red + Blue Yellow + Up/Down hold to shutdown control Luminosity change playback mode Yellow +Red toggle Blackout Right next sequence Left previous sequence Down pause media long press: restart sequence KEYBOARD Backspace restart sequence Numbers... -
Page 16: Micromodul8
- /master_audio_level + float OSC value: set the master audio-level - /master_luminosity + float OSC value: set the master luminosity - /shutdown + int OSC value: value = 1 will trigger the MiniMad shutdown which will be effective after 2,5 seconds, unless cancelled by a value = 0... -
Page 17: Minimad Controller (Osc)
Oscillators, etc) and Cues. TOUCH OSC Please refer to the dedicated TOUCH OSC section. When connected to an HDMI display, the MiniMad will display some useful information like the software version, ethernet status, playback mode, currently playing sequence, etc. . -
Page 18: Touch Osc
Touch OSC CONTROLS TOUCH OSC The following TouchOSC layout controls both MiniMad Video and MiniMad Light. Works exactly like the MiniMad physical buttons... - Page 19 Touch OSC CONTROLS Touch the blue SYNC button on top-right at Hold “SHUTDOWN” for 2.5 seconds to turn off the startup to receive the MiniMad status MiniMad The layout is available in MadMapper Downloads. TouchOSC app is required to load and use the layout.
-
Page 20: Information
• 2 Amps power supply • Size 9x6x3 cm IN THE BOX • 1 x 16 GB microSD-card class 10 installed with MiniMad software and an SD-card adapter • 1 x power supply 100-240V including EU, AUS, UK and US plug... -
Page 21: Turning Off The Minimad
The flashing operation can take up to 20-30 minutes. ACTIVATE YOUR MINIMAD SD-CARD After you flashed your MiniMad SD-card with the latest system image, you will need to activate it in order to export your mapping project. The procedure is quick though: 1. -
Page 22: Additional Informations
(RED button). SCHEDULE THE STARTING TIME OF THE MINIMAD For now, the easiest way to schedule the MiniMad is to use a power plug with a timer: it will power the MiniMad on and off at desired hours of the day. -
Page 23: Troubleshoot
RESTORE THE SD-CARD If you experience difficulties with your MiniMad, the first thing to do is to restore your SD card by following the procedure detailed on page 21 of this guide. The MiniMad image disk is huge - if the downloaded file doesn’t work it’s mostly due to a download fail at some point, you’ll have to download the image disk again.
Need help?
Do you have a question about the MiniMad and is the answer not in the manual?
Questions and answers