Advertisement
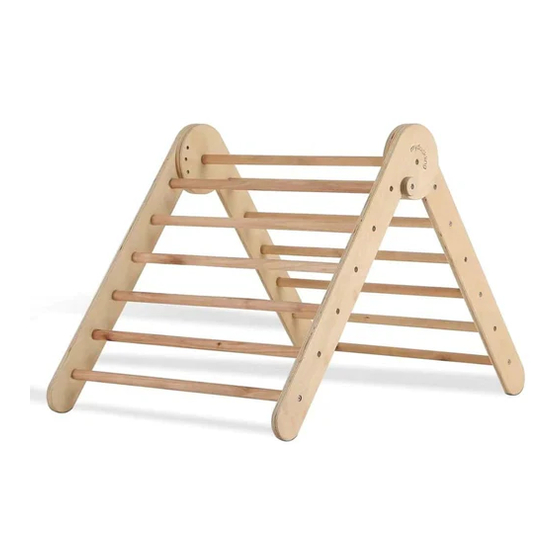
Little Kiwi Pikler Triangle Assembly
Thank you for purchasing the Little Kiwi Pikler Triangle! To ensure your little one is
as safe as possible, please follow the safety tips and assembly instructions below.
Safety Tips
-
Do not overload the triangle. The triangle has been tested for up to 80kg but a maximum of two
children at any time.
-
Do not modify the triangle or use the triangle with missing or damaged components.
-
Do not use the triangle without the locking knob correctly installed.
-
Only use the triangle on a hard, non-slip, level surface. Take care to ensure all 4 legs are firmly
planted on the ground.
Care Tips
-
Never leave your triangle in areas of high moisture, the Triangle is not suitable for use outside.
-
To clean your triangle, you may use a damp cloth and wipe down the coloured surface, taking
care not to overly wet the wood edges or rungs.
-
Over the lifetime of the triangle, you may notice burrs and marks on the dowels or edges of the
legs. This is to be expected under normal use and it is recommended to lightly sand areas you
deem to be sharp or burred. This can be done with sandpaper that is 220 grit or finer.
-
Routinely check to ensure all rungs are secure and do not rotate by hand. If the rung does rotate
and you cannot tighten the screws further, you may glue the rung in in place with a 2-part epoxy
or super glue.
Assembly tools required
-
Electric Drill/Driver.
-
PH2 Driver Bit.
-
Screwdriver (optional).
Assembly Instructions – Pikler Triangle - Nov 2020 Rev A
Instructions
Advertisement
Table of Contents

Related Manuals for Little Kiwi Pikler Triangle

Summary of Contents for Little Kiwi Pikler Triangle
- Page 1 Little Kiwi Pikler Triangle Assembly Instructions Thank you for purchasing the Little Kiwi Pikler Triangle! To ensure your little one is as safe as possible, please follow the safety tips and assembly instructions below. Safety Tips Do not overload the triangle. The triangle has been tested for up to 80kg but a maximum of two children at any time.
- Page 2 Parts included the package Assembly Instructions Assemble Side A using Side A – Leg 1 (#1), Side A – Leg 2 (#2) and Dowel - Long (#6). Use Buttonhead Screws (#9). Assembly Instructions – Pikler Triangle - Nov 2020 Rev A...
- Page 3 Buttonhead Screws (#9). When in use, always insert Locking Knob (#8) into the hole and tighten firmly. This is a safety measure to prevent the Pikler Triangle from closing. Assembly Instructions – Pikler Triangle - Nov 2020 Rev A...
- Page 4 To ensure you do not lose your locking knob, once the triangle is folded closed for storage, you may insert the locking knob from the inside of the triangle and thread it Assembly Instructions – Pikler Triangle - Nov 2020 Rev A...
Need help?
Do you have a question about the Pikler Triangle and is the answer not in the manual?
Questions and answers