Advertisement
Quick Links
Advertisement

Related Manuals for Pilote P740 Evidence

Summary of Contents for Pilote P740 Evidence
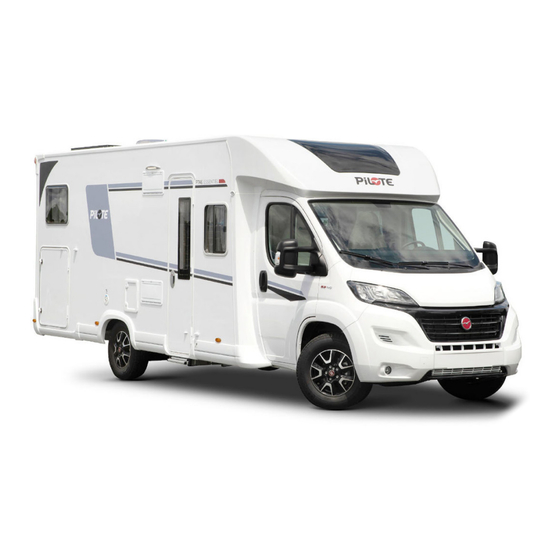
- Page 1 Pilote P740 Evidence...
-
Page 2: Technical Details
TECHNICAL DETAILS Seat Belts Berths Overall length 7.400m Overall Height 2.8m Overall Width 2.3m MTPLM 3500kg / 68.9cwt Rear : Large Island double bed Front Dinette area converts to a double bed 1.9m x 1.3m Measured from the widest point... - Page 3 PILOTE P740 COMMAND CONTROL PANEL...
- Page 4 TRAUMA HEATING AND WATER CONTROLS The command panel powers the Motorhome, on entering the Motorhome push the main Black switch at the door, The panel will activate the screen has a touch screen, and you can Scroll On entering the motorhome to Turn on the power pushing the BLACK Switch at the side of the door This will turn on the Main control panel on the wall. After turning on the power to the motorhome first select the source feeding the motorhome, this is done on the trauma panel below by Power up scrolling to the GAS or ELECTRIC icon and selecting gas or electric. When switch the source has been selected it will be shown above the black line as a gas bottle or an electric Flash The Trauma controls the power source to the Motorhome, and the heating and water temperature Motorhome Heating will work off the 240 v Electric or the Gas (YOU DO Front and NOT NEED THE WATER PUMP ON FOR THE HEATING) back light Decide first if you are running the heating off Gas or Electric (if in a switches campsite preferably use the 240v supply) Electric Step button If Gas Turn on the Gas Bottle, If Electric plug in the 240V supply With the Gas or Electric now selected, you can operate the Trauma panel by pushing the main button until the panel lights up The first screen you will see is this Scroll to the third icon (GAS Bottle or Electric) push the button and scroll to the icon you are running the heating on. If running on Gas scroll to the gas bottle and push the button the gas bottle will appear above the line. If running on Electric 240V select EL2 and push the button the electric sign will appear above the line. These are the only two choices you will Require NOW Scroll back to the motorhome icon, this controls the heating in the motorhome, push the button and the icon flashes, turn the dial to the desired temperature, then push the button again.
- Page 5 TRAUMA HEATING AND WATER INSTRUCTIONS Rotary push button The rotary push button (8) is used to select and change set points and parameters; it is then tapped to save the values. Selected menu items flash. Turn clockwise ! The menu is scrolled through from left to right Turn counterclockwise ! The menu is scrolled through from right to left 1. Display 6. Time switch 2. Status line display Tap 3. Menu line (top) 7.
- Page 6 TRAUMA HEATING AND WATER INSTRUCTIONS Start-up Start/Stand-by screen Select energy mode Gas or Electric When the control panel is connected to the power supply, after a few seconds a start screen is displayed. ! Use the rotary push button to select the icon in the menu line ! Tap the button to go to the setting level. ! Select the desired energy mode with the rotary push button ! Tap the rotary push button to confirm the Select setting level ! Tap the rotary push button (8).
- Page 7 EXTERNAL Diesel filler and add Blue (Use ignition Key) Electric Step Opérâted by a Button Inside the door Storage box with Eletrical cable freshwater hose and Toilet chemical for toilet Cassette Gas Bottle Storage, If no gas supply to the Motorhome make sure Main Valve Is Open The rear Camera has two modes a Reversing Camera and a rear driver view when driving.
- Page 8 The Motorhome is Fitted with an Awning Any Damage to the Awning for any reason will be charged to the Hirer at Full Cost The Awning must be secured at all times while in use with the securing pegs supplied During windy conditions and heavy rain, the Awning must be stored away to prevent damage...
- Page 9 EXTERNAL Toilet cassette 240v electric hook up point Before removing the toilet, Cassette make sure the lever on the toilet is in the closed position. Do not try to force the cassette out, if the lever is in the correct position the cassette will slide out easily Fresh Water filling point Fresh water tank hold 100 liters while traveling tank should be no more than 50 liter’s to prevent spillage into the Motorhome Turn the Grey pipe and remove the blue cap to empty, once cleaned add one cap of the toilet chemical and 2L of water Replace the cap and slide the cassette back into its locking position. Waste drain, under the motorhome...
- Page 10 Rear Garage for storage. All external locks are worked by the same key.
- Page 11 INTERNAL SEATING AND DINING AREA The seating Area converts into two traveling seats fitted with Seat belts...
- Page 12 Large double island bed at the rear of the motorhome, Door to separate bedroom from front of Motorhome, fitted with Wardrobes and Storage under the Bed Dinette Area converted into a double bed, Main seating is turned over, Dining table is lowered, and the infill cushions fitted as above...
- Page 13 TOILET AND SHOWER Before using the toilet, Slide the lever out to open the cassette flap, push the lever back in when finished. Do not move Lever while sitting on the toilet. Electric push Button to Flush toilet Before using the toilet, Slide the lever to the right to open Separate Shower...
- Page 14 KITCHEN AREA Kitchen area is fully equipped with plates cups pots and pans a kettle and cutlery various cooking utensils. Locking drawers for cutlery and pans and various cooking utensils Dometic Electronic Fridge Freezer The fridge has a digital push button control panel that can be used to select a source automatically or manually. Battery if driving, Gas , Electric if plugged in to a 240v supply. To select the source, push the arrow to the required source.
- Page 15 BLINDS The side door blinds are lifted and held in place by small magnets onto the door The windscreen blind is pulled up from dashboard height Any Damage to the Blinds will be charged in Full...
- Page 16 Close all other window blinds All windows are Fitted with Blinds and Fly Screens Adjustable TV...
- Page 17 Below is a list of Miscellaneous charges that may be charged if the Motorhome is not returned in accordance with the returns Policy. Smoking in the Motorhome £300.00 Unauthorised Pets in the Motorhome £150.00 Pet hair left in the Motorhome £100.00.
Need help?
Do you have a question about the P740 Evidence and is the answer not in the manual?
Questions and answers