Table of Contents
Advertisement
Quick Links
WARNING!
•
Keep away from fire.
•
The disassembled tepee
contains small parts
which pose a choking
hazard to children
under 3.
IMPORTANT:
The owner's manual contains safety, assembly, use and maintenance instructions .The product must be assembled by an adult who
has read and understood these instructions. Keep the packaging away from children and dispose of all packaging before use.
For the installer and your children's safety, it is important to fully read and understand the instructions and safety hazards before
commencing the assembly of the product.
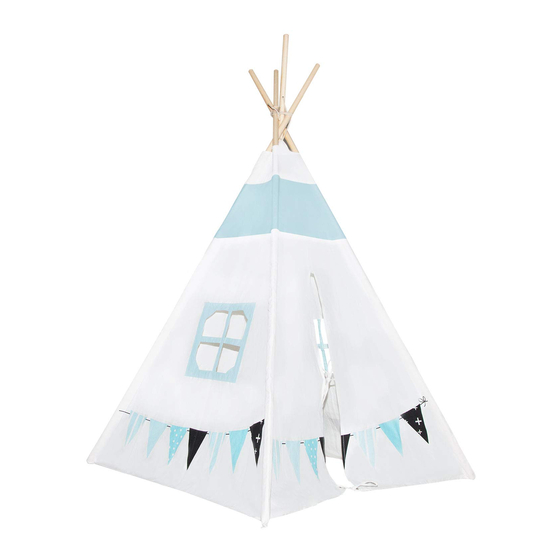
JOLLY TEEPEE
OWNER'S MANUAL
Advertisement
Table of Contents

Subscribe to Our Youtube Channel
Related Manuals for LifeSpan Kids JOLLY TEEPEE


Summary of Contents for LifeSpan Kids JOLLY TEEPEE
- Page 1 JOLLY TEEPEE OWNER'S MANUAL WARNING! • Keep away from fire. • The disassembled tepee contains small parts which pose a choking hazard to children under 3. IMPORTANT: The owner’s manual contains safety, assembly, use and maintenance instructions .The product must be assembled by an adult who has read and understood these instructions.
- Page 2 TABLE OF CONTENTS GENERAL SAFETY INSTRUCTIONS 1.1. PURPOSE 1.2. RISK OF INJURIES 1.3. PRODUCT DAMAGE 1.4. ASSEMBLY ADVICE PARTS ASSEMBLY INSTRUCTIONS WARRANTY...
- Page 3 1. GENERAL SAFETY INSTRUCTIONS 1.1 PURPOSE This product is intended for indoor, home, domestic use only. It is not suitable for commercial or medical use. 1.2 RISK OF INJURIES • Do not use the product if it is damaged or defective. If it is damaged or defective, please contact a qualified technician.
- Page 4 • Create a danger free environment; for example, do not let tools lay around the workspace. Store the packaging material in a way that cannot cause any danger. • After installing the product according to the instruction manual, ensure all screws, bolts and nuts are correctly installed and tightened and that all joints are secure.
- Page 5 3. ASSEMBLY INSTRUCTIONS Step 1: 1. Make 4 complete poles by connecting 1x Part A (top pole) to Part B (bottom pole) with Part D (solid tube). Step 2: 1. Insert the 4x poles inside the elastic cord of Part C (tent canvas). Make sure part without the hole goes in first.
- Page 6 Step 3: 1. Attach the wooden poles and tent covers together using the cotton string. Starting at the front, thread the string through the eyelet in the canvas and through the hole at the top of the pole. Repeat until all poles are attached to the canvas. Secure the string with a tight knot.
- Page 7 4. WARRANTY AUSTRALIAN CONSUMER LAW Many of our products come with a guarantee or warranty from the manufacturer. In addition, they come with guarantees that cannot be excluded under the Australian Consumer law. You are entitled to a replacement or refund for a major failure and compensation for any other reasonably foreseeable loss or damage.
Need help?
Do you have a question about the JOLLY TEEPEE and is the answer not in the manual?
Questions and answers