Advertisement
Quick Links
1. Slide the metal receiver over the
metal post.Press both sides of back
firmly downward until locked in place.
A
B
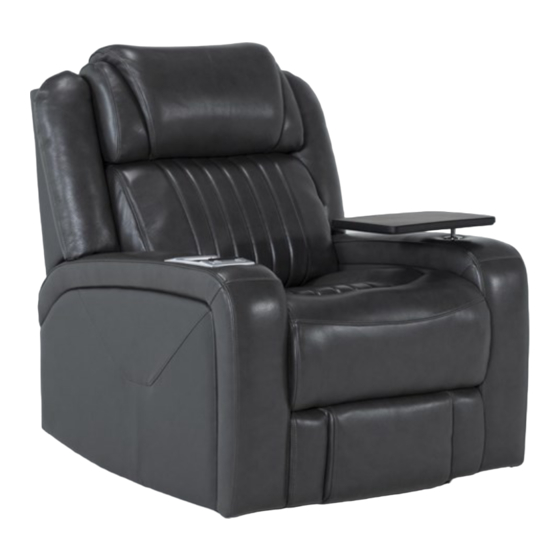
Assembly Instructions for OPTIONS - 85PHRL
A
B
3. The Transfomer P is attached to the
bottom of rail and connect to DC Port
located at the rear of arm.
4. The table is
located inside the
black dust cover
Note:
under the RAF Arm.
Make sure all PLUGS are connected on the product before plugging power cord
Please remove it
into power outlet. If not damage can occur.
and place into the
The USB ports (where applicable) are designed with working voltage of 5V, and
Circular metal base.
can NOT be used to supply power for laptop computers (neither PC or Mac).
Plugging a laptop computer to the USB port may end up damaging either the
computer or the USB port due to unmatched working voltage.
2. Locate the power cords C1 and C2
attached to the seat back and the power
cords D1 and D2 at the rear of the seat base.
Connect C1 to D1 and C2 to D2. C1 and D1
can be identified by the red tape.
C1 (Red Tape)
C2
D1 (Red Tape)
D2
P
Male
C
D
5. KD Wings (If applicable)
Insert the male KD Bracket into the slot of
the female Bracket pressing firmly
Female
Advertisement

Summary of Contents for Living Spaces 85PHRL
- Page 1 Assembly Instructions for OPTIONS - 85PHRL 1. Slide the metal receiver over the 2. Locate the power cords C1 and C2 metal post.Press both sides of back attached to the seat back and the power firmly downward until locked in place.


Need help?
Do you have a question about the 85PHRL and is the answer not in the manual?
Questions and answers