SV3C HX Series Quick Start Manual
Hide thumbs
Also See for HX Series:
- Quick start manual (30 pages) ,
- Quick start manual (24 pages) ,
- Quick start manual (24 pages)
Advertisement
Advertisement
Table of Contents

Subscribe to Our Youtube Channel
Related Manuals for SV3C HX Series


Summary of Contents for SV3C HX Series
- Page 1 US Email address info-us@sv3c.com UK Email address: info-uk@sv3c.com...
-
Page 2: Table Of Contents
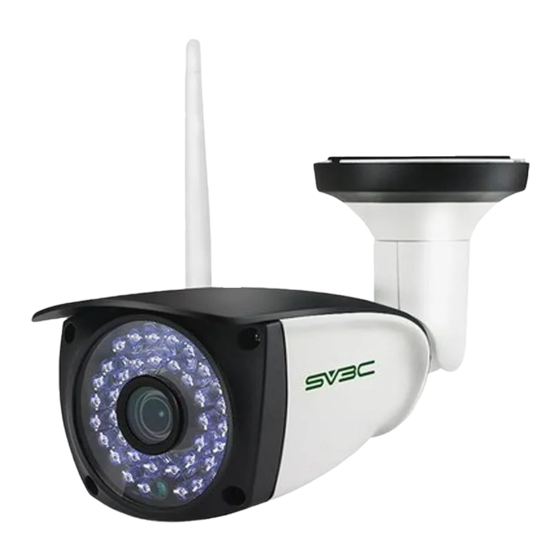
1.1 Product should contain: IP Camera * 1 Power adapter * 1 User manual * 1 Network cable * 1 About Camera WiFi antenna * 1 Screws bag * 1 Connect Camera 1.2 Product interface Add Camera via LAN cable Add Camera without LAN Cable Set Micro SD Card Recording View on PC... -
Page 3: Connect Camera
2.Connect Camera 3.Add Camera via LAN cable 2.1 Connect network cable to router and plug in power 3.1 Download “CamHipro” from Google Play (Android Phone) / App Store (iPhone) or scan the QR code below to get APP adapter. information. The router must be able to connect to the Internet! 3.2 Add Camera Please use the standard power supply. - Page 4 3.3 Add a sharing device Share camera, please click “Add a sharing device” to scan camera UID QR code, then you can add the camera on a different device. 3.4 View Camera Pan up/ down/ left/ right button, Only available for PTZ cam using! 8.Custom camera name...
- Page 5 3.5 WI-FI Setting Note: 1. WIFI Name (SSID) can not include special characters such as @ # $ % & blank etc. 2. WIFI Password: length should be within 8-31 bits and no special characters as well. 3. Dual Band WIFI router: camera only supports 2.4ghz WIFI but not 5ghz.
-
Page 6: Add Camera Without Lan Cable
Camera’s SSID in AP Mode is in a format: IPCAM-XXXXXX. Please add the camera via AP mode as below. (Default password: 01234567) Note: If you still can not set up camera successfully, please contact customer service as below: US Email address: info-us@sv3c.com UK Email address: info-uk@sv3c.com... -
Page 7: Set Micro Sd Card Recording
If you need Email alert with pictures, please enable “Alarm capture sent to Email” , click “Configure Email” to complete Email settings, for more detailed settings, please refer to the instruction on SV3C website or contact SV3C customer service. If you need to save motion detection recordings and pictures to FTP server, please enable “Alarm recording to FTP”... -
Page 8: View On Pc
5.2 Schedule Recording Setting 5.4 Set Camera Time Zone 1. Click here to set camera time zone manually. Note: When your time is DST(daylight saving time), please turn on DST button, otherwise the recording time will beincorrect. If you select “Easy setup”, the camera will record for 7/24 all days. - Page 9 6.3. Change the camera password Please download the correct P2P PC Client software 1, Double click the UID number, will for Windows and MAC PC on SV3C website: pop-up the right setting page. https://sv3c.com/pc-software-hx-series-download/ Please confirm the camera and your computer are connected with the same network , otherwise the 2.Change password here.
-
Page 10: Reboot And Restore Factory Setting
For detailed instructions and video to try to correct the interference by one or more of the following measures: tutorials please refer to SV3C website www.sv3c.com. -Reorient or relocate the receiving antenna. This manual may have descriptions and operations that -Increase the separation between the equipment and receiver.
Need help?
Do you have a question about the HX Series and is the answer not in the manual?
Questions and answers