Advertisement
Quick Links
SEC/SH/11/18/DC2
xxxxx
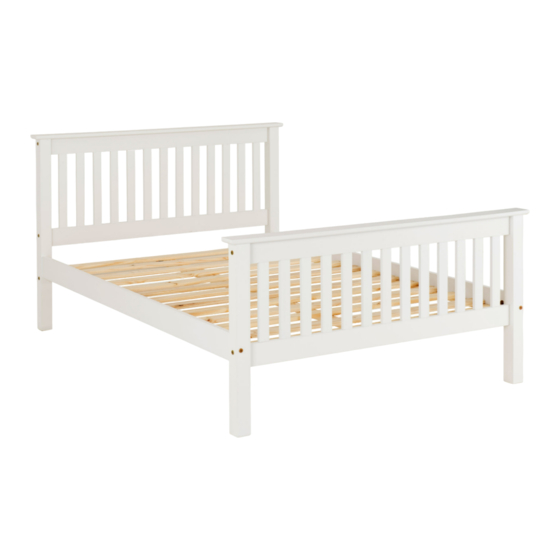
MONACO 5' LOW END BED
ASSEMBLY INSTRUCTIONS
!
DO NOT
USE
FOR DOMESTIC USE ONLY
IMPORTANT
PLEASE READ BEFORE YOU CONTINUE FURTHER
CARE AND MAINTENANCE
After unpacking this product please keep the original packaging in case it needs to be returned
for any reason.
and the product.
We strongly recommend that you keep children away from your work area.
Never drag or push products as this could cause damage to the joints making it inferior.
Do not drag or push items across your furniture as this may cause the surface to scratch.
Do not place this product next to a radiator or in direct sunlight.
Wood is a natural product and may expand if subjected to damp and may shrink or crack if
subjected to heat. Therefore it is recommended that room temperature is maintained, with no
Do not place hot or chilled items directly on to the surface, use a place mat or marking will
occur.
out.
PAGE 1
Advertisement

Subscribe to Our Youtube Channel
Related Manuals for Seconique Monaco 5


Summary of Contents for Seconique Monaco 5
- Page 1 SEC/SH/11/18/DC2 xxxxx MONACO 5' LOW END BED ASSEMBLY INSTRUCTIONS DO NOT FOR DOMESTIC USE ONLY IMPORTANT PLEASE READ BEFORE YOU CONTINUE FURTHER CARE AND MAINTENANCE After unpacking this product please keep the original packaging in case it needs to be returned for any reason.
- Page 2 SEC/SH/11/18/DC2 The RED color indicates the left component 06 08 06 08 06 08 06 08 06 08 06 09 06 08 06 08 06 09 06 08 06 08 X X X 06 09 06 09 06 09 Parts Headboard panel Siderail Slats (2 holes)
- Page 3 SEC/SH/11/18/DC2 Ø8 x 0mm Ø7 x 100mm 17mm PAGE 3...
- Page 4 SEC/SH/11/18/DC2 Ø1/4 x 110mm 17mm FOR YOUR FUTURE REFERENCE ORDER NUMBER SHOULD BE HERE Ø4,0 x 16mm PAGE 4...
- Page 5 SEC/SH/11/18/DC2 Ø3,5x30mm Ø7 x 90mm 17mm PAGE 5...
- Page 6 SEC/SH/11/18/DC2 Ø1/4 x 60mm 17mm Please fix the first slats adjacent to the headboard and footboard and work towards the middle of the bunk bed using the Spacer as shown to ensure correct spacing. Fix all the slats to one siderail first then push the second siderail tight against the slats and fix.
Need help?
Do you have a question about the Monaco 5 and is the answer not in the manual?
Questions and answers