Advertisement
Quick Links
BEFORE YOU START
• Fully read all instructions.
• Move roof vent into the fully open position (cranked up).
• Collect all hardware, tools, and Aero-Flo™ vent and move
onto roof.
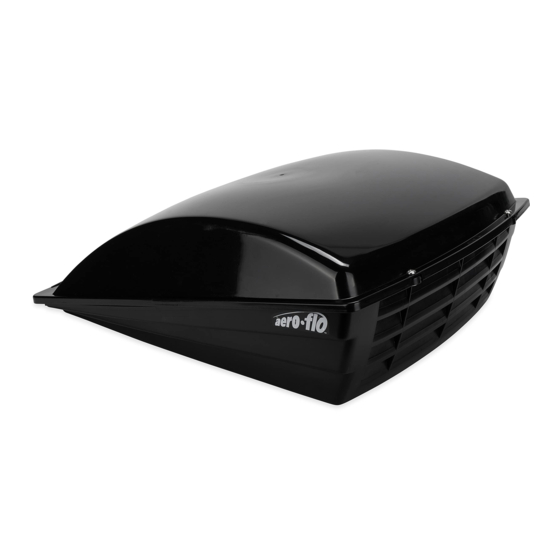
Aero-Flo™ Side View:
2
Rear
Locking Srews
AIR
Flow
(Rear and Sides)
REAR OF RV
Tools Needed:
Fine tip
Electric drill
marker
and 7/32" or
5/32" drill bit
Screwdriver
3/8" & 7/16"
sockets and
ratchet
Extra Hardware:
Not all installations will require these screws. Please see step
#6 to determine whether you will need to use them or not.
#10 Self Tapping
Screws (4)
Top
Hardware:
4
of
EACH
Carriage bolt
1/4" x 3/4" long
Mounting
#10 Machine
bracket
screw x 1/2" long
1/4" Flat washer
1/4" Lock washer
#10 Flat washer
#10 Lock washer
P
A
T
E
N
T
E
D
1
Front
Hinge Rod
1/4" Hex nut
#10 Hex nut
NEXT
Advertisement

Related Manuals for Camco Aero-flo Vent Cover

Summary of Contents for Camco Aero-flo Vent Cover
- Page 1 BEFORE YOU START • Fully read all instructions. • Move roof vent into the fully open position (cranked up). • Collect all hardware, tools, and Aero-Flo™ vent and move onto roof. Aero-Flo™ Side View: Rear Locking Srews Front Hinge Rod Flow (Rear and Sides) REAR OF RV...
- Page 2 INSTALL BASE FIRST 1. Place four mounting brackets as close as possible to vent corners, with the slotted side down towards the RV’s roof. Do not attach yet – leave them sitting. 2. Gently lower and center Aero-Flo™ base over vent and brackets. Louvers on Aero-Flo™...
- Page 3 THEN ATTACH TOP. WHEN ATTACHING THE AERO-FLO™ TOP, IT IS VERY IMPORTANT TO FOLLOW THESE INSTRUCTIONS IN ORDER . • Kneel behind the louvered (big) end of the Aero-Flo™. STEP • Place the front hinge rods on the top under the hinge lips on the front of the base.
- Page 4 Yes! Your vent lid will actually open to a higher position than other vent covers allow. The Aero-Flo’s bubble top allows the vent to open to a very steep angle - this offers excellent ventilation in your RV. Camco Mfg./ Greensboro, NC 27409 800-334-2004 www.camco.net...
Need help?
Do you have a question about the Aero-flo Vent Cover and is the answer not in the manual?
Questions and answers