Table of Contents
Advertisement
Available languages
Available languages
Quick Links
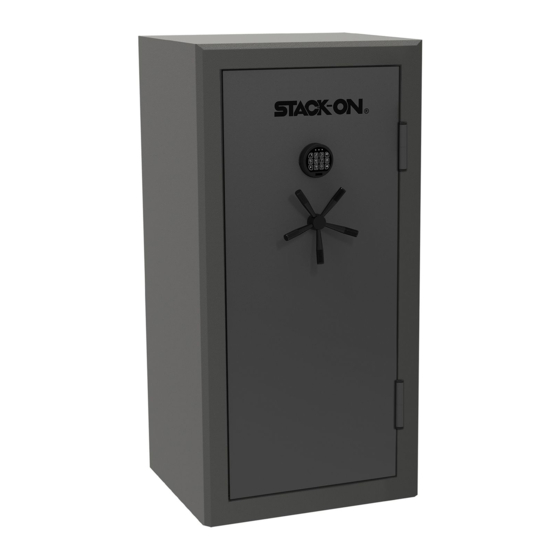
TDS-42-SG-E-S
WARNING
A child or adult can tip the safe and
be killed or seriously injured.
Failure to secure the safe as shown in
these instructions can result in death
or serious injury to children and adults.
Children should not play with or
around the safe at any time.
Serial # :
Combination #:
TOOLS REQUIRED:
Drill
7/16" Drill Bit
3/8" Drill Bit
17mm Socket Wrench
Phillips Screwdriver
®
INSTRUCTIONS
Tip Over Hazard
IMPORTANT:
• Record the serial number from the tag on the
back of the safe or from the tag on the front
bottom corner of the safe.
• Keep keys and combination in a secure
place away from children.
• Do not store the back up key, your
combination or this document in the safe.
• Do not move this safe using its handle.
The handle should only be used for opening
and closing the door of the safe.
• Warning: Keep your safe closed and
locked at all times when not in use. Children
could accidentally be locked inside the safe.
• NOTE: Stack-On is not responsible for any
cost incurred if the safe is replaced
due to a flood.
• Do not store electronic media, computer
disks, SD cards, audio-visual media or
photographic negatives in this safe. In the
event of a fire, these materials will not survive
the rated internal temperature of the safe,
they could be damaged or destroyed.
Battery Disposal
Please dispose the used batteries per municipal or
provincial law.
HARDWARE INCLUDED:
Inside the safe you will find a parts box that
includes the following items:
(4) Remaining Handle Spokes
(2) Lag screws
(2) Gasket Washers
1
14
40828-2203
Advertisement
Table of Contents

Related Manuals for Stack-On TDS-42-SG-E-S


Summary of Contents for Stack-On TDS-42-SG-E-S
- Page 1 Children around the safe at any time. could accidentally be locked inside the safe. • NOTE: Stack-On is not responsible for any Serial # : cost incurred if the safe is replaced due to a flood.
-
Page 2: Getting Started
GETTING STARTED ELECTRONIC LOCK Before you can enter any numbers, touch any will stay illuminated for approximately sheet bag and screw it into the hub and 10 seconds. NOTE: Do not use this handle to move the safe. numbers/symbols on the electronic keypad in this order: 1 - 5 - 9 - #. -
Page 3: Locking The Safe
LOCKING THE SAFE ENTERING YOUR SECURITY CODE To enter your own security code you will need To lock the safe, close the door and rotate the to follow the steps listed below: mechanism will not lock. preset factory code of 1 - 5 - 9 - # locate the NOTE ON LOCKING THE SAFE: Because the near the hinge. -
Page 4: Battery Installation
BATTERY INSTALLATION SELECTING A LOCATION The safe must be mounted to the floor. For be installed adjacent to a side wall with wires. Doing this could cause the power supply minimal space on either side of the safe, in an to become disconnected from the lock. - Page 5 SECURING THE SAFE GUN REST INSTALLATION Gun rests are pre-installed with (4) L brackets NOTE: This safe must be secured to the floor. using (2) screws for each bracket. The gun rest Use the hardware provided. NOTE: This safe must be mounted to the floor. when accessing your guns.
- Page 6 Verification of ownership is required in order to receive a replacement Key for your security product. In order to receive a replacement Key for your security product: 1. Please visit the following link: https//www.stack-on.com/customer-service/ 2. Locate and click on the "Replace your lost keys/combination" icon 3.
- Page 7 Stack-On may require the safe be returned to the factory for repair. If the safe is so returned, Stack-On will pay the freight to the factory as well as the return freight. If the safe is replaced, Stack-On will pay the freight. This guarantee does not cover labor costs for removal or installation of the safe and its contents.
-
Page 8: Herramientas Necesarias
Niños accidentalmente podrían cualquier momento. ser encerrados en la caja fuerte. Serie # : • NOTA : Stack-On no se hace responsable por cualquier costo incurrido si el seguro es reemplazado debido a una inundación. • No almacene medios electrónicos, discos de ordenador, tarjetas SD, medios Combinación #:... - Page 9 CERRADURA ELECTRONICA EMPEZANDO Antes de que pueda acceder a todos los manija del radio que se incluye en la bolsa de la números , pulse cualquier tecla del teclado para hoja de instrucciones y atorníllela en el cubo y apriete a mano. durante aproximadamente 10 segundos.
- Page 10 CIERRE LA CAJA FUERTE ENTRAR EN SU CÓDIGO DE SEGURIDAD Para introducir su propio código de seguridad que Para bloquear la caja de seguridad , cerrar la tendrá que seguir los pasos que se indican a puerta y girar el mango hacia la derecha hasta que se detenga , el mecanismo de bloqueo 1.
-
Page 11: Instalación De La Batería
SELECCIÓN DE UNA UBICACIÓN INSTALACIÓN DE LA BATERÍA La caja fuerte se debe montar en el suelo. Primero debe instalar la batería que se caja de seguridad debe ser instalado protección delantera. adyacente a una pared lateral con un espacio NOTA : Al cambiar la batería , sujete siempre la mínimo a cada lado de la caja de seguridad , batería conectando el casquillo mientras se... - Page 12 SUJETANDO LA CAJA FUERTE INSTALAR EL RESTO ARMA Restos de armas son pre -instalado con soportes hardware proporcionado . NOTA : Este seguro se debe montar en el suelo. largo plazo para evitar el cambio al acceder a De no hacerlo, pondrá en peligro la seguridad y la sus armas.
- Page 13 Para recibir una clave de reemplazo para su producto de seguridad: 1. Visite el siguiente enlace: https // www.stack-on.com / customer-service / 2. Localiza y haz clic en el ícono "Reemplazar tus llaves perdidas / combinación" 3. Siga las instrucciones proporcionadas para recibir su clave.
- Page 14 Stack-On puede requerir que la caja fuerte sea devuelta a la fábrica para su reparación. Si se devuelve la caja fuerte, Stack-On pagará el flete a la fábrica así como el flete de devolución. Si se reemplaza la caja fuerte, Stack-On pagará el flete. Esta garantía no cubre los costos de mano de obra para el retiro o instalación de la caja fuerte y su contenido.
Need help?
Do you have a question about the TDS-42-SG-E-S and is the answer not in the manual?
Questions and answers