Table of Contents
Advertisement
Advertisement
Table of Contents

Subscribe to Our Youtube Channel
Related Manuals for Choo Choo Vision CAB-CAM 6


Summary of Contents for Choo Choo Vision CAB-CAM 6
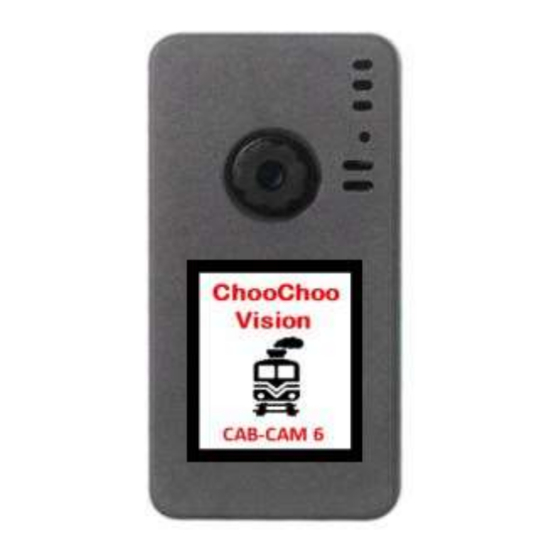
- Page 1 CAB-CAM 6 User Guide www.choochoovision.com Released 11/06/2021...
-
Page 2: Table Of Contents
Initial Setup .............................. 4 Powering your CCV Camera ........................4 Charging your CCV Camera Battery ......................5 Connecting a Choo Choo Vision Camera to Your Wi-Fi Network for the first time ....... 6 User Screen Controls and Operation ....................... 7 PAN-CAM ..............................9 JMRI Throttle ............................ -
Page 3: Camera Controls
Blink every 3 seconds: Camera is in charging mode. 4. USB Port (external power) Accepts 5V Power from USB Phone Charger Accepts Choo Choo Vision DCC Power Converter 5. Aux Port Accepts secondary auxiliary magnetic switch for powering off the camera ... -
Page 4: Initial Setup
Wi-Fi stream Battery camera’s URL Network Charge the Battery: Before using your Choo Choo Vision camera for the first time, ensure the battery is charged. Plug the supplied USB cable into the bottom of the camera. ... -
Page 5: Charging Your Ccv Camera Battery
Power Modes: The Choo Choo Vision camera has three power modes: Battery Power: Uses the onboard battery (no external power source is connected) External Power: Uses an external power source such as our DCC Power Adapter or via the USB cable connected to a 5V cell phone power bank, or computer USB port. -
Page 6: Connecting A Choo Choo Vision Camera To Your Wi-Fi Network For The First Time
Connecting a Choo Choo Vision Camera to Your Wi-Fi Network for the first time The Choo Choo Vision Camera is more than just a camera. Contained inside the camera is a web server that allows you to manage camera settings, view video, stream video over the internet, take still images of your layout. -
Page 7: User Screen Controls And Operation
User Screen Controls and Operation The Choo Choo Vision user screen allows you to view the video feed, take still images, and manage camera settings. This page also is remotely viewable via the internet (with firewall port forwarding enabled). Accessing the Choo Choo Vision User Screen To access the User Screen: ... - Page 8 Choo Choo Vision User Screen Camera User Screen Controls The Choo Choo Vision user screen contains controls for adjusting camera settings, open a JMRI throttle, run the PAN-CAM and start/stop the video feed, and take still images. Adjusting Camera Image Settings ...
-
Page 9: Pan-Cam
JMRI Throttle The Choo Choo Vision camera has been designed to work with JMRI. It can launch a JMRI Throttle to control your locomotive while you view live video from the camera. To open a JMRI Throttle, … Enable the JMRI WebServer and WiThrottle servers. (See the help section in JMRI’s documentation for details). -
Page 10: Software Updates
HOME page. Product Support: The support area of the Choo Choo Vision website contains several how-to’s and tips that may answer your questions. If you have any question regarding the setup, use, or suggestions, please feel free to contact us. - Page 11 Help: Displays some basic instructions for connecting your camera to the local Wi-Fi network. Settings: Displays network device settings for your camera Update: OTA updates. Used to upload Choo Choo Vision software updates. HOME: Return to user home page. Configure new This menu option is used for connecting the camera to your Wi-Fi Network.
- Page 12 Clicking on the green SSID button will connect the camera to that specific network access point. Disconnect: Disconnects your Choo Choo Vision camera from the Wi-Fi network. After disconnecting, you will not be able to reach the AutoConnect menu because the camera is no longer connected to your WiFi network.
-
Page 13: Appendix B: Lenses - Removal And Installation, Heat Shields, And Lens Care
Appendix B: Lenses – Removal and Installation, Heat Shields, and Lens Care Your CCV camera system comes with a pre-installed lens. Changing Lenses: DO NOT ATTEMPT TO CHANGE YOUR LENSE WITHOUT CONTACTING CUSTOMER SUPPORT FOR INSTRUCTIONS. The CCV camera contains delicate electronic components that can be damaged if mishandled. -
Page 14: Appendix C: Troubleshooting
Focus Adjustment – The focal point of your CCV lens can be adjusted by making slight turns to the lens glass ring. Gently turn the lens glass ring left or right to adjust the focal point – typical range is about 1 turn left or 1 turn right. DO NOT UNSCREW FULLY, AS YOU MAY DAMAGE THE LENS WHEN TRYING TO RE-INSTALL. - Page 15 Confirm your Wi-Fi router is ON and working properly. Can you access the router using another device (i.e., your computer or cell phone)? Locate the Choo Choo Vision camera in your router’s Wi-Fi network page. Is the Choo Choo Vision camera present? If not, The camera’s Wi-Fi setup needs to be completed.
- Page 16 4) The camera has 2 DNS addresses that resolve to the same IP address. http://ChooChooVision8014:8014 http://ChooChooVision8014.local:8014 see if using http://ChooChooVision8014.local:8014 resolves any issues. 5) Static IP address: If the WiFi signal strength is OK, then let's set up a static IP address for the camera.
- Page 17 > Click on the APPLY button. The camera will then negotiate w/ the router and respond back with a list of IP settings. You now will have a static IP address assigned to the camera. www.choochoovision.com Released 11/06/2021...
Need help?
Do you have a question about the CAB-CAM 6 and is the answer not in the manual?
Questions and answers