Advertisement
Table of Contents
For Your Records and
Warranty Assistance
For reference, also attach your receipt or a copy
of your receipt to the manual.
__________________________________________
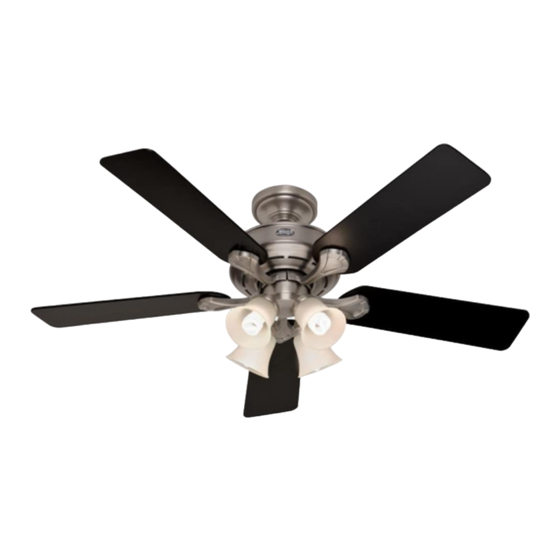
Model Name
__________________________________________
Model No.
__________________________________________
Date Purchased
__________________________________________
Where Purchased
Form# 42667-01
20090819
©2009 Hunter Fan Co.
Type 2 Models
Type 2 Models
Type 2 Models
Owner's Guide and Installation Manual
Advertisement
Table of Contents

Related Manuals for Hunter 42667-01


Summary of Contents for Hunter 42667-01
- Page 1 For reference, also attach your receipt or a copy of your receipt to the manual. __________________________________________ Model Name __________________________________________ Model No. __________________________________________ Date Purchased __________________________________________ Where Purchased Form# 42667-01 20090819 ©2009 Hunter Fan Co. Type 2 Models Type 2 Models Type 2 Models Owner’s Guide and Installation Manual...
-
Page 2: Table Of Contents
8 • Operating and Cleaning Your Ceiling Fan ....... 12 9 •... - Page 3 Understanding Mounting and Installer’ s Choice® Hunter’s patented 3-position mounting system provides you maximum installation flexibility and ease. You can install your Hunter fan in one of three ways, depending on ceiling height and your preference: Low Profile, Standard, or Angled mounting. The steps in this manual include instructions for all three Installer’s Choice mounting methods.
-
Page 4: Getting Ready
• Drill holes for and install wood screws. • Identify and connect electrical wires. • Lift 40 pounds. If you need help installing the fan, your Hunter fan dealer can direct you to a licensed installer or electrician. Gathering the Tools You will need the following tools for installing the fan: •... -
Page 5: Installing The Ceiling Plate
Tighten the screws into the 9/64” pilot holes; do not use lubricants on the screws. Do not over tighten. Flat Washer 42667-01 • 08/19/09 • Hunter Fan Company For Angled Ceilings: Be sure to orient the ceiling plate so that the two tabs are pointing toward the ceiling peak. -
Page 6: Assembling And Hanging The Fan
Note: To hang the fan, you must tilt the canopy to an almost vertical position so that the canopy slots sit on the ceiling plate hooks. 3-7. Raise the fan and align the slots in the canopy with the hooks on the ceiling plate. -
Page 7: Wiring The Fan
4-7. Spread the wires apart, with the grounded wires on one side of the outlet box and the ungrounded wires on the other side of the outlet box. 42667-01 • 08/19/09 • Hunter Fan Company 4 • Wiring the Fan fsdfsdf... -
Page 8: Installing The Canopy And Canopy Trim
Note: Your fan may have multiple tabs and grooves that must be aligned. 5-2. Swing the fan up to align the canopy screw holes with the mounting holes on the ceiling plate. WARNING: The slots in the canopy must remain engaged while swinging the canopy for alignment. -
Page 9: Assembling The Blades
6-2. Align the holes in the blade with the blade iron. 6-3. Close the locking mechanism securely. You will feel it lock into place. 6-4. Repeat steps 6-1 through 6-3 until all blades are installed. 42667-01 • 08/19/09 • Hunter Fan Company 6 • Assembling the Blades Open Step 6-1... -
Page 10: Completing Your Installation With A Multi Staked Light Fixture
Housing Housing Assembly Screw 42667-01 • 08/19/09 • Hunter Fan Company WARNING: Use only the light fixture supplied with this fan model. 7-1. To attach the lower switch housing, connect the upper plug connector from the motor to the lower plug connector in the lower switch housing assembly. - Page 11 7-4. Install and tighten the three thumb screws. Do not overtighten. 7-5. Install included 14w CFL bulbs. Note: Glass shade style and number of lights may vary. 42667-01 • 08/19/09 • Hunter Fan Company Thumb Screw Step 7-3 – 7-4 Thumb...
-
Page 12: Fan
8 • Operating and Cleaning Your Ceiling Fan 8-1. Turn on electrical power to the fan. 8-2. The fan pull chain controls power to the fan. The pull chain has four settings in sequence: High, Medium, Low and Off. • Pull the chain slowly to change settings. -
Page 13: Troubleshooting
Problem: Lights dim when turned on or do not turn on 1. Check to make sure the wattage and type of light bulbs installed match the specifications on the light socket. 42667-01 • 08/19/09 • Hunter Fan Company 9 • Troubleshooting If you need parts or service assistance, please call...
Need help?
Do you have a question about the 42667-01 and is the answer not in the manual?
Questions and answers