Table of Contents

Related Manuals for woodmizer LT15

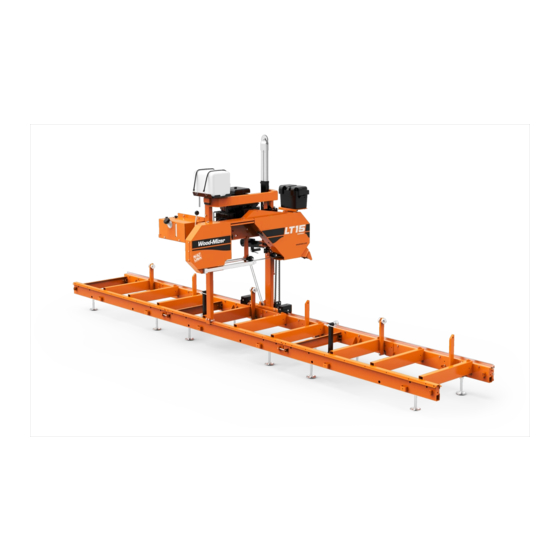
Summary of Contents for woodmizer LT15
- Page 1 G15 Engine Safety, Operation, Maintenance & Parts Manual LT15 rev. A1.01 Safety is our #1 concern! Read and understand all safety information and instructions before oper- ating, setting up or maintaining this machine. Form #698...
-
Page 2: Table Of Contents
SECTION 1 SAFETY & GENERAL INFORMATION Refueling ........................1-1 Engine Operation....................... 1-1 SECTION 2 OPERATION Starting The Engine....................2-1 SECTION 3 MAINTENANCE Air Filter & Pre-Cleaner.................... 3-1 Engine Oil & Filter....................3-1 Air Cooling System ....................3-1 Fuel Filter ........................3-2 Miscellaneous Maintenance .................. -
Page 3: Safety & General Information
Safety & General Information Refueling SECTION 1 SAFETY & GENERAL INFORMATION IMPORTANT! This manual is provided as a supplement to the equipment manufacturer’s manuals. This manual takes into account the specific use of engines on the Wood-Mizer sawmill. Only safety, maintenance, and operating procedures that are not provided by the manufacturer are sup- plied in this manual. -
Page 4: Operation
Operation Starting The Engine SECTION 2 OPERATION Starting The Engine Engine Start WARNING! Do not start the engine when the tensioner lever is in the ENGAGED (up) position. Always be sure the blade is disengaged and all persons are away from the sawmill before starting the engine. 1. - Page 5 Operation Starting The Engine 2. Close the engine choke by moving the choke lever to the START position. See Figure 2-2. FIG. 2-2 3. Turn the key to the START position. See Figure 2-3. FIG. 2-3 Operation G15G13doc091818...
- Page 6 Operation Starting The Engine 4. When the engine is started, release the tensioner lever to the IDLING position and slowly open the choke by moving the choke lever to the OFF position. See Figure 2-4. 150216 FIG. 2-4 5. To engage the blade, press and hold the green button on the control box and push the tensioner lever to the ENGAGED (up) position.
-
Page 7: Maintenance
Maintenance Air Filter & Pre-Cleaner SECTION 3 MAINTENANCE IMPORTANT! This manual only provides information about additional pro- cedures or procedures to be performed at different time intervals than found in the engine manufacturer's manuals. Refer to the manufacturer's for complete maintenance instructions. manual WARNING! Remove the blade before performing any engine service. -
Page 8: Fuel Filter
Maintenance Fuel Filter Fuel Filter Replace the fuel filter every 100 hours of operation. Miscellaneous Maintenance Inspect the spark plugs every 100 hour of operation. Remove any deposits and adjust gap if necessary. See engine manual for further information. Drive Belt Adjustment WARNING! Do not for any reason adjust the engine drive belts or belt support bracket with the engine running. - Page 9 Maintenance Drive Belt Adjustment See Figure 3-1. Jam Nut Engine Mounting Bolts Adjustment Bolt Adjustment Bolt FIG. 3-1 Periodically check all belts for wear. Replace any damaged or worn belts as needed. Maintenance G15G13doc091818...
-
Page 10: Alternator Belt
Maintenance Alternator Belt Alternator Belt The belt tension should be checked after the first 100 hours of operation, when the battery is not charging properly or when the alternator belt is squealing. If the battery continues to not charge properly or the belt continues to squeal after the initial belt adjustment, replace the belt. - Page 11 Maintenance Alternator Belt See Figure 3-3. Belt Tension Lower Alternator Adjustment Bolt Mounting Bolt with Nut FIG. 3-3 5. Turn the belt tension adjustment nut clockwise to tighten the belt, counterclockwise to loosen the belt. Adjust the bolt until the proper belt tension is achieved. CAUTION! Do not overtighten the alternator belt.
-
Page 12: Rpm Adjustments
Maintenance RPM Adjustments RPM Adjustments WARNING! Remove the blade before performing any engine service. Fail- ure to do so may result in serious injury. Check the RPM with a tachometer after the first 20 hours of operation and every 200 hours thereafter. High-end RPM should be 3650 (±100) RPM and low-end RPM should be 1200 (not to exceed 1500). -
Page 13: Replacement Parts
Replacement Parts How To Use The Parts List SECTION 4 REPLACEMENT PARTS How To Use The Parts List Use the table of contents or the index to locate the assembly that contains the part you need. Go to the appropriate section and locate the part in the illustration. ... -
Page 14: Engine Assembly
Replacement Parts Engine Assembly Engine Assembly 22 5 24 25 DESCRIPTION ( indicates parts available in assemblies only ) PART # QTY. ENGINE ASSY, LT15G15 KOHLER 096971 Engine KOHLER 15HP, CH15ST w/electric start 096443 Filter, Kohler Air #47-083-01 014718 Pre-Cleaner, Kohler Air #52-083-01 014719 Filter, Kohler Oil #52-050-02 014717... - Page 15 Replacement Parts Engine Assembly Bolt, Throttle Cable Clamp Zinc-Plated 088120-1 Spring, Extension 3/8X3 014818 Cable, D10, LT15 Throttle 095308 Spring, 35 x 9,5 x 1,6 Extension 097443 Bracket, LT15/G15 Alternator 095302-1 Screw, 3/8-16x1,HHC GR8 F05007-7 Cover, LT15/G15 Alternator 095324-1 Screw, M8x16 -8.8-B-Hex Head Full Thread Zinc...
-
Page 16: Brake/Belt Tensioner Assembly
Plate, Tensioner/Brake Handle 097438-1 Fitting, M6 Type A Grease 086280 Bushing, GFM - 1618-12 Igus 091455 Grip, Tensioner/Brake Handle 095318-1 Cam, LT15 Limit Switch Zinc 096969-1 Limit Switch, FA138 Z11 100931 Angle Lever, Complete 097432 Lever, Angle 097433-1 Bushing, GFM 1719-25... - Page 17 096451-1 Roller, Tension Complete 511166 Axle, Belt Tension Wheel Zinc 509901-1 Bearing Wheel, Idle Side 6305 2RS NSK. P08066 Wheel, LT15 Belt Tension Zinc 087671-1 Ring, 62W Inside Spring Retaining F81090-1 Ring, 25Z Outside Retaining F81090-22 Washer, 17 Flat Zinc F81058-1 BOLT M16x30-8.8-Fe...
Need help?
Do you have a question about the LT15 and is the answer not in the manual?
Questions and answers