
Related Manuals for Westinghouse DWM48F1Y1


Summary of Contents for Westinghouse DWM48F1Y1
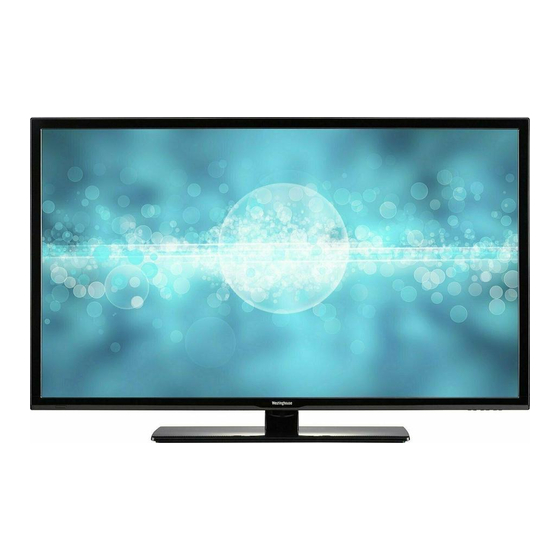
- Page 1 All manuals and user guides at all-guides.com USER’S MANUAL MANUEL DE L’UTILISATEUR MANUAL DEL USUARIO DWM48F1Y1...
- Page 2 All manuals and user guides at all-guides.com VGA(PC)Connection USB Port Function HDMI&Coaxial&Auido out Connection USB Menu...
- Page 3 All manuals and user guides at all-guides.com...
- Page 4 All manuals and user guides at all-guides.com 78.8...
- Page 5 All manuals and user guides at all-guides.com Fix the stand support to the TV using 6 pcs screws. Fix the base stand to the TV using 6 pcs screws.
- Page 6 All manuals and user guides at all-guides.com...
- Page 7 All manuals and user guides at all-guides.com...
- Page 8 All manuals and user guides at all-guides.com...
- Page 9 All manuals and user guides at all-guides.com MENU Button 6.INPUT Button POWER Button blue 1.USB 2.PC AUDIO IN Jack 3.COMPONENT/VIDEO IN and AUDIO IN Jack 4.Coax OUT Jack 5.AUDIO OUT Jack 6.Headphone Jack 7.TV ANTENNA Terminal 8.VGA IN Jack 9.HDMI IN Jack AUDIO OUT...
- Page 10 All manuals and user guides at all-guides.com...
- Page 11 All manuals and user guides at all-guides.com Audio left is white,and Audio right is red. AUDIO OUT Audio left is white,and Audio right is red. AUDIO OUT...
- Page 12 All manuals and user guides at all-guides.com AUDIO OUT PC Audio Cable AUDIO OUT...
- Page 13 All manuals and user guides at all-guides.com COAXIAL and AUDIO OUT AUDIO OUT...
- Page 14 All manuals and user guides at all-guides.com Turn the LED TV on or off. Press once to disable the audio and press again to enable the audio. P.MODE S.MODE Press to adjust between available audio channel. SLEEP SOURCE Displays INFO Press to set the closed caption.
- Page 15 All manuals and user guides at all-guides.com...
- Page 16 All manuals and user guides at all-guides.com HOME Power On Mode Use the Up , Down arrows on your remote control to select power on mode. Home optimizes the video settings for Energy Star qualification. Do you want to set Home mode(Energy saving)? OK: Next :Select OK: Next...
- Page 17 All manuals and user guides at all-guides.com Use the Up and Down arrows on your remote control to select the channel scan type. YPbPr YPbPr/AV Total Found Menu:Skip DTV YPbPr/AV HDMI1 HDMI2 HDMI3...
-
Page 18: Select Input Source
All manuals and user guides at all-guides.com Select Input Source Source Select YPbPr/AV HDMI1 HDMI2 HDMI3 Basic Operation Lock... - Page 19 All manuals and user guides at all-guides.com Lock Color Temperature Normal Color Temperature Press button to select Color Temperature ,then press button to adjust. Available color Temp. mode:Warm,Cool,Normal.
- Page 20 All manuals and user guides at all-guides.com Lock Lock Color Temperature Normal Off,Weak,Medium,Strong. Lock Lock Custom Color Saturation Brightness Reset...
- Page 21 All manuals and user guides at all-guides.com the option you want press Lock Lock...
-
Page 22: Audio Menu
All manuals and user guides at all-guides.com AUDIO Menu Lock Sound Mode Standard Bass Treble Balance Stereo Digital Audio Ouput Surround Mode Audio Audio menu. Sound Mode Sound Mode Sound Mode Surround Mode Surround Mode On or Off... -
Page 23: Sleep Timer
All manuals and user guides at all-guides.com TIME Menu Lock Sleep Timer Sleep Timer... -
Page 24: Osd Timeout
All manuals and user guides at all-guides.com Lock OSD Timeout OSD Timeout OSD Timeout Lock Digital CC Service1 Option... - Page 25 All manuals and user guides at all-guides.com Digtial CC Press button to select Advance Selection,then press button to select Service1,Service2 Service3,Service4,Service5,Service6,off. Option Press button to select Option,then press button enter submenu. Lock Lock (0000) Lock Lock Enter Password Press “OK” to confirm...
- Page 26 All manuals and user guides at all-guides.com Lock Lock Change Password Block Unrated a sub menu will 8899 Lock Lock Lock Block Unrated...
- Page 27 All manuals and user guides at all-guides.com Lock Unblock YPbPr/AV Unblock Unblock HDMI1 Unblock HDMI2 Unblock HDMI3 Block Unrated Unblock Unblock Lock Lock Block Unrated Lock Lock Block Unrated...
-
Page 28: Signal Type
All manuals and user guides at all-guides.com Lock Signal Type Signal Type Signal Type Signal Type Lock Lock Total Found Lock Channel Label Prev Next... - Page 29 All manuals and user guides at all-guides.com Lock Channel Label Lock...
- Page 30 All manuals and user guides at all-guides.com Setup Lock Lock AUDIO...
- Page 31 All manuals and user guides at all-guides.com USB Menu Note:Before operating Media menu,Plug in USB device,then press SOURCE button to set the Input Source to USB. Press S/T button to select USB in the Source menu,then press OK button to enter. M-JPEG Press ◄...
- Page 32 All manuals and user guides at all-guides.com Press ◄ / ► button to select the file you want to watch in the file selecting menu,then press OK button to display picture. When highlighting the option you select,the file information will appear on the right and Picture will be previewed in the center.
- Page 33 All manuals and user guides at all-guides.com...
- Page 34 All manuals and user guides at all-guides.com 47.6 1920x1080 120 W ATSC/NTSC AUDIO - OUT JPEG, M-JPEG 1097 x 257 x 711 mm 1097 x 90 x 644 mm 19.5...
- Page 35 All manuals and user guides at all-guides.com www.westinghousedigital.com S/N: Westinghouse Digital, LLC Orange, CA SE-UM-4802-1301...
Need help?
Do you have a question about the DWM48F1Y1 and is the answer not in the manual?
Questions and answers