
Related Manuals for Kodiak 6173


Summary of Contents for Kodiak 6173
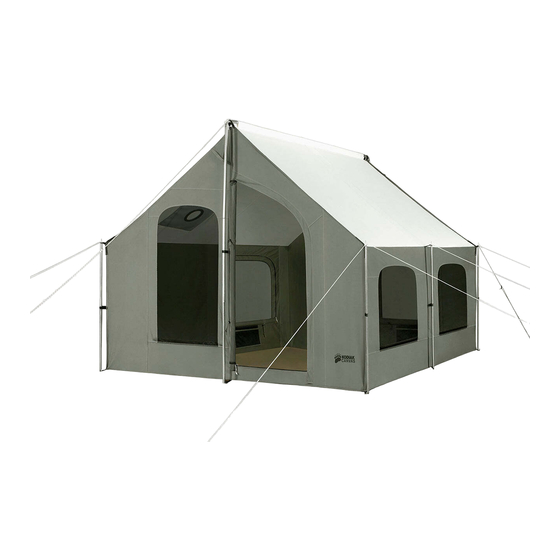
- Page 1 Model 6173 OWNER’S MANUAL 10 x 10 ft. Cabin Lodge Tent Visit us online at: www.KodiakCanvas.com Important! For safe and proper assembly, use, and care, read and follow all instructions. Everyone who uses this tent should first read this manual.
- Page 2 No Fire This tent is flammable. Keep all flame and heat sources away from the tent fabric. Never place a stove, campfire, or any other flame source in or near your tent. Never use, light, or refuel a stove, lantern, heater, or any other heat source inside your tent.
- Page 3 If your product is found defective, we will repair or replace it free of charge. Charges for shipping your product to Kodiak Canvas will be your responsibility. We reserve the right to make substitutions if parts are unavailable or obsolete.
-
Page 4: Component Checklist
Component Check List Identify all components and make sure they are in good condition and working order. Quantity Description Side Upright Pole Main Upright Pole Ridge Pole Center Support Pole (Optional, Sold Separately) Tent Body Tent Storage Bag Pole Storage Bag Stake Storage Bag Guy Ropes (standard) Long Guy Ropes... - Page 5 Fig. 1 Tent Poles...
- Page 6 Assembly Instructions The use of protective gloves and eyewear is recommended during assembly. At least two adults are required. Step 1 - Stake the Tent Stake each of the tent’s four corners, making sure that the tent is taut (but not too tight) and square. Continue to place a stake through each of the remaining stake loops.
- Page 7 Place the bottom of the Main Upright Pole over the D-ring at the edge of the tent while inserting the locking pin into the pole. Fig. 3 Locking Pin Step 4 – Install the Side Upright Poles Insert the tip of a Side Upright Pole through the metal ring at each corner. Insert the bottom of the Side Upright Pole into the locking pin.
- Page 8 Next, install the remainder of the Side Upright Poles in the same manner. Figure 5 represents a top-down view of the tent. The dashed lines represent proper guy rope position. Fig. 5 Guy Rope Placement Diagram...
- Page 9 Step 5 – Secure Upright Poles and Storm Window. Secure the Upright Poles to the tent walls with hook and loop (similar to Velcro®) tabs. Secure the storm window to the corresponding guy ropes (see Figures 5 and 6). First pass guy ropes through the holes on the slide buckles.
-
Page 10: Other Notes
To install, place the ends of the T through the loops (inside center ceiling). Extend the telescoping pole until taut, and hand tighten thumbscrew. Tips: Don’t overextend pole—it just needs to gently push into the ceiling. To take down, first lift pole to remove tension on thumbscrew, then unscrew. Fig. - Page 11 This Kodiak Canvas, Cabin Lodge tent is equipped with a stove jack for use with a wood burning stove. Extreme caution should be used when using a wood burning stove! Carefully read and follow these important safety guidelines.
- Page 12 Visit www.KodiakCanvas.com for accessories and other products. We appreciate your business. Thank you for purchasing a Kodiak Canvas® tent. We put pride into the design and manufacturing of this product. It is the best of its kind available. We wish you safe and happy camping. Please tell your friends about us.
Need help?
Do you have a question about the 6173 and is the answer not in the manual?
Questions and answers