Table of Contents
Advertisement
Quick Links
Advertisement
Table of Contents

Related Manuals for Coldair GCV440


Summary of Contents for Coldair GCV440
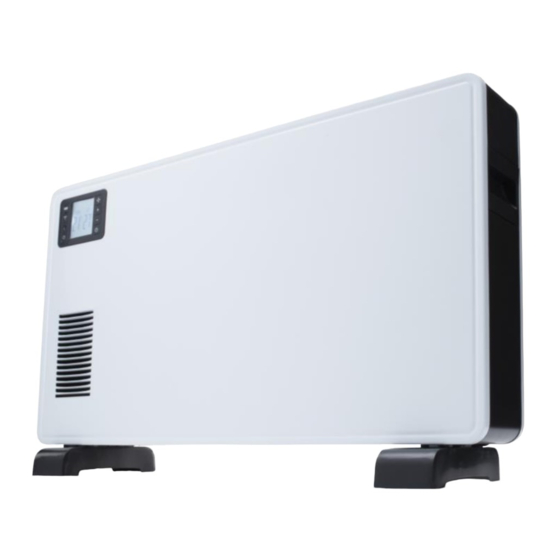
- Page 1 Operating Instructions 2300W Convector Heater with WiFi Model : GCV440...
- Page 3 General Care and Safety Guide YOUR SAFETY IS IMPORTANT TO US. PLEASE ENSURE YOU TAKE NOTE OF THE INSTRUCTIONS AND WARNINGS OUTLINED IN THIS MANUAL. CAUTION: In order to avoid a hazard due to inadvertent resetting of the thermal cut-out, this appliance must not be supplied through an external switching device, such as a timer, or connected to a circuit that is regularly switched on and off by the utility.
- Page 4 General Care and Safety Guide • Never use the appliance to dry clothes. • Always unplug appliance when not in use. • When the appliance has been unpacked, check it for transport damage and ensure all parts have been delivered. If parts are missing or the appliance has been damaged, contact the Customer Services Team.
- Page 5 General Care and Safety Guide • The appliance must not be immersed in any liquids. • There are no user serviceable parts installed in the unit. • Do not place the unit in wardrobes or other enclosed spaces as this may cause fire hazards.
- Page 6 Components WARNING: Heater must not be used without the feet fitted. This appliance has been supplied with ‘1 way screws’ for permanent installation of the feet. This is a safety requirement for the New Zealand and Australian market. ASSEMBLY Before using the heater, the feet (supplied sepa ra tel y i n the ca rton), must be fitted to the unit. The s crew pa ck to a ttach the feet to your hea ter will be taped to ei ther one of the feet for your hea ter, or ta ped to the plug.
-
Page 7: Operating Your Heater
Operating Your Heater Always choose a safe location for the heater, keeping in mind the safety precautions outlined. Ensure all packaging has been removed from the unit before use. Please follow the below instructions. WARNING: In order to avoid overheating or fire, do not cover the heater. WARNING: Keep all objects at least 1 metre from the front, sides and rear of the appliance. - Page 8 Operating your Heater 1. Selected heating level display 2. ‘Fan’ symbol 3. ‘Frost protection’ symbol 4. Selected unit of measurement display 5. Fan button 6. Increase temperature 7. Reduce temperature 8. Timer button 9. Running time display 10. Set temperature display 11.
- Page 9 Operating your Heater Press the fan button to turn the fan on. Press it again to turn the fan off. The fan symbol will appear on the screen. WiFi – Downloading and Setting up APP For WiFi, the APP is supported only on 2.4GHz WiFi channels. Please ensure your phone is 2.4GHz capable.
- Page 10 WiFi – Downloading and Setting up APP You ca n either register a n email address or a phone number. The APP defaults to email but you just need to ta p the “Register by Phone” at top ri ght of the screen to change. Enter you email address or a phone number then press “Get a uthentication code”.
- Page 11 Pairing APP to Heater Enter the verification code that you will receive by email or text message Next you wi ll be prompted to Set a Password. The password must contain 6 - 20 cha ra cters a nd must be a mi x of l etters and numbers.
- Page 12 Pairing APP to Heater Turn the heater on using power switch on the back a nd s etting the heater to ON with the remote control. On your phone tap the ‘+’ to connect to the heater. If the ‘Wi Fi’ symbol is not already flashing on the hea ter, press the s mall black button on the back of the heater for 5 s econds until the WiFi i ndicator l i ght starts flashing.
- Page 13 Pairing APP to Heater Choos e/confirm which WiFi to connect to. Note: your phone may pick up other Wi Fi signals (e.g. neighbours) so you will need to choose. Enter your Wi Fi password a nd press ‘Confirm’ The phone will then connect to the heater. Ens ure you have a good strong signal from your Wi Fi router.
-
Page 14: Temperature Setting
Operating your Heater from the APP Mobile phone remote operation (connect heater power and turn on the side switch, so that the heater is in standby mode). Open the “GOLDAIR" APP to s elect the heater (when using one mobile phone to control multiple hea ters, you need to s elect the heater to be operated). - Page 15 Operating your Heater from the APP You ca n a djust the mode, set the heating l evels, a dd a countdown ti mer and turn the fan boost on a nd off from the APP MODE Mode ca n be set to AUTO or ANTI-FROST In AUTO you ca n adjust a ll other settings.
-
Page 16: Countdown Timer
Operating your Heater from the APP COUNTDOWN TIMER The ‘COUNTDOWN TIMER’ can be set to a utomatically turn the heater off after a period of time has elapsed. (1 - 24 hours ). When the heater is turned on, press the ‘DELAY TIMER’... - Page 17 Operating your Heater from the APP Ta p the “Pen’ symbol on the top ri ght of the control screen of the APP to ta ke you to the next pa ge. From here you can • Cha nge the heater name •...
-
Page 18: Care And Cleaning
• There are no user serviceable parts. For service or repair, contact an authorised electrical service technician PROOF OF PURCHASE To receive warranty retain receipt as proof of purchase. TECHNICAL SPECIFICATION Model No: GCV440 Supply: 220-240VAC 50-60Hz Wattage: 2000-2300W SUPPORT AND TECHNICAL ADVICE Goldair –... -
Page 19: Two Year Warranty
Two Year Warranty Thank you fo r purchasing this Goldair product. Your p roduct is warrant ed against f aults and manufactu re wh en used in normal domestic use for a period of two years. In non-domestic use Goldair limits the voluntary warranty to three months. Goldair undert ak e to repai r or replac e this product at no ch arge if found to be def ectiv e due to a manufacturing f ault during th e warranty period. - Page 20 New Zealand PO Box 100707, North Shore Mail Centre, Auckland, 0745 www.goldair.co.nz Australia PO Box 574, South Morang, Victoria, 3752 www.goldair.com.au...
Need help?
Do you have a question about the GCV440 and is the answer not in the manual?
Questions and answers