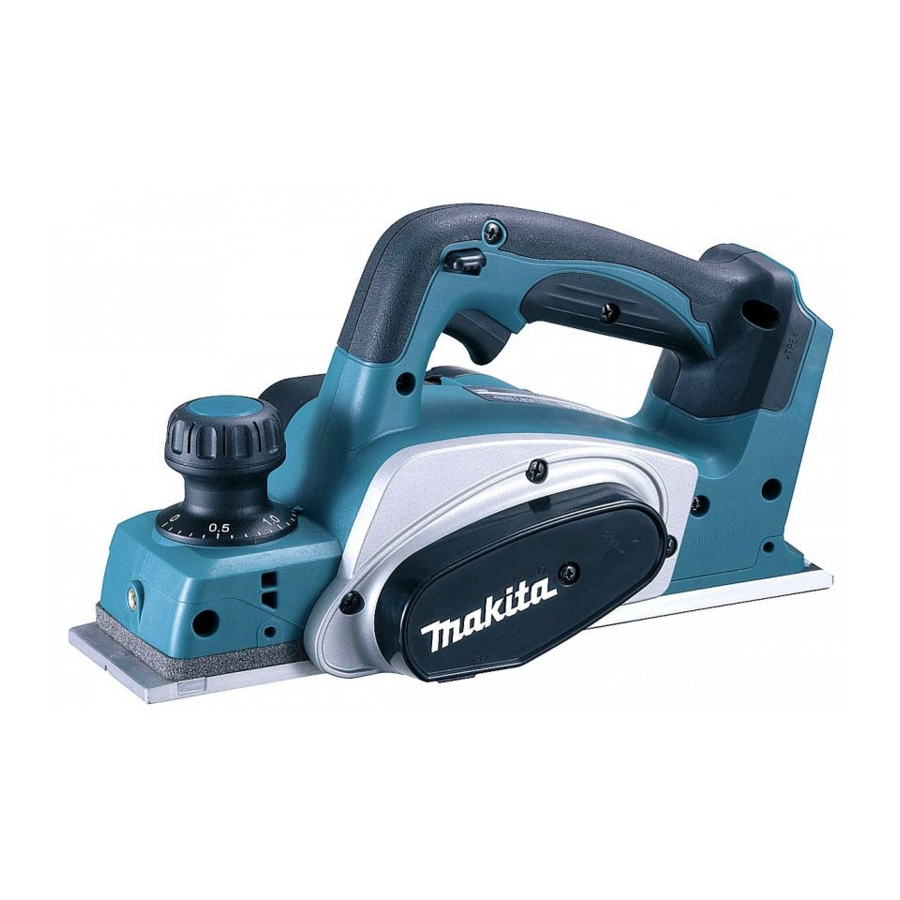
Makita DKP140 Instruction Manual
Cordless planer
Hide thumbs
Also See for DKP140:
- Instruction manual (69 pages) ,
- Instruction manual (64 pages) ,
- Instruction manual (73 pages)
Table of Contents
Advertisement
Quick Links
Advertisement
Table of Contents

Summary of Contents for Makita DKP140
- Page 1 INSTRUCTION MANUAL Cordless Planer DKP140 DKP180 Read before use.
-
Page 2: Specifications
SPECIFICATIONS Model DKP140 DKP180 Planing width 82 mm Planing depth 1.6 mm 2 mm Shiplapping depth 9 mm No load speed (min 15,000 Overall length 329 mm 333 mm Net weight 3.0 - 3.3 kg 3.2 - 3.5 kg Rated voltage D.C. - Page 3 Avoid body contact with earthed or grounded Always wear protective goggles to protect surfaces, such as pipes, radiators, ranges and your eyes from injury when using power tools. refrigerators. There is an increased risk of elec- The goggles must comply with ANSI Z87.1 in tric shock if your body is earthed or grounded.
- Page 4 16. Use only Makita blades specified in this Do not use a battery pack or tool that is dam- manual. aged or modified. Damaged or modified batteries 17.
-
Page 5: Functional Description
SAVE THESE INSTRUCTIONS. • To install the battery cartridge, align the tongue on the battery cartridge with the groove in the housing CAUTION: Only use genuine Makita batteries. and slip it into place. Always insert it all the way until Use of non-genuine Makita batteries, or batteries that it locks in place with a little click. If you can see the have been altered, may result in the battery bursting red indicator on the upper side of the button, it is not causing fires, personal injury and damage. It will locked completely. Install it fully until the red indicator also void the Makita warranty for the Makita tool and cannot be seen. If not, it may accidentally fall out of charger. -
Page 6: Adjusting Depth Of Cut
NEVER use the tool if it runs motor will remain stopped. At this time, stop when you simply pull the switch trigger without use of the tool and cool or charge the battery pressing the lock-off lever. Return tool a MAKITA cartridge after removing it from the tool. service center for proper repairs BEFORE fur- •... -
Page 7: Removing Or Installing Planer Blades
• Use only the Makita wrench provided to remove Place the blade on the gauge base so that the blade or install the blades. Failure to do so may result edge is perfectly flush with the inside edge of the gauge in overtightening or insufficient tightening of the plate. Place the adjusting plate on the blade, then sim- installation bolts. This could cause an injury. - Page 8 For tool with mini planer blades Slip the heel of the adjusting plate into the groove of the drum. ► 1 . Socket wrench 2. Bolt 3. Loosen 4. Tighten ► 1 . Mini planer blade 2. Groove 3. Set plate 4. Hex. flange head bolts 5. Drum cover 6. Drum Remove the existing blade, if the tool has been 7. Adjusting plate in use, carefully clean the drum surfaces and the drum cover.
- Page 9 When the dust bag is about half full, remove the dust nozzle is tapered. When attaching the dust bag, push bag from the tool and pull the fastener out. Empty it onto the nozzle firmly as far as it will go to prevent it the dust bag of its contents, tapping it lightly so as to from coming off during operation. remove particles adhering to the insides which might hamper further collection. NOTE: • If you connect a Makita vacuum cleaner to this tool, more efficient and cleaner operations can be performed. 9 ENGLISH...
-
Page 10: Planing Operation
Planing operation For tool without nozzle When you wish to perform clean planing operation, connect a Makita vacuum cleaner to your tool. Before connecting the vacuum cleaner, remove the chip cover from the tool. Then connect a hose of the vacuum cleaner to the nozzle (optional accessory) as shown in the figures. For tool with nozzle When you wish to perform clean planing operation, connect a Makita vacuum cleaner to your tool. Then... - Page 11 ► 1 . Blade edge 2. Cutting line You may wish to add to the length of the fence by attaching an extra piece of wood. Convenient holes Draw a cutting line on the workpiece. Insert the edge are provided in the fence for this purpose, and also for fence into the hole in the front of the tool. Align the attaching an extension guide (optional accessory).
-
Page 12: Maintenance
Use a screwdriver to remove the brush holder caps. Take out the worn carbon brushes, insert the new ones and secure the brush holder caps. To maintain product SAFETY and RELIABILITY, repairs, any other maintenance or adjustment should be per- formed by Makita Authorized Service Centers, always using Makita replacement parts. 12 ENGLISH... -
Page 13: Optional Accessories
OPTIONAL ACCESSORIES CAUTION: • These accessories or attachments are recom- mended for use with your Makita tool specified in this manual. The use of any other accessories or attachments might present a risk of injury to persons. Only use accessory or attachment for its stated purpose. If you need any assistance for more details regard- ing these accessories, ask your local Makita Service Center. • High-speed steel Planer blade • Tungsten-carbide Planer blade (For longer blade life) • Mini planer blade • Sharpening holder assembly •... - Page 16 Makita Corporation 885273B4 20180719 www.makita.com...


Need help?
Do you have a question about the DKP140 and is the answer not in the manual?
Questions and answers