Table of Contents
Advertisement
Quick Links
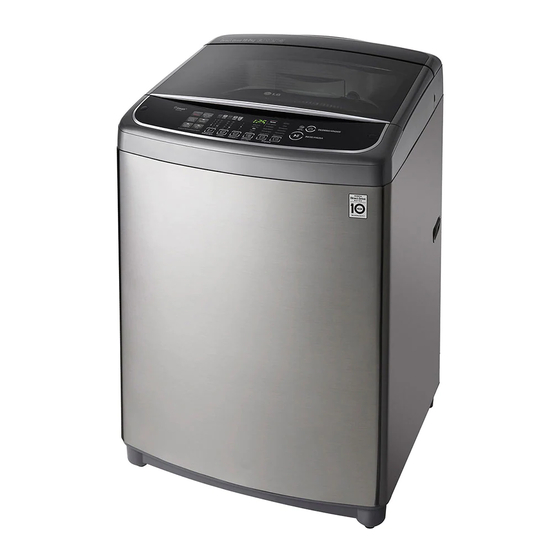
WASHING MACHINE
WASHING MACHINE
SERVICE MANUAL
SERVICE MANUAL
CAUTION
CAUTION
Before servicing the washer, Read the safety precautions in the manual.
Before servicing the washer, Read the safety precautions in the manual.
MODEL : WFS1939EKD /WT-SD153HVG/T
MODEL : WFS1939EKD /WT-SD153HVG/T
1
1
6
6
32AFPS5
32AFPS5
/ /TS1800DPS
TS1800DPS
/ /TS1804DPH
TS1804DPH
Advertisement
Table of Contents


Need help?
Do you have a question about the WFS1939EKD and is the answer not in the manual?
Questions and answers